|
|
|
|
Installing a Sting Ray XRIII Hydrofoil Installing a NMEA 2000 or NMEA-2K Network
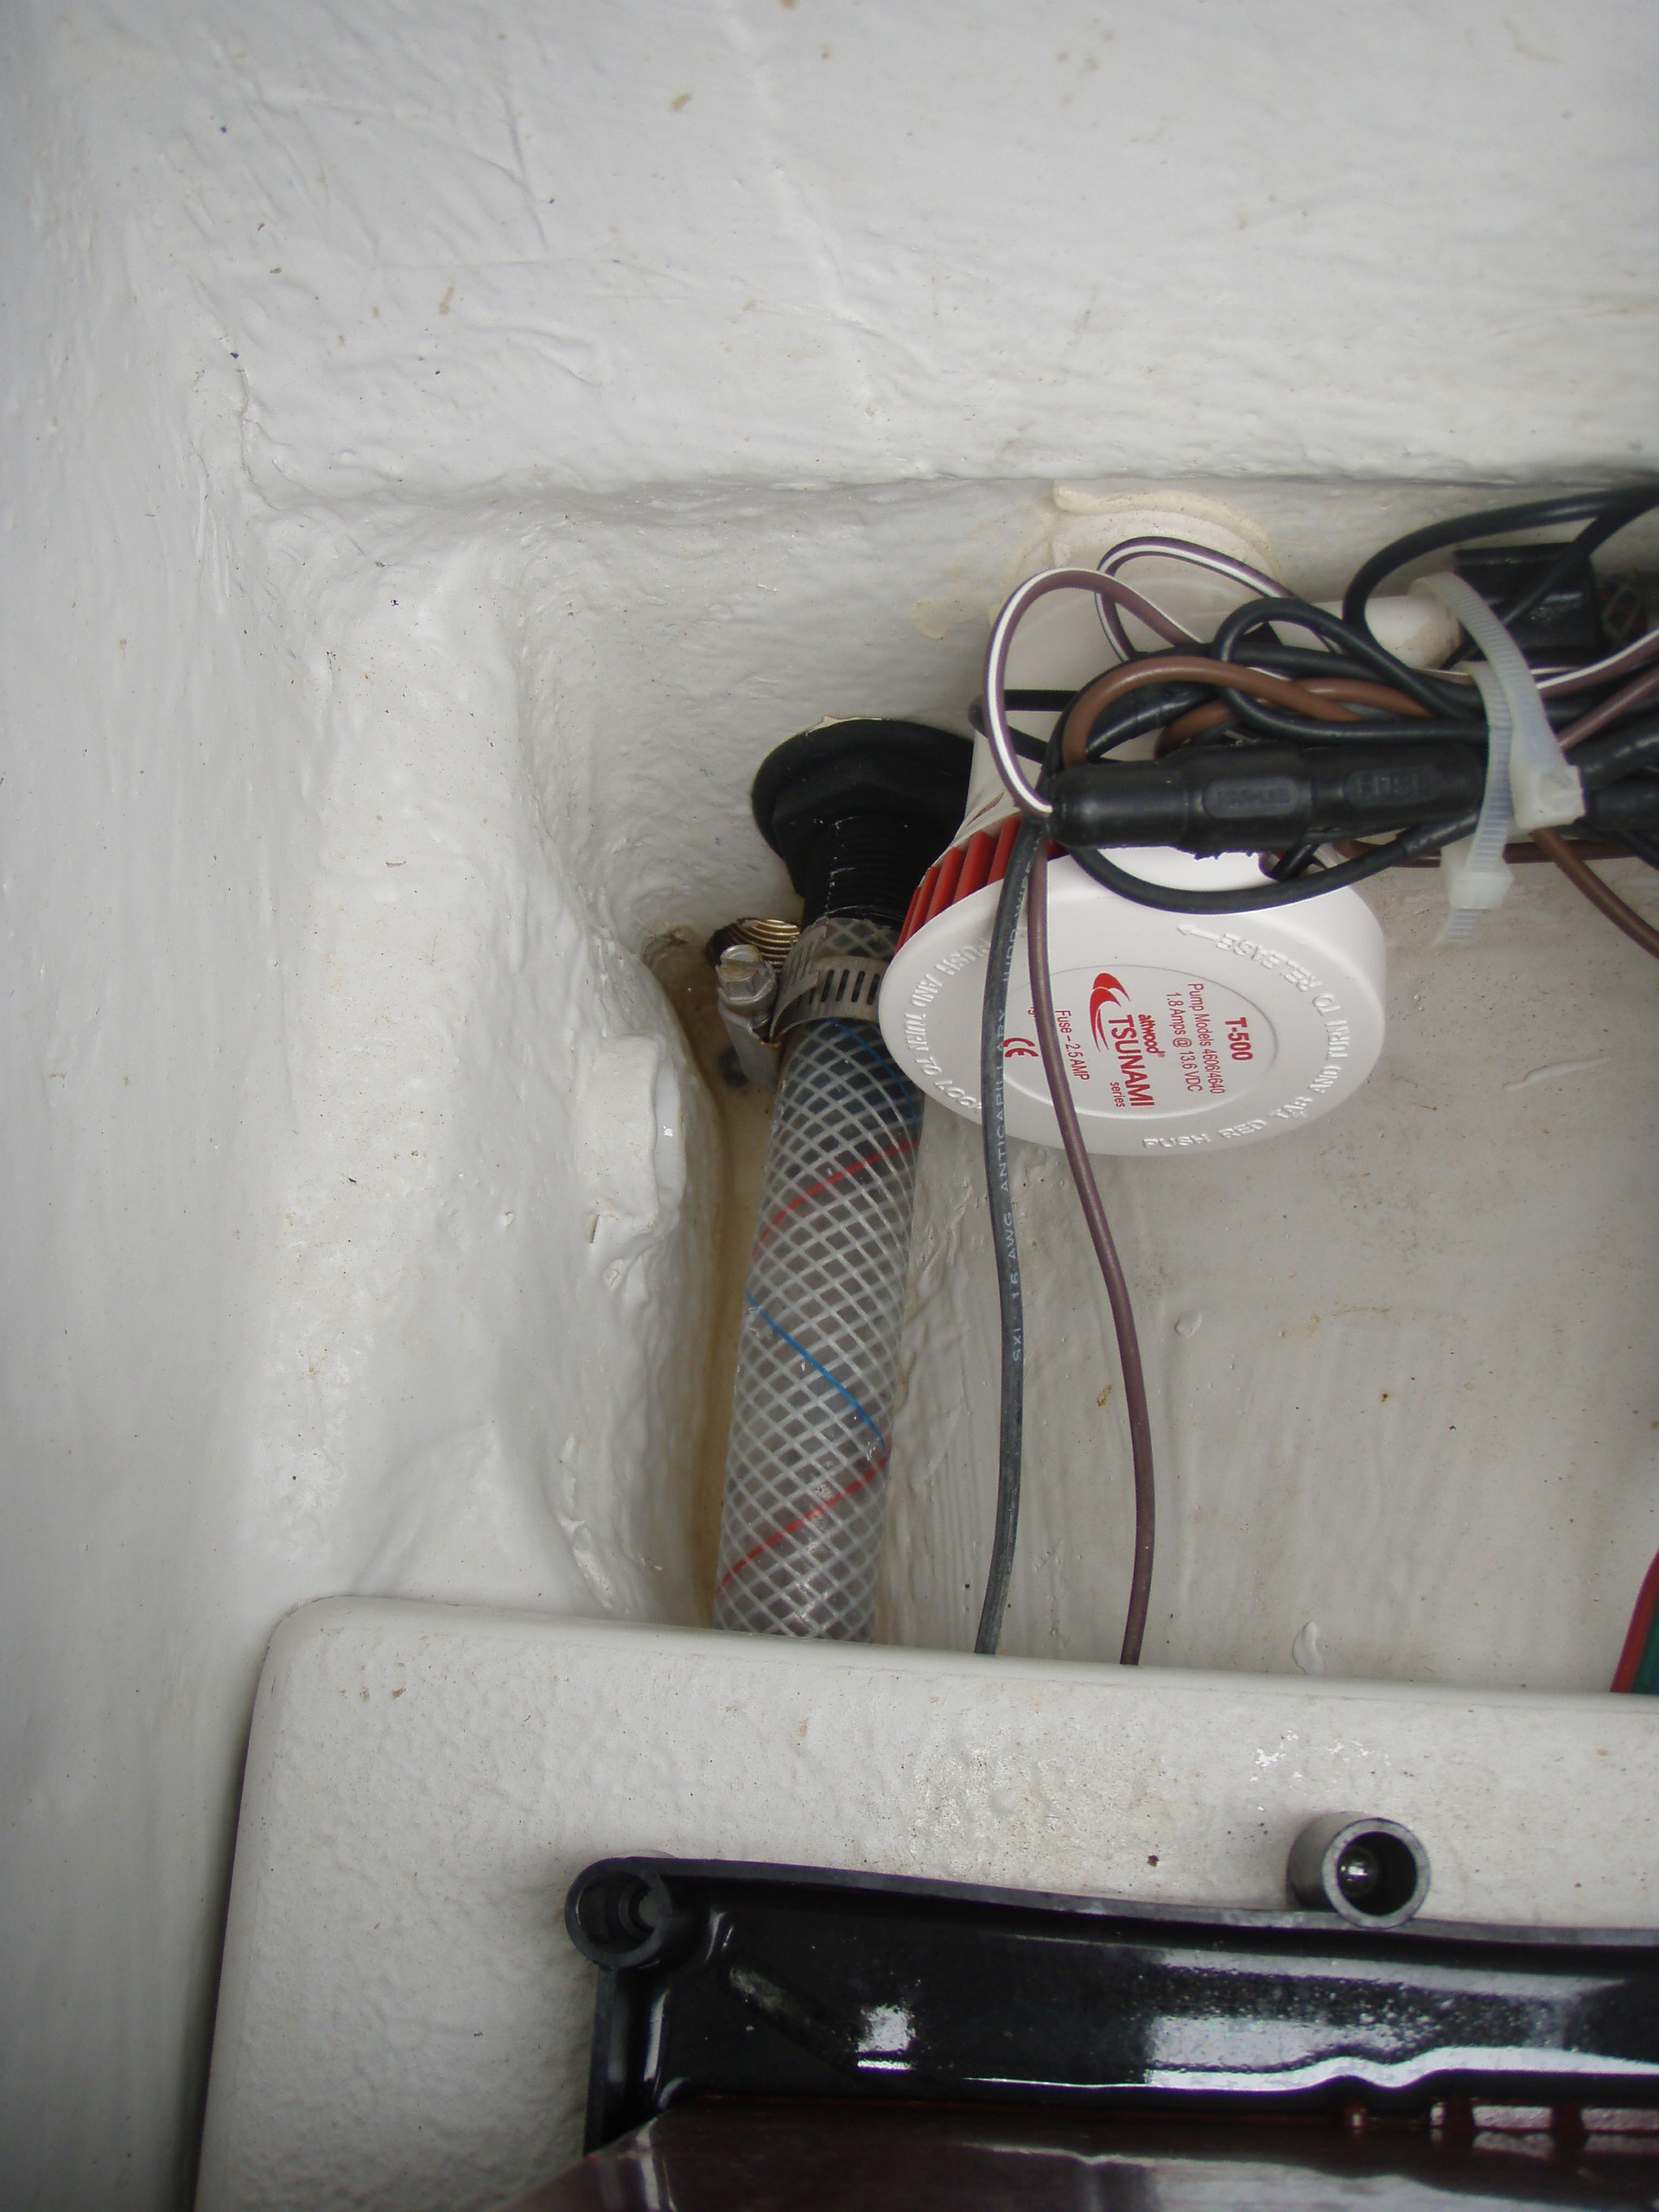
I had water coming in through my bilge drain so I installed this check valve. If you have a Gulf Coast like mine you know the back hatch stays wet all the time. With this setup it stays nice and dry (unless of course you take a wave over the side!).
Bilge drain location.
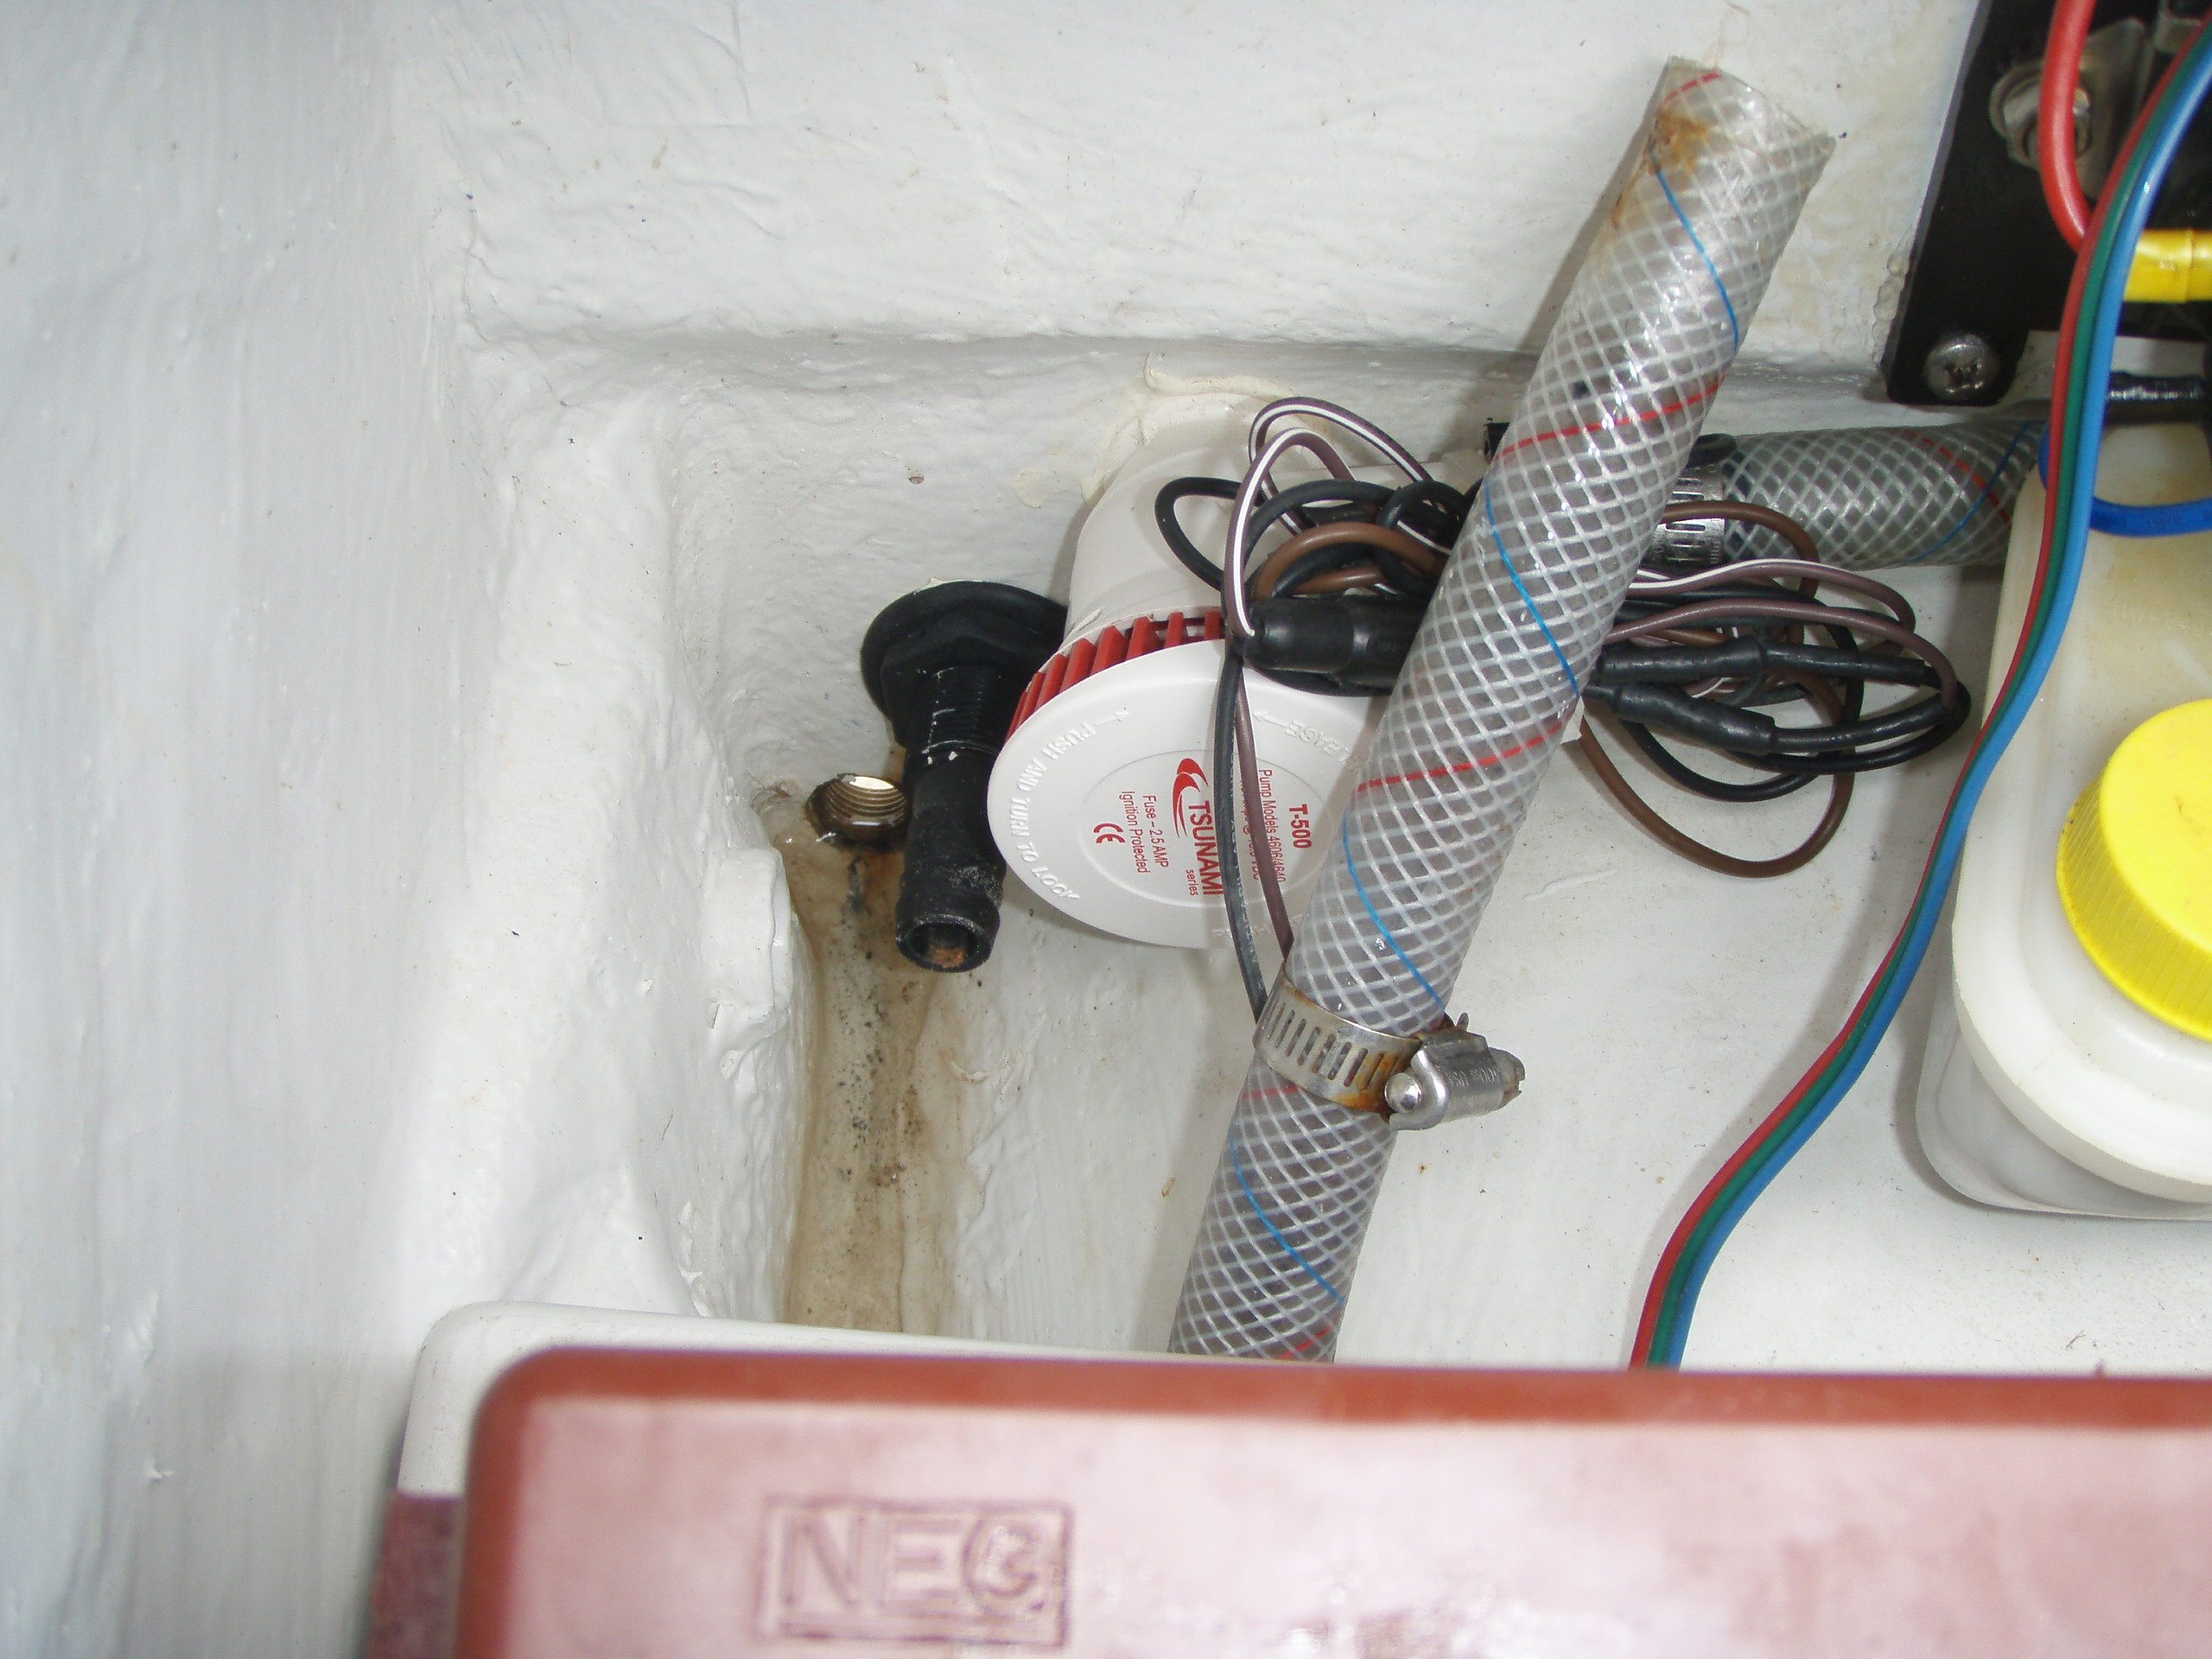
New check valve and 316SS clamps. Disconnect the hose from the outlet.
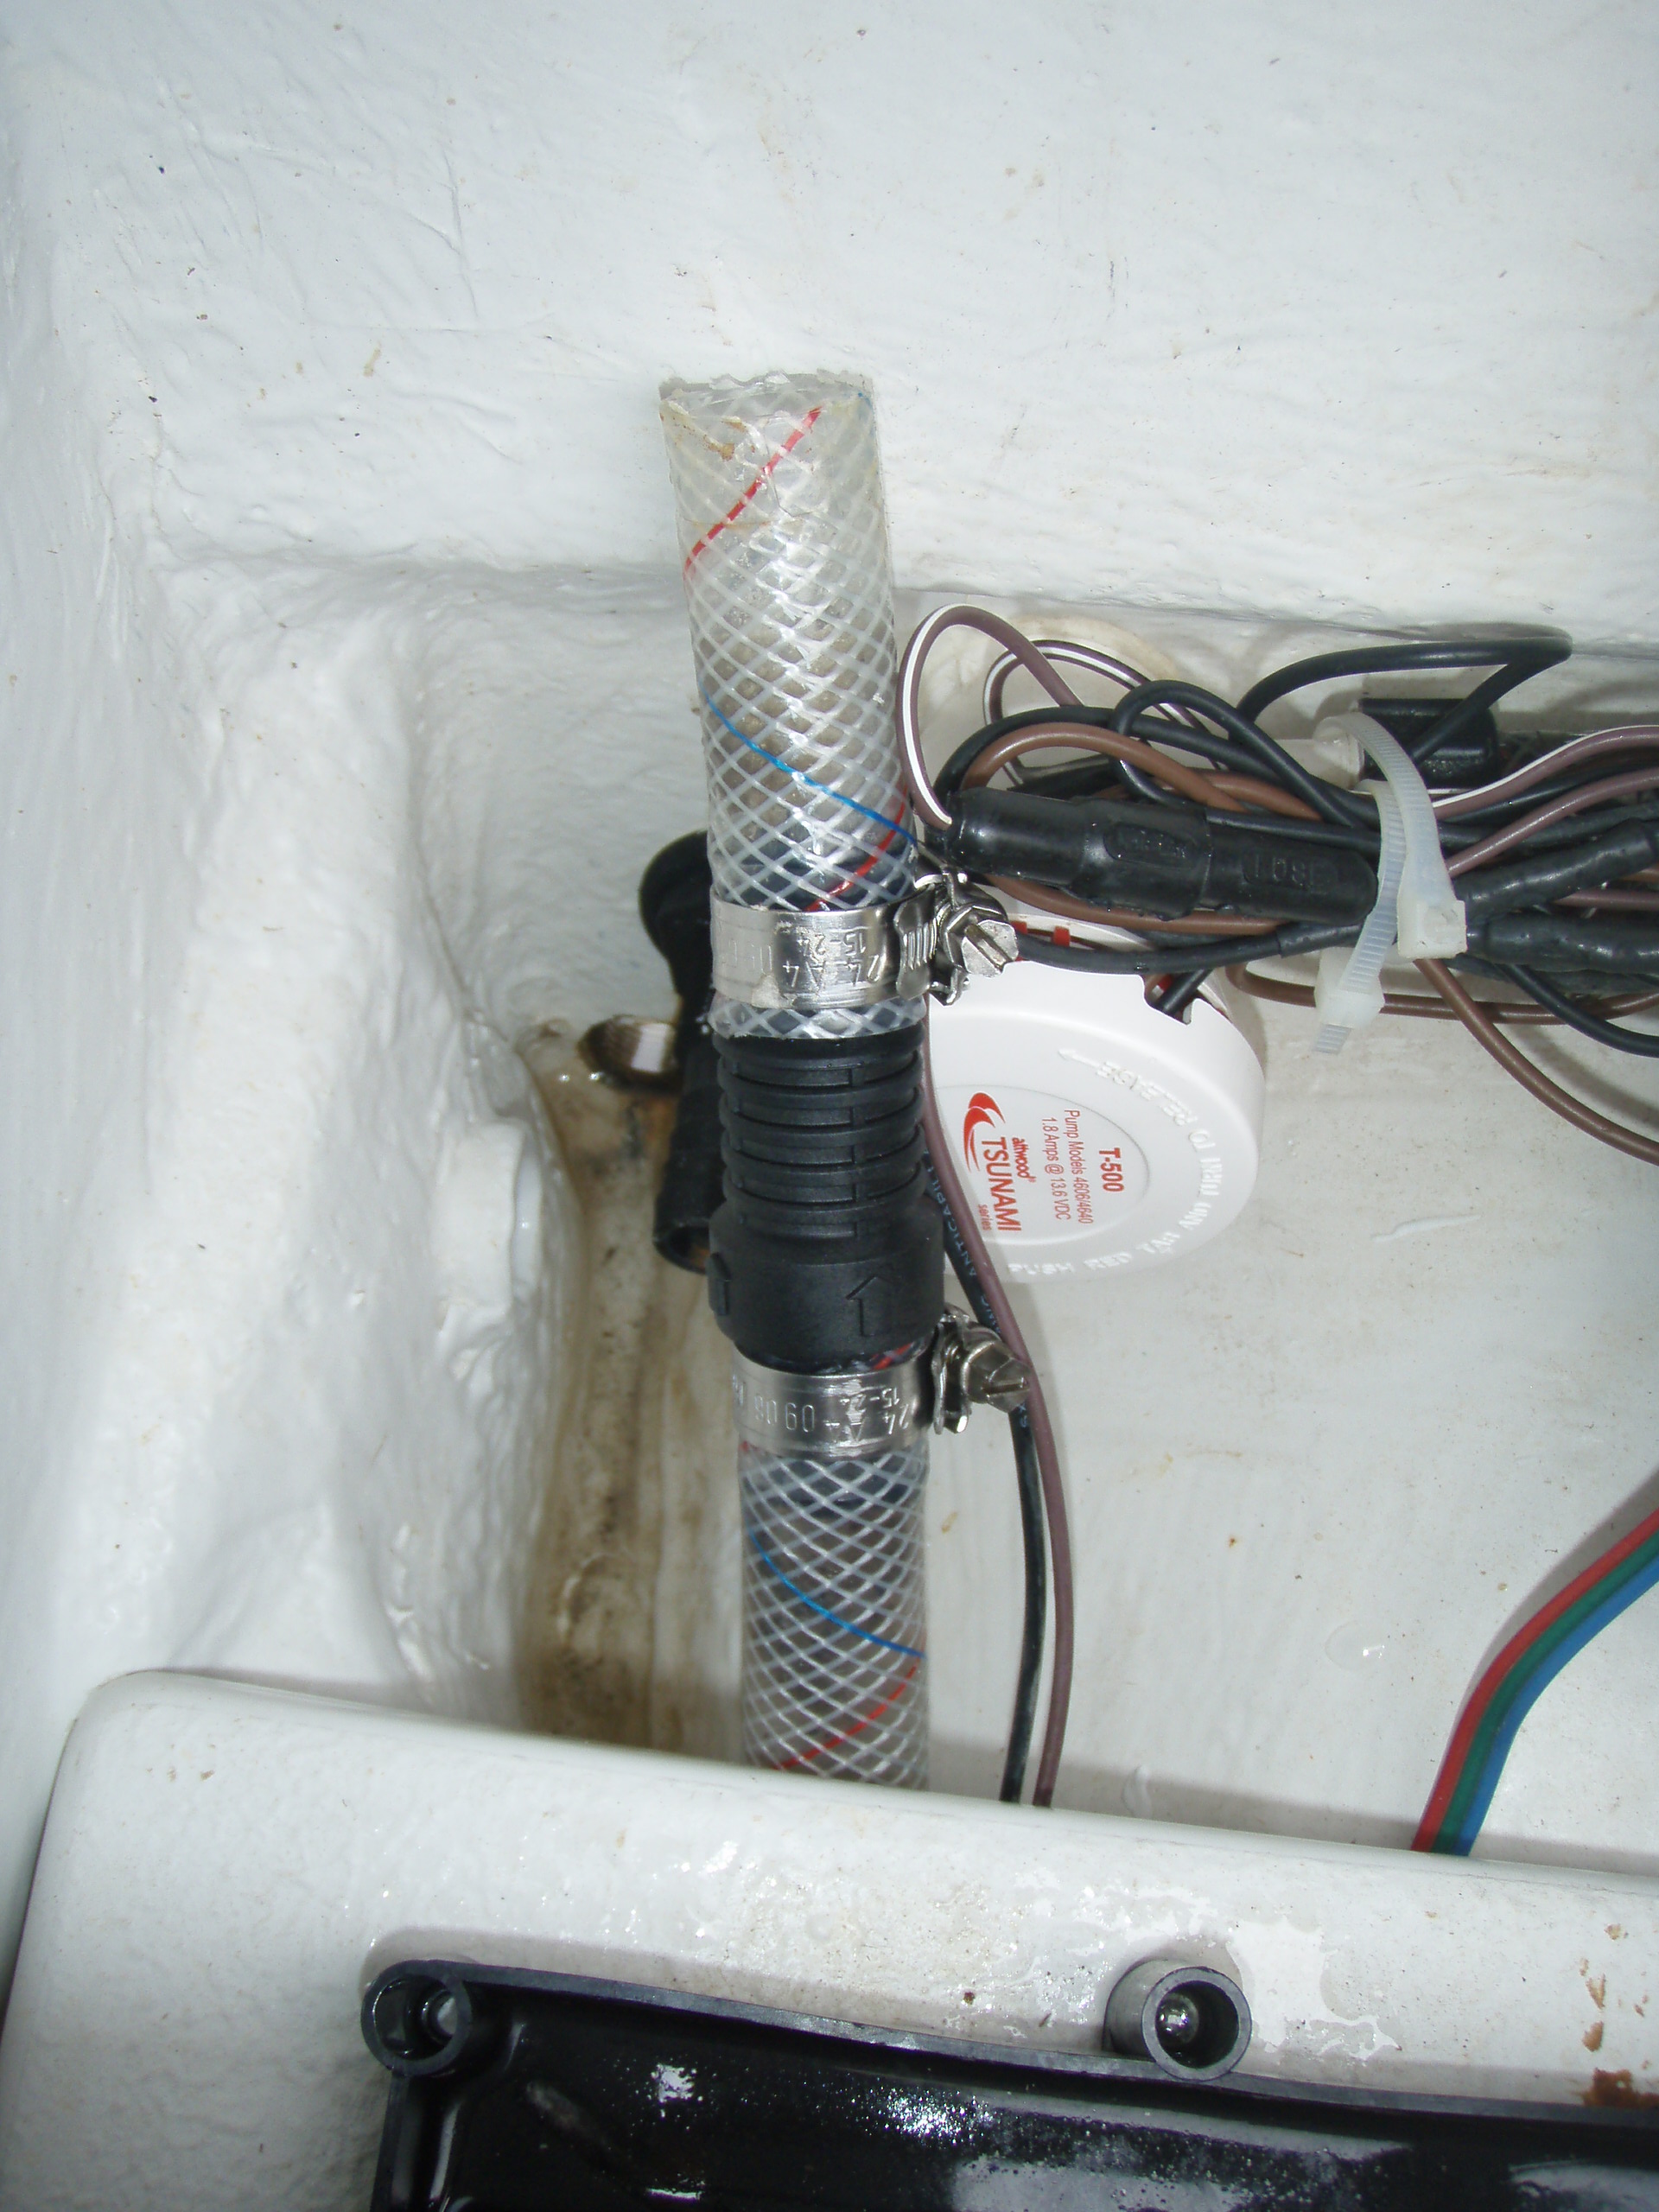
Cut hose at the desired location, remembering to remove as much hose as the check valve is long. Ensure the flow arrow is pointing out of the boat and install the check with the clamps. Reattach to the outlet and you are done. Installing a Sting Ray XRIII Hydrofoil I have installed the Sting Ray XRIII hydrofoil on my Evinrude E-tek 150. Installation is very simple.
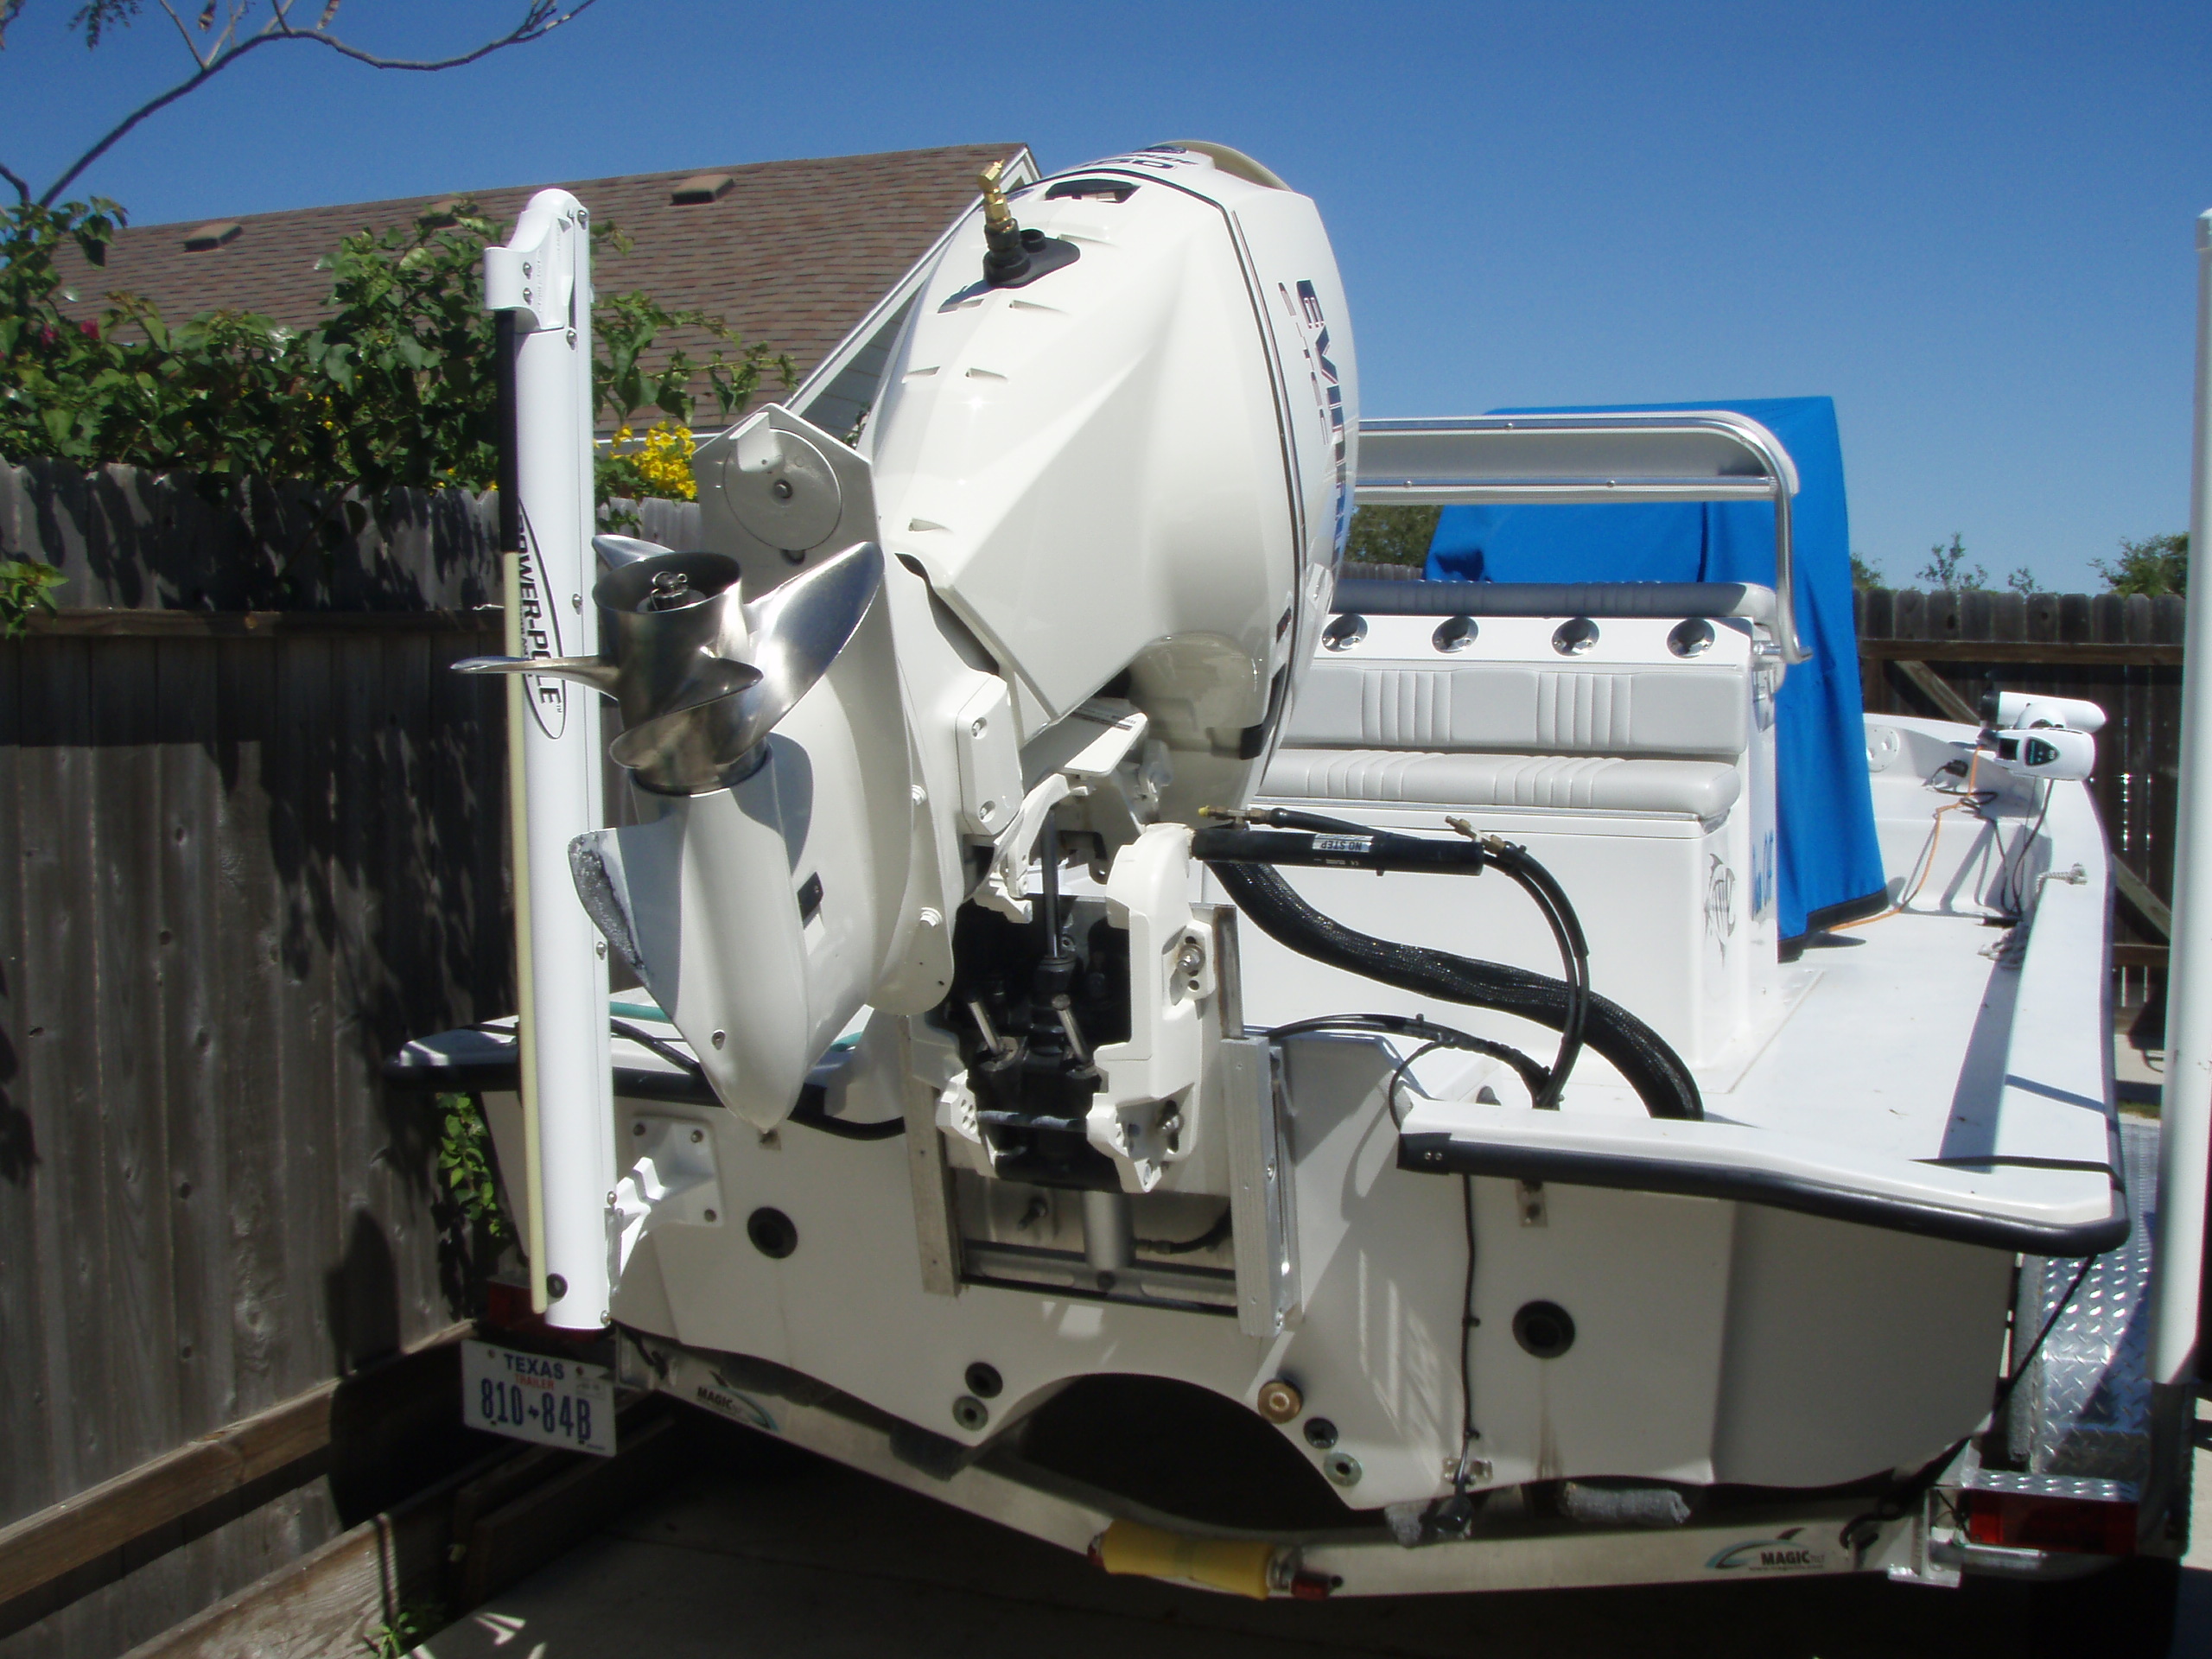
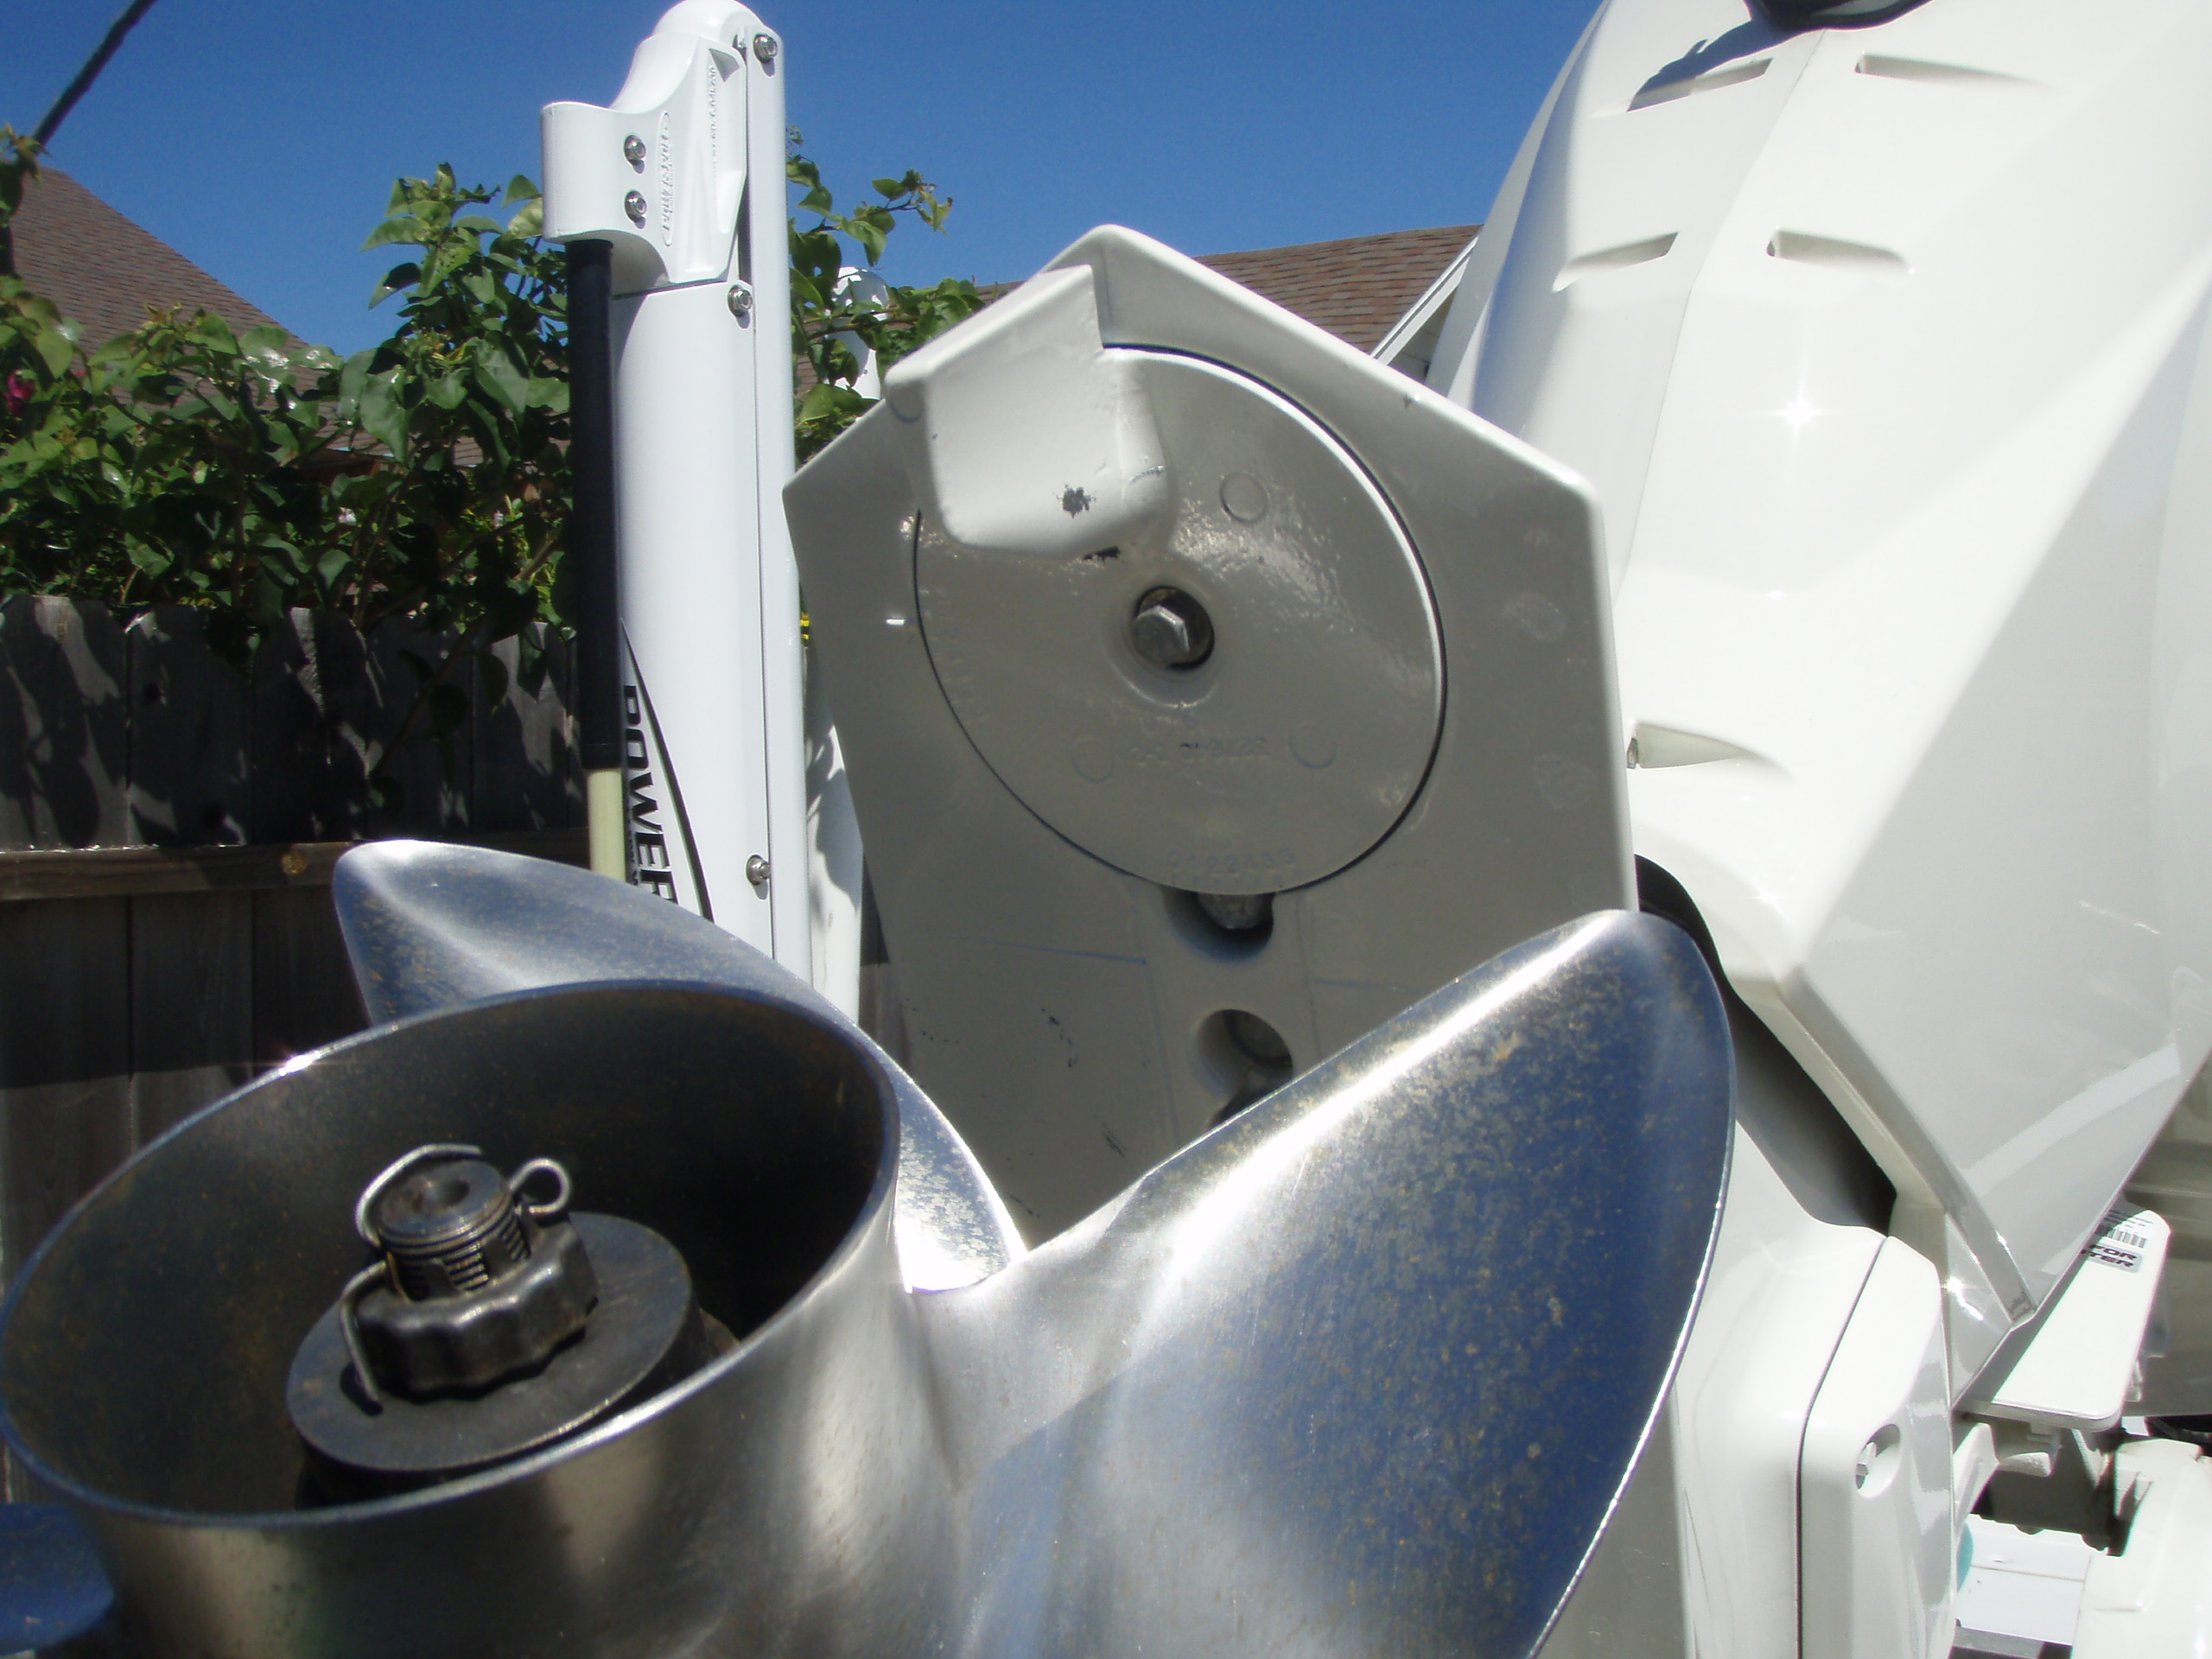
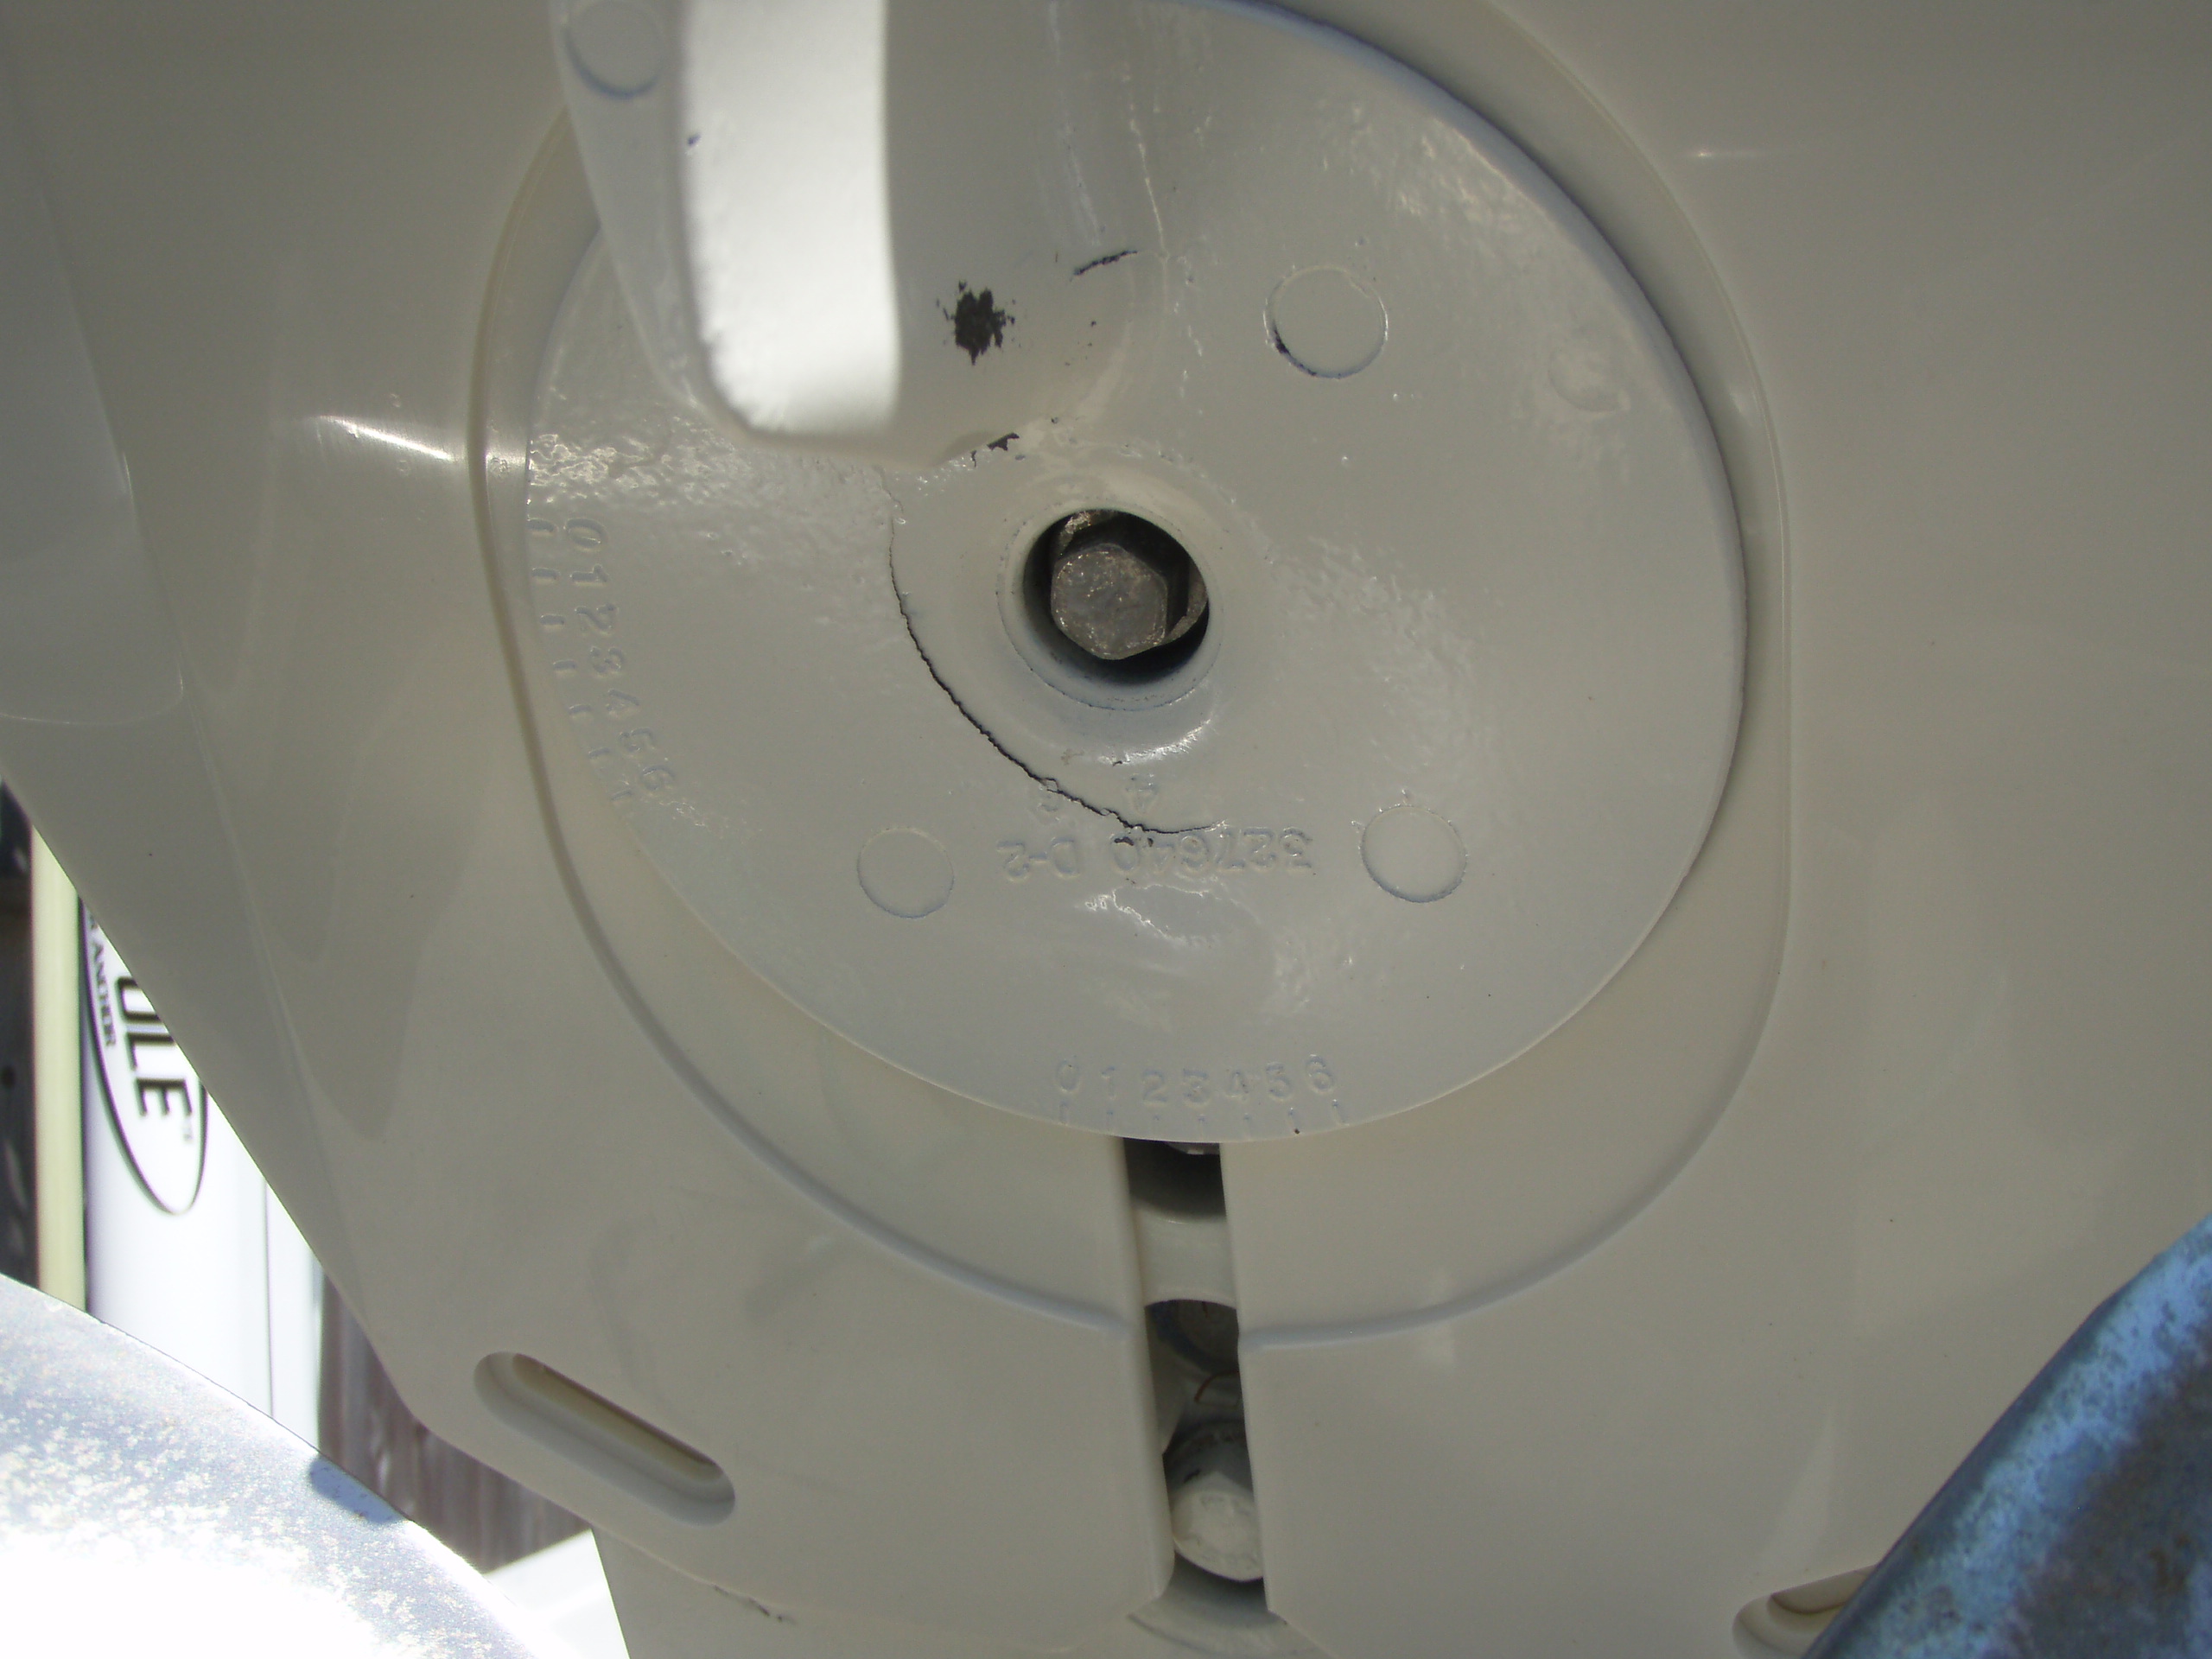
First get the motor up were you can get to the trim tab on the engine.
Remove the tab and slide the hydrofoil on the motor's cavitation plate.
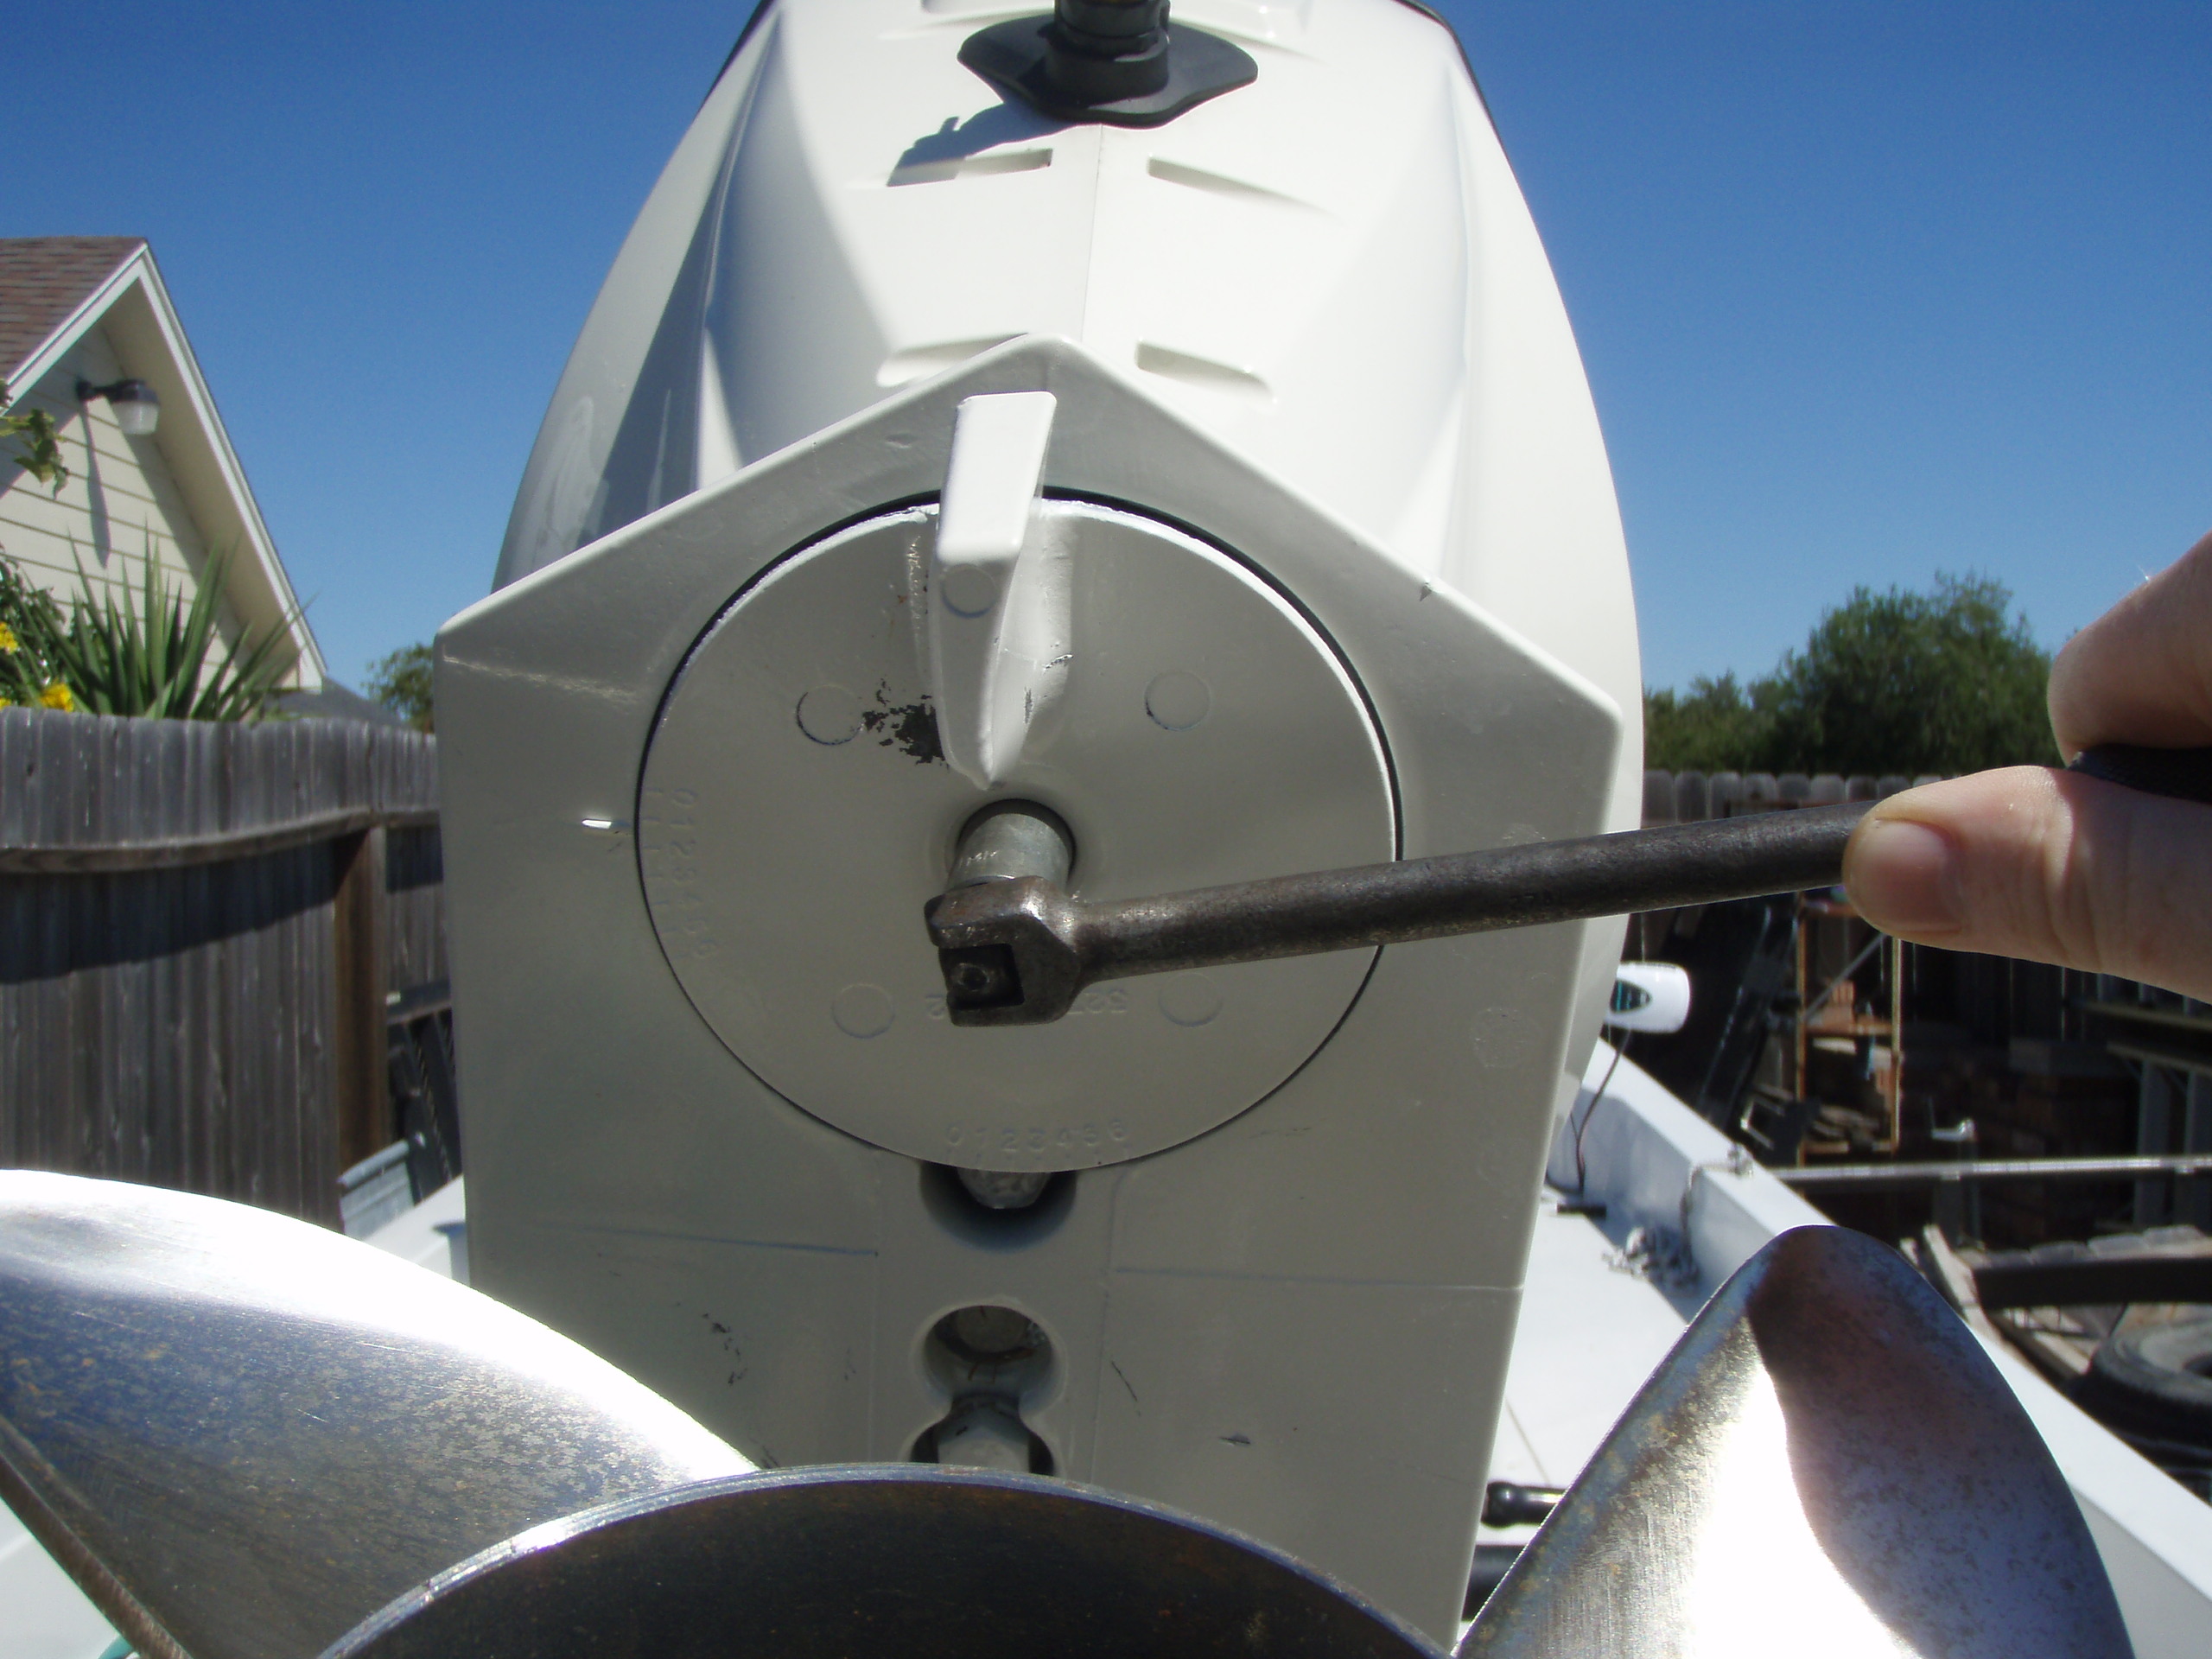
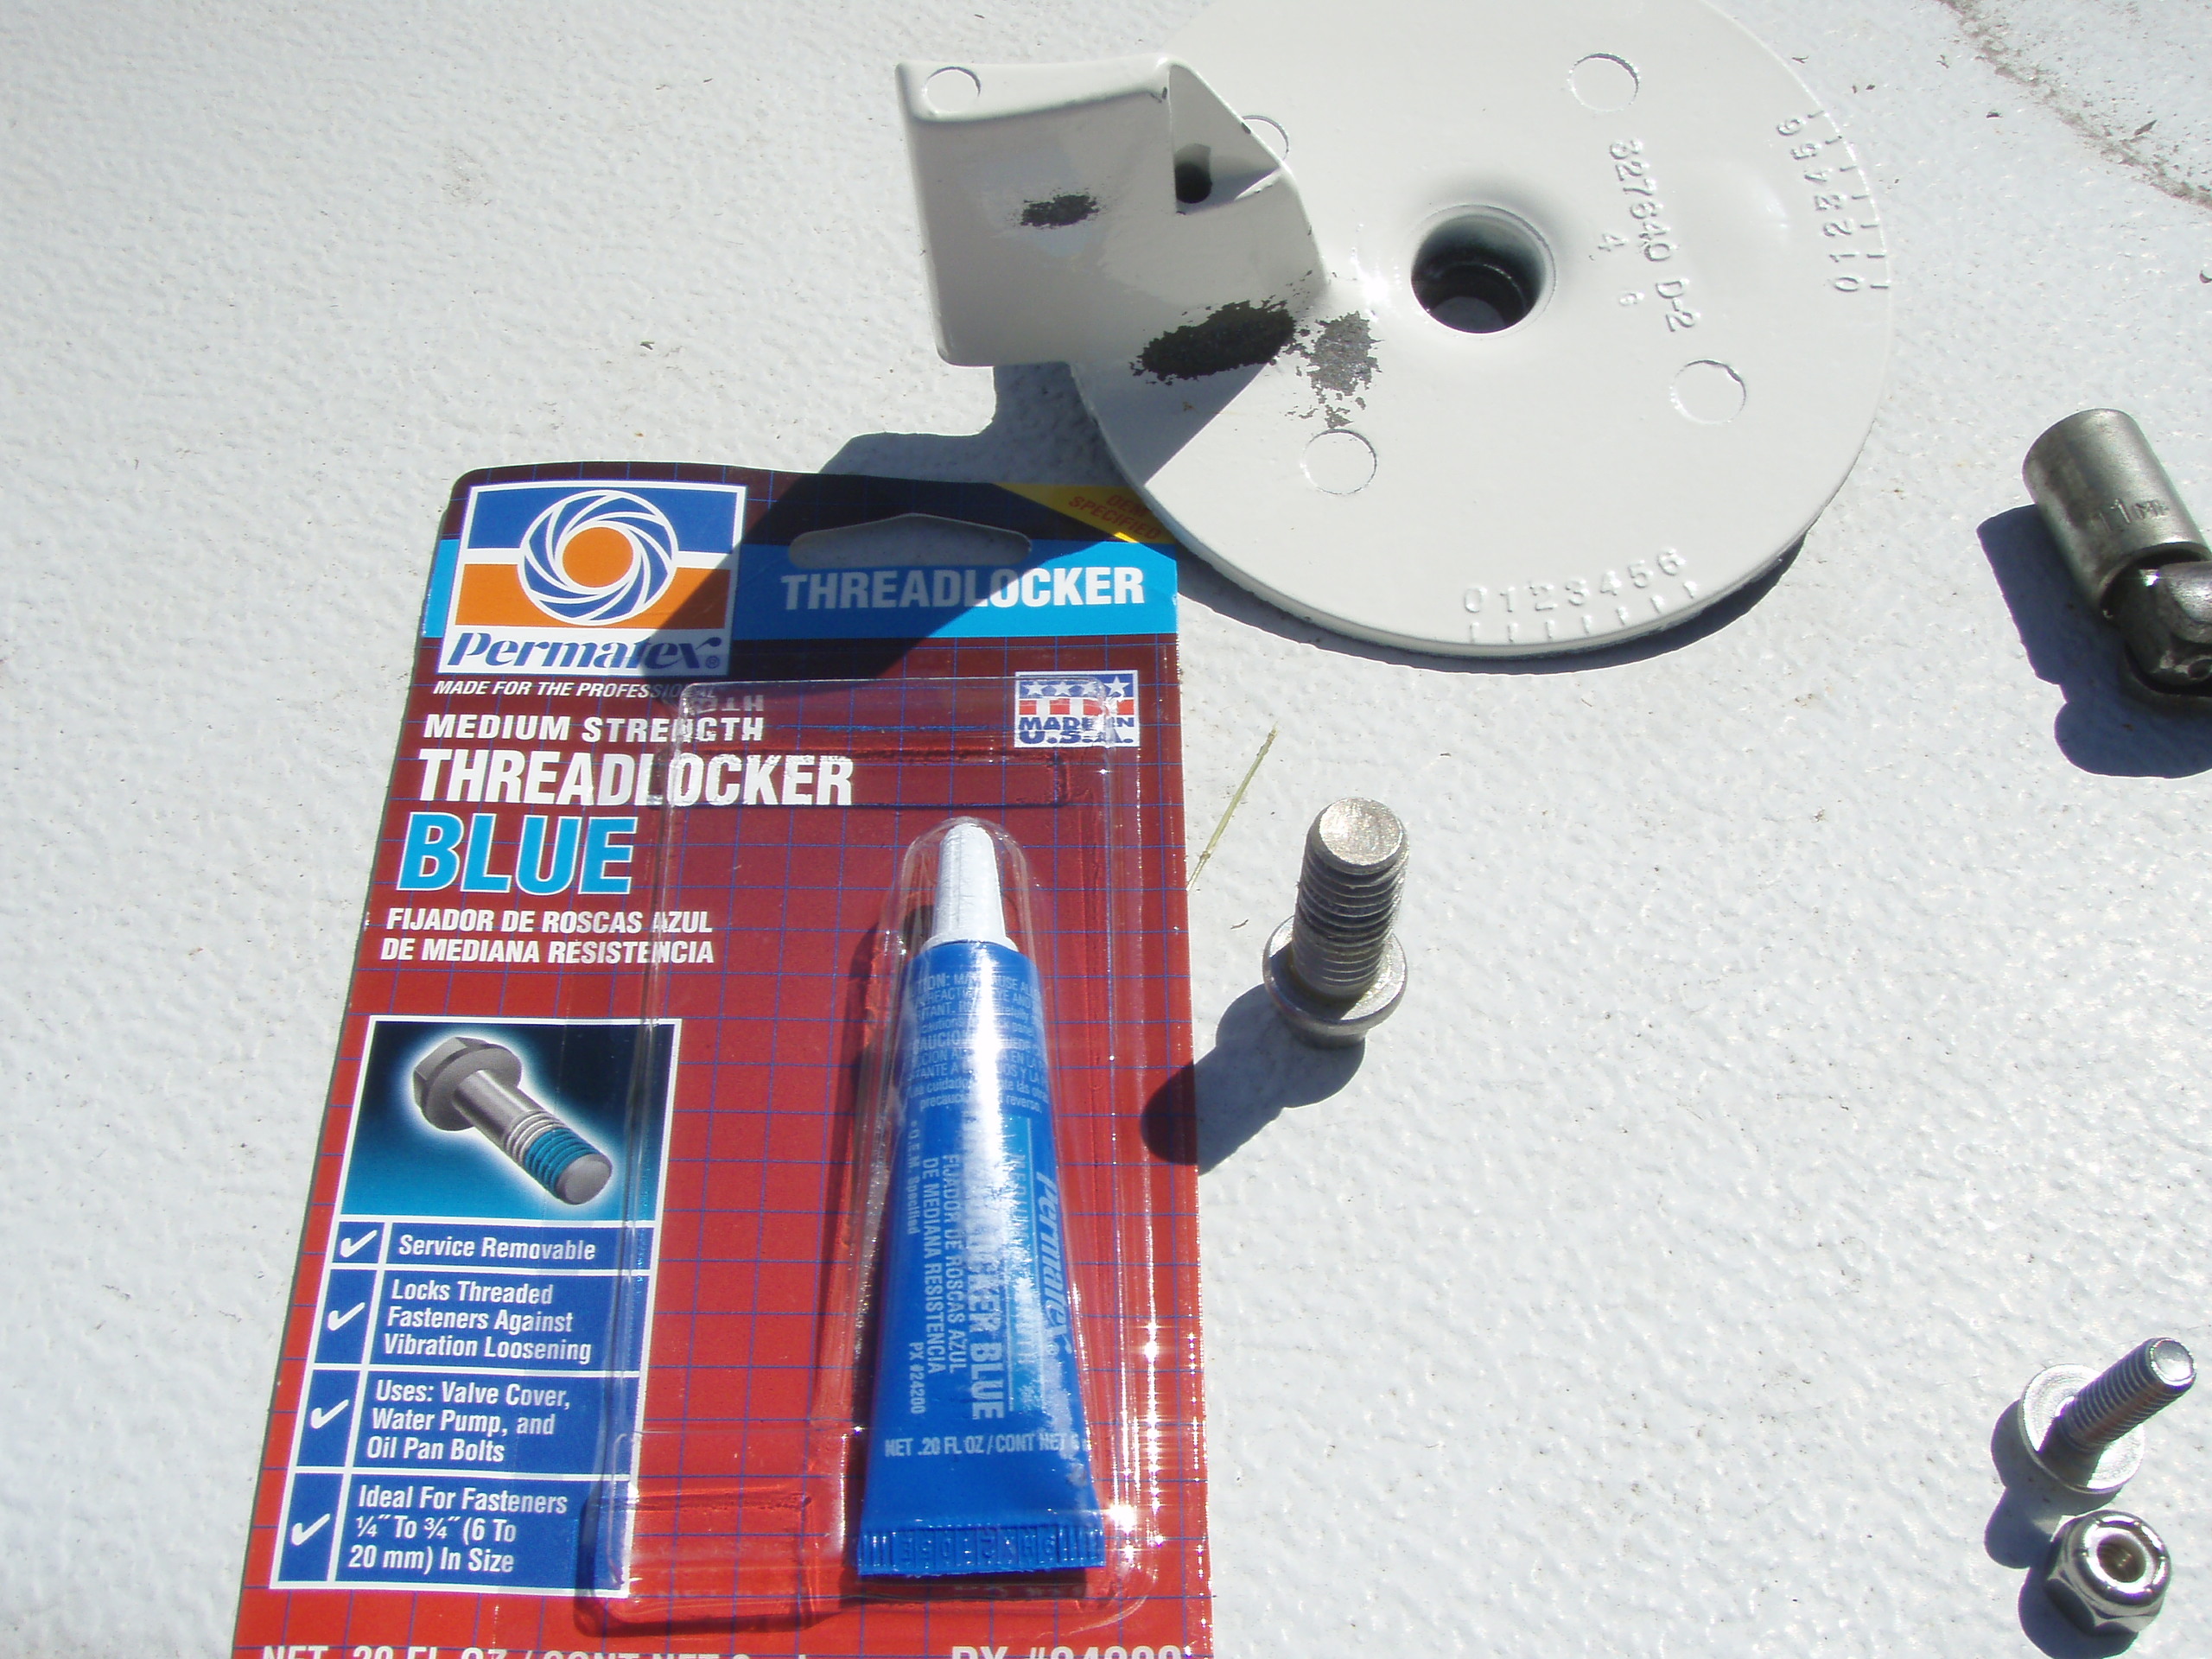
Put a little loctite blue on the bolt before reinstalling the tab.
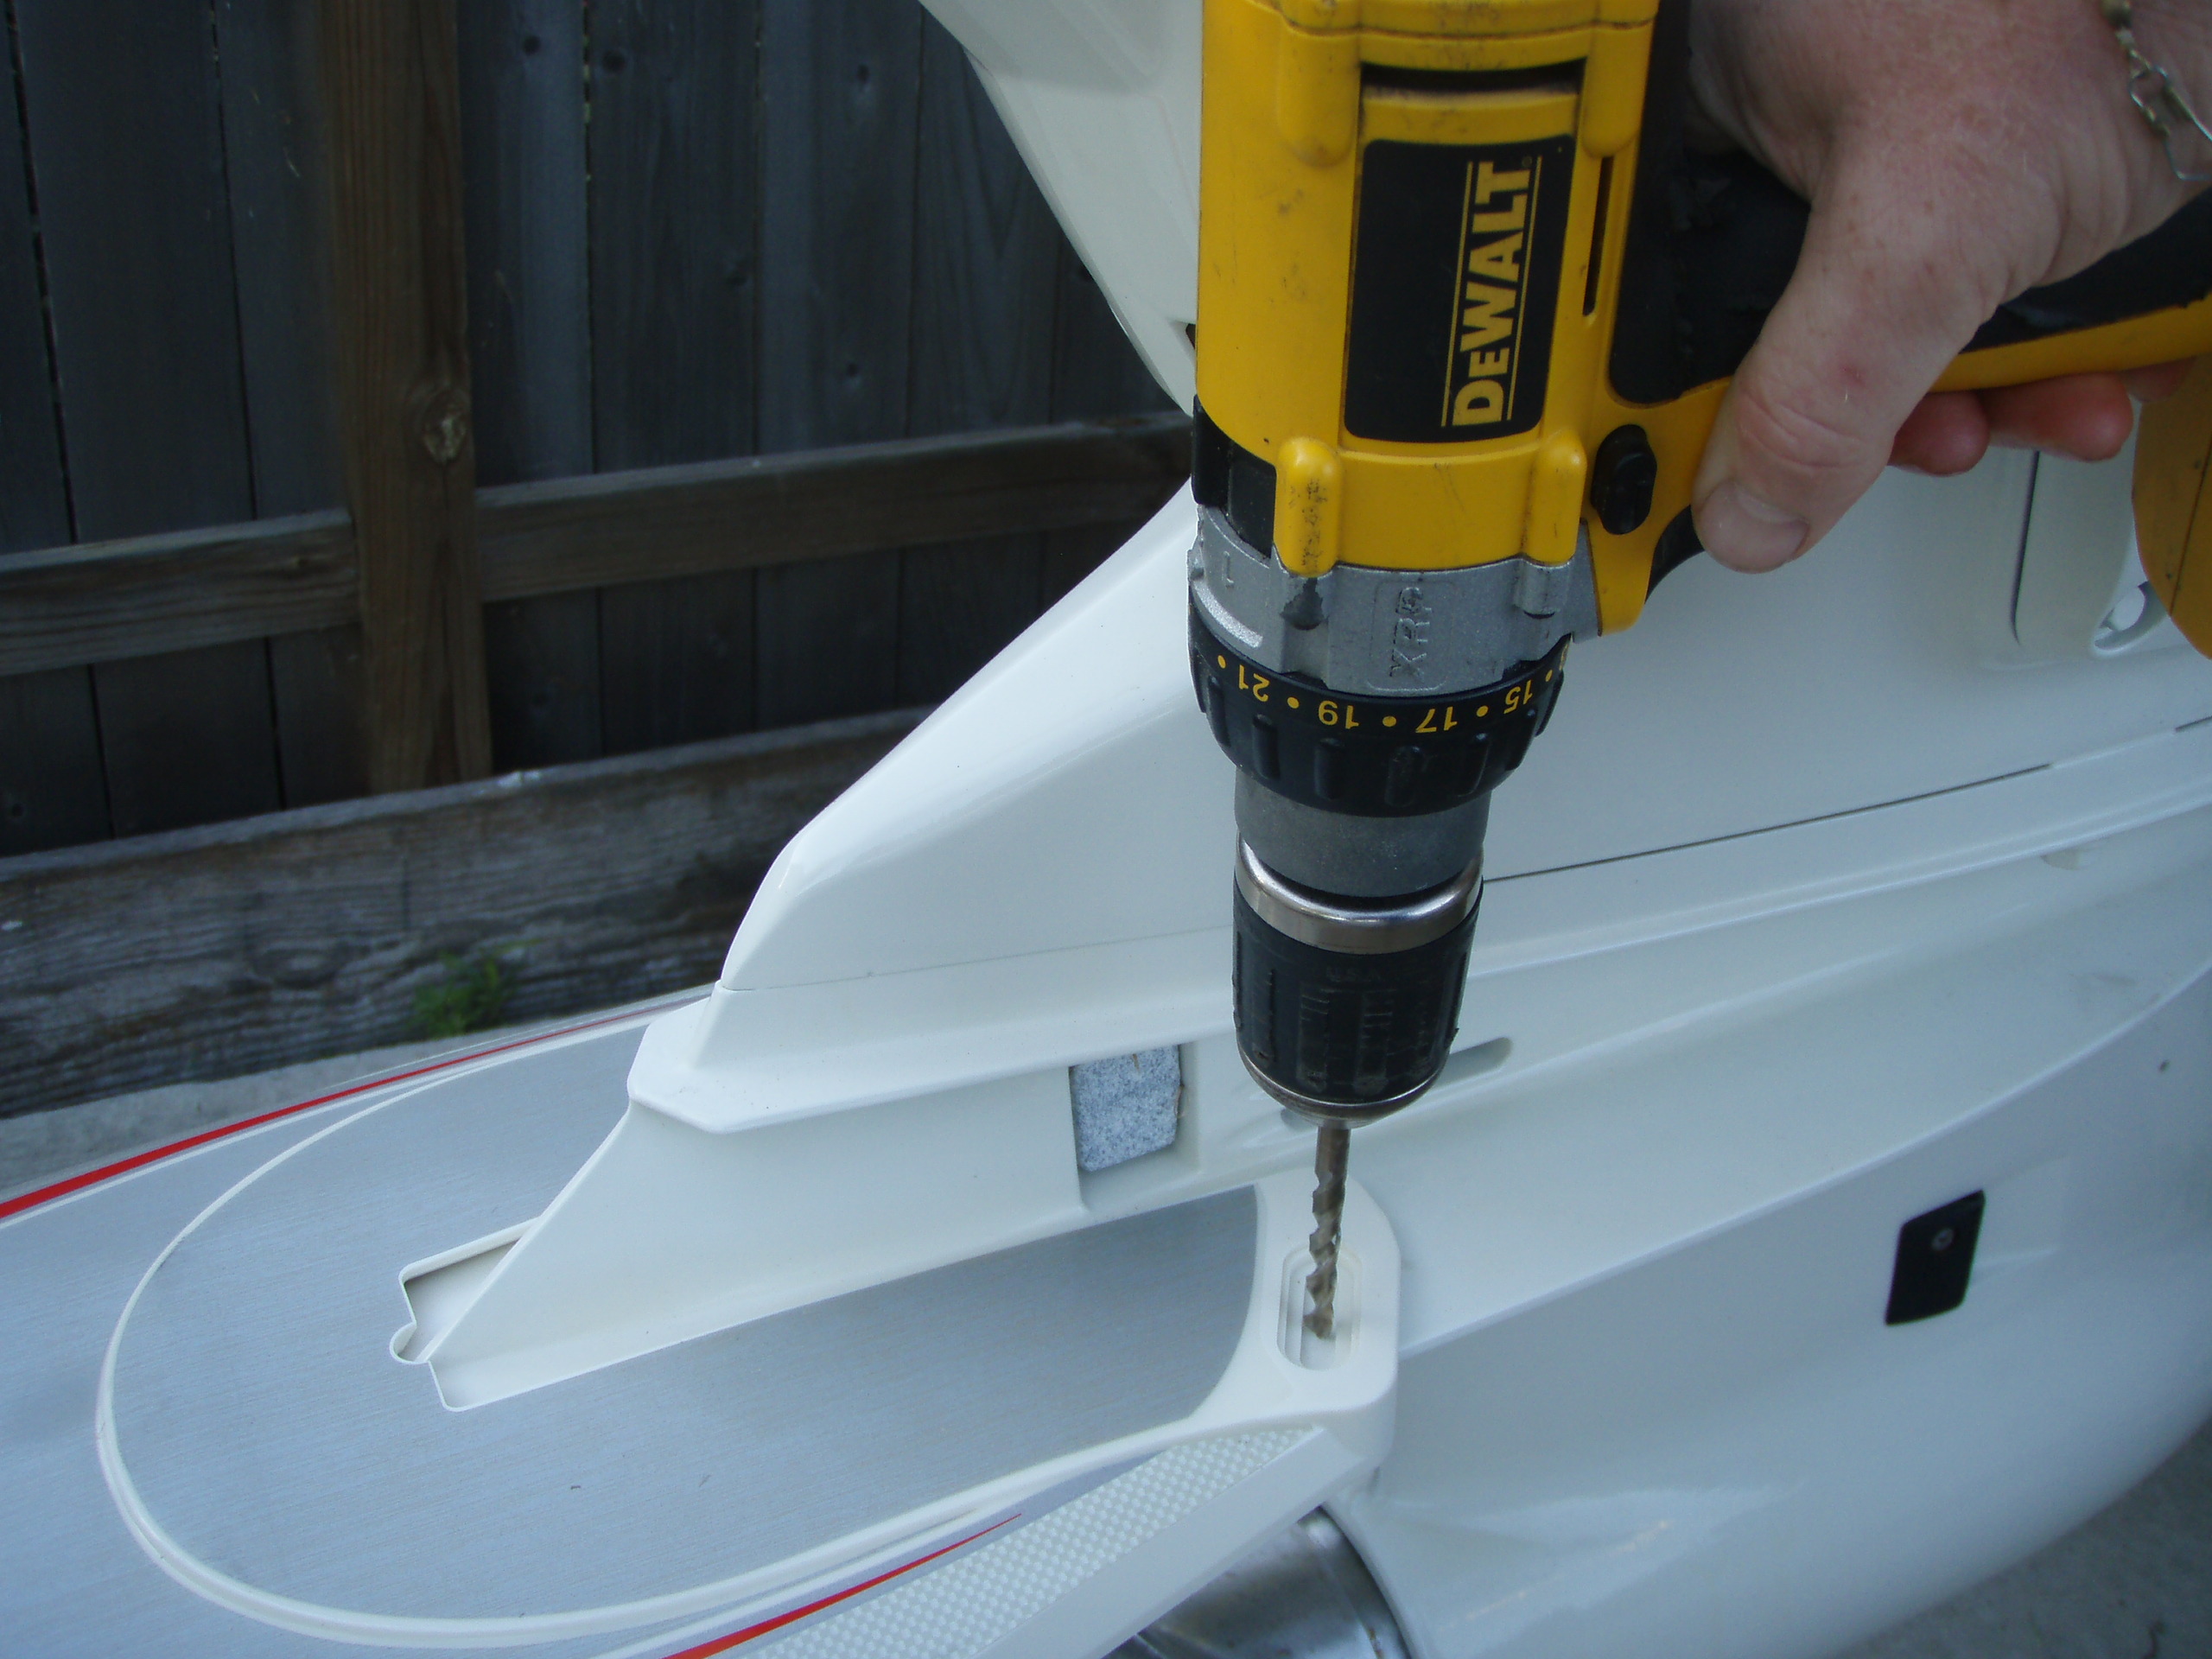
Use care to not tighten too much as I did here. The tab plate cracked. I pulled it back off and repaired it with a little JB Weld on both sides. Even though it is advertised as a "no drill" install, I felt the only way to ensure it stayed on was to use the 2 provided screws and nuts. Pop the cover plates over the screws and you are good to go. I would recommend a little epoxy to hold the screw covers on. I lost mine on the second run but Jon at Marine -Dynamics jon@marine-dynamics.com sent me out replacements right away. You should not need to ever remove the foil so I don't expect the glue to be a problem.
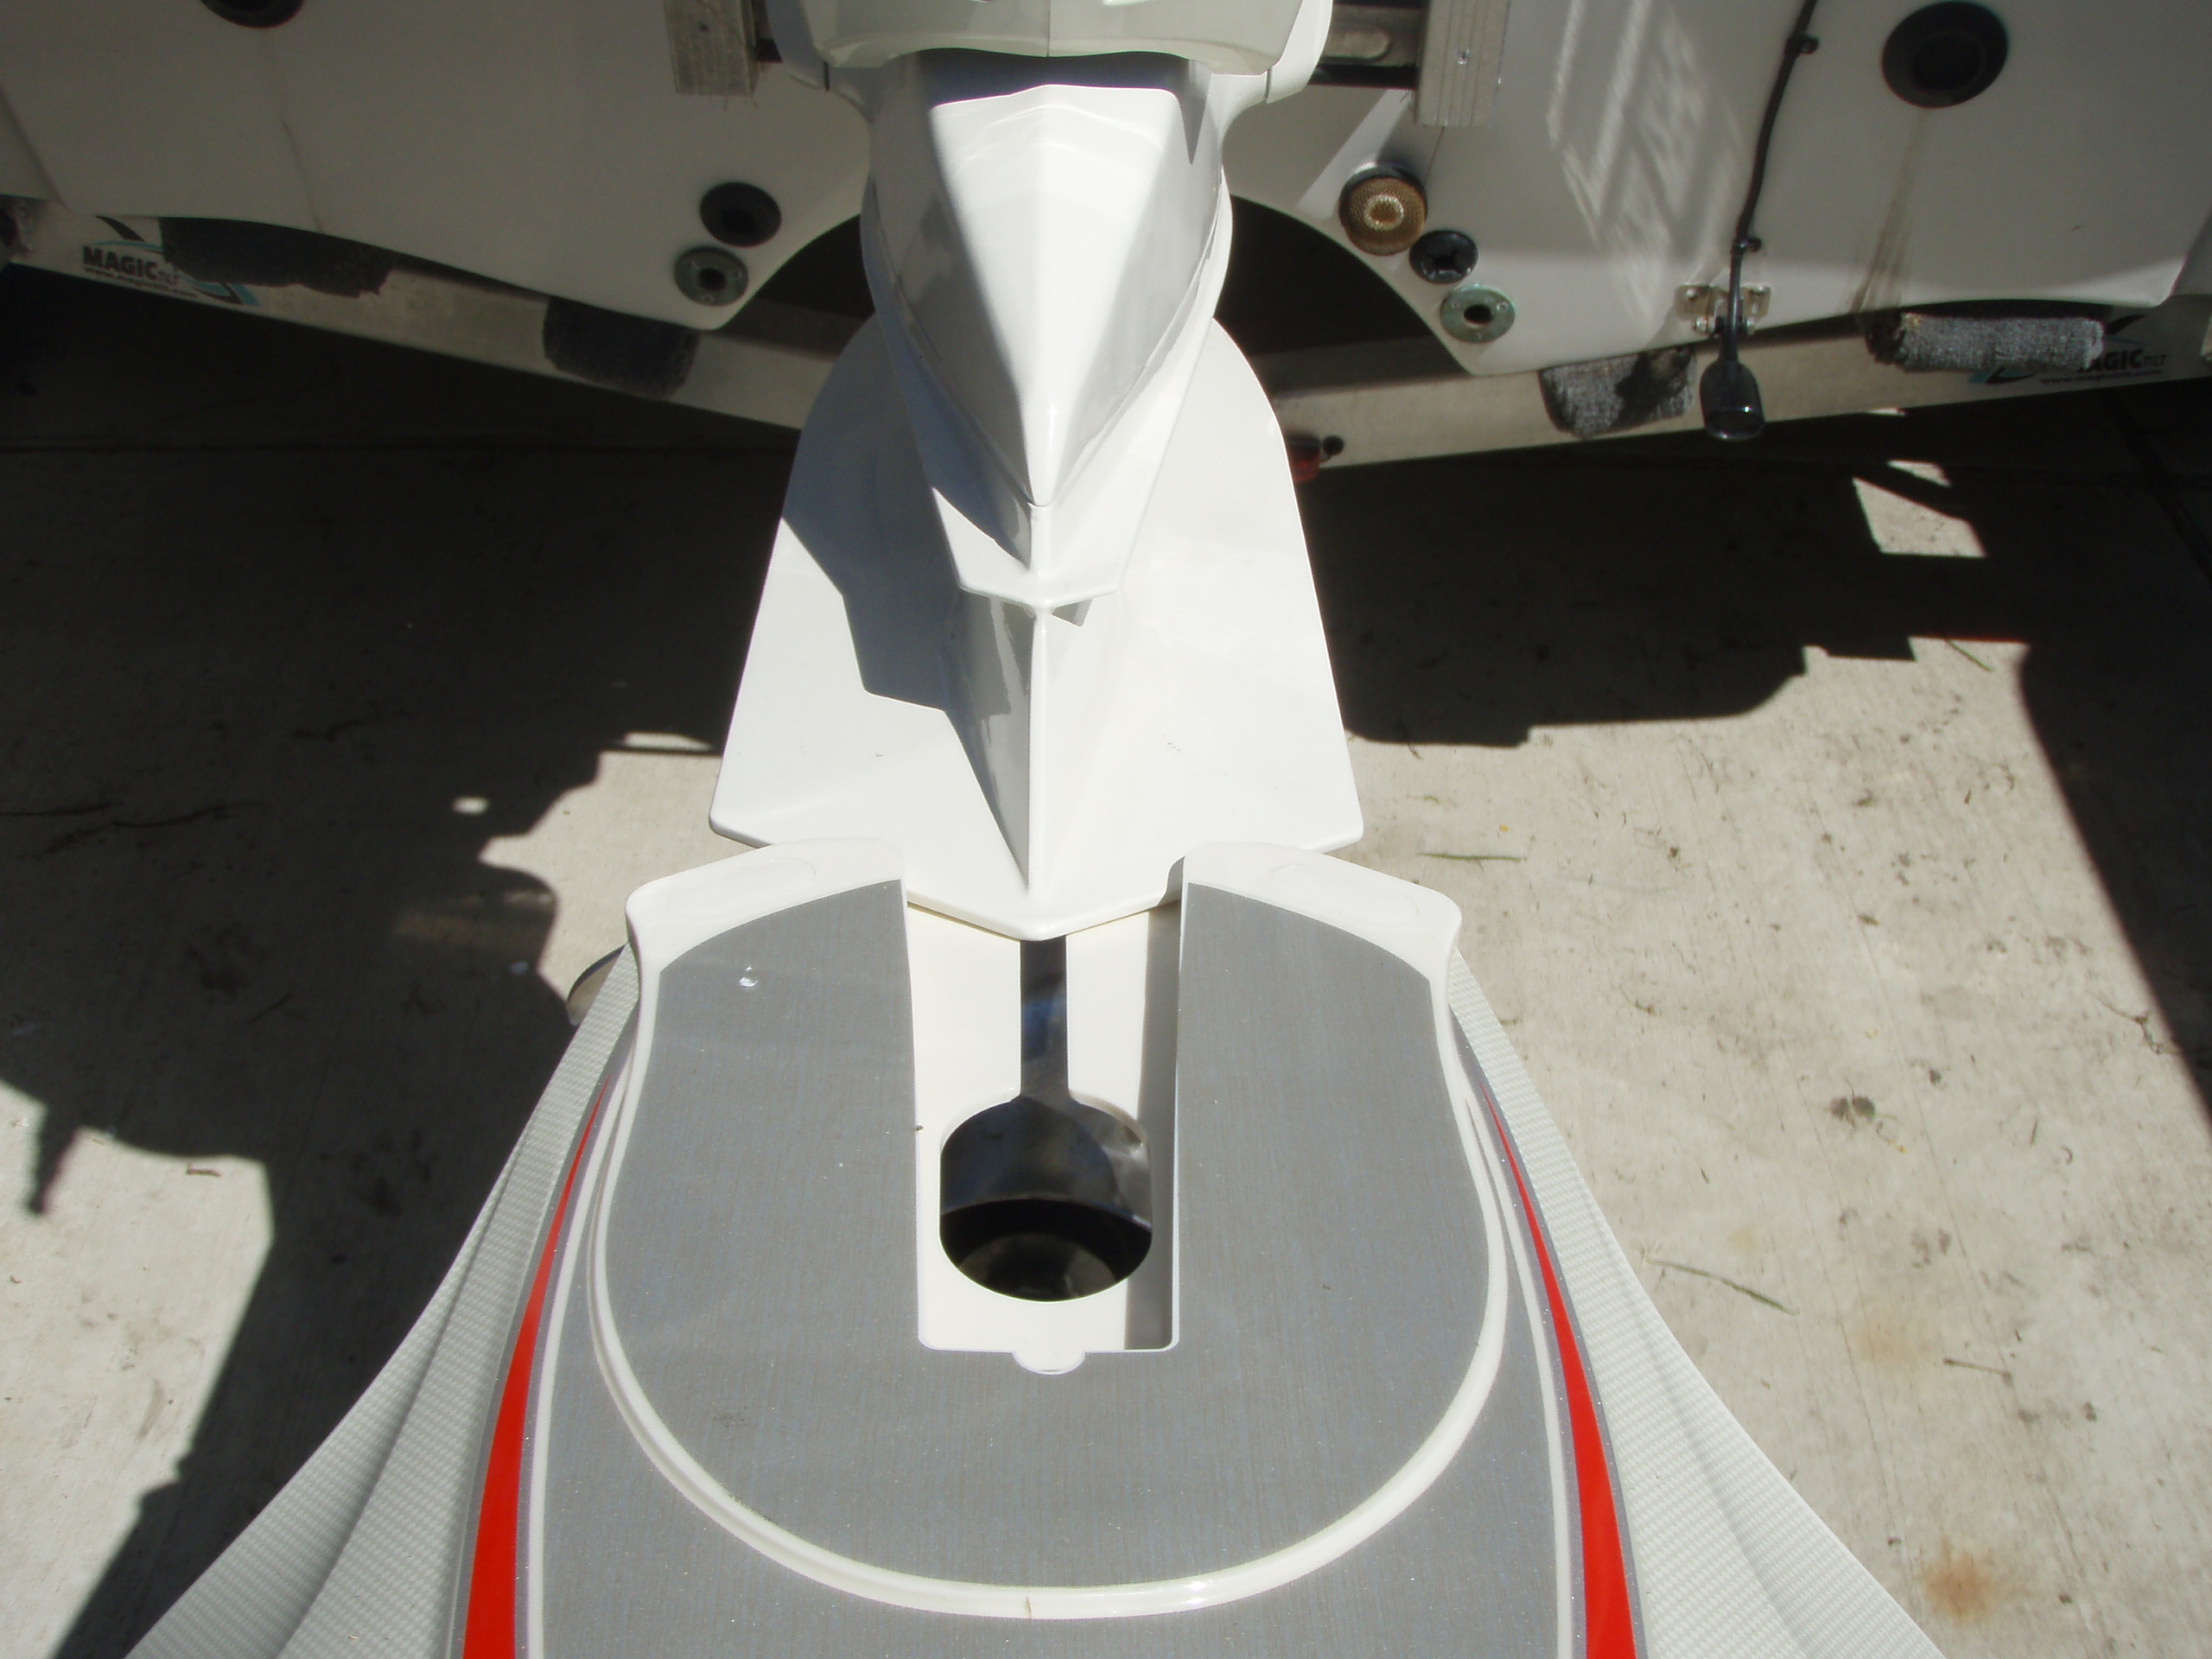
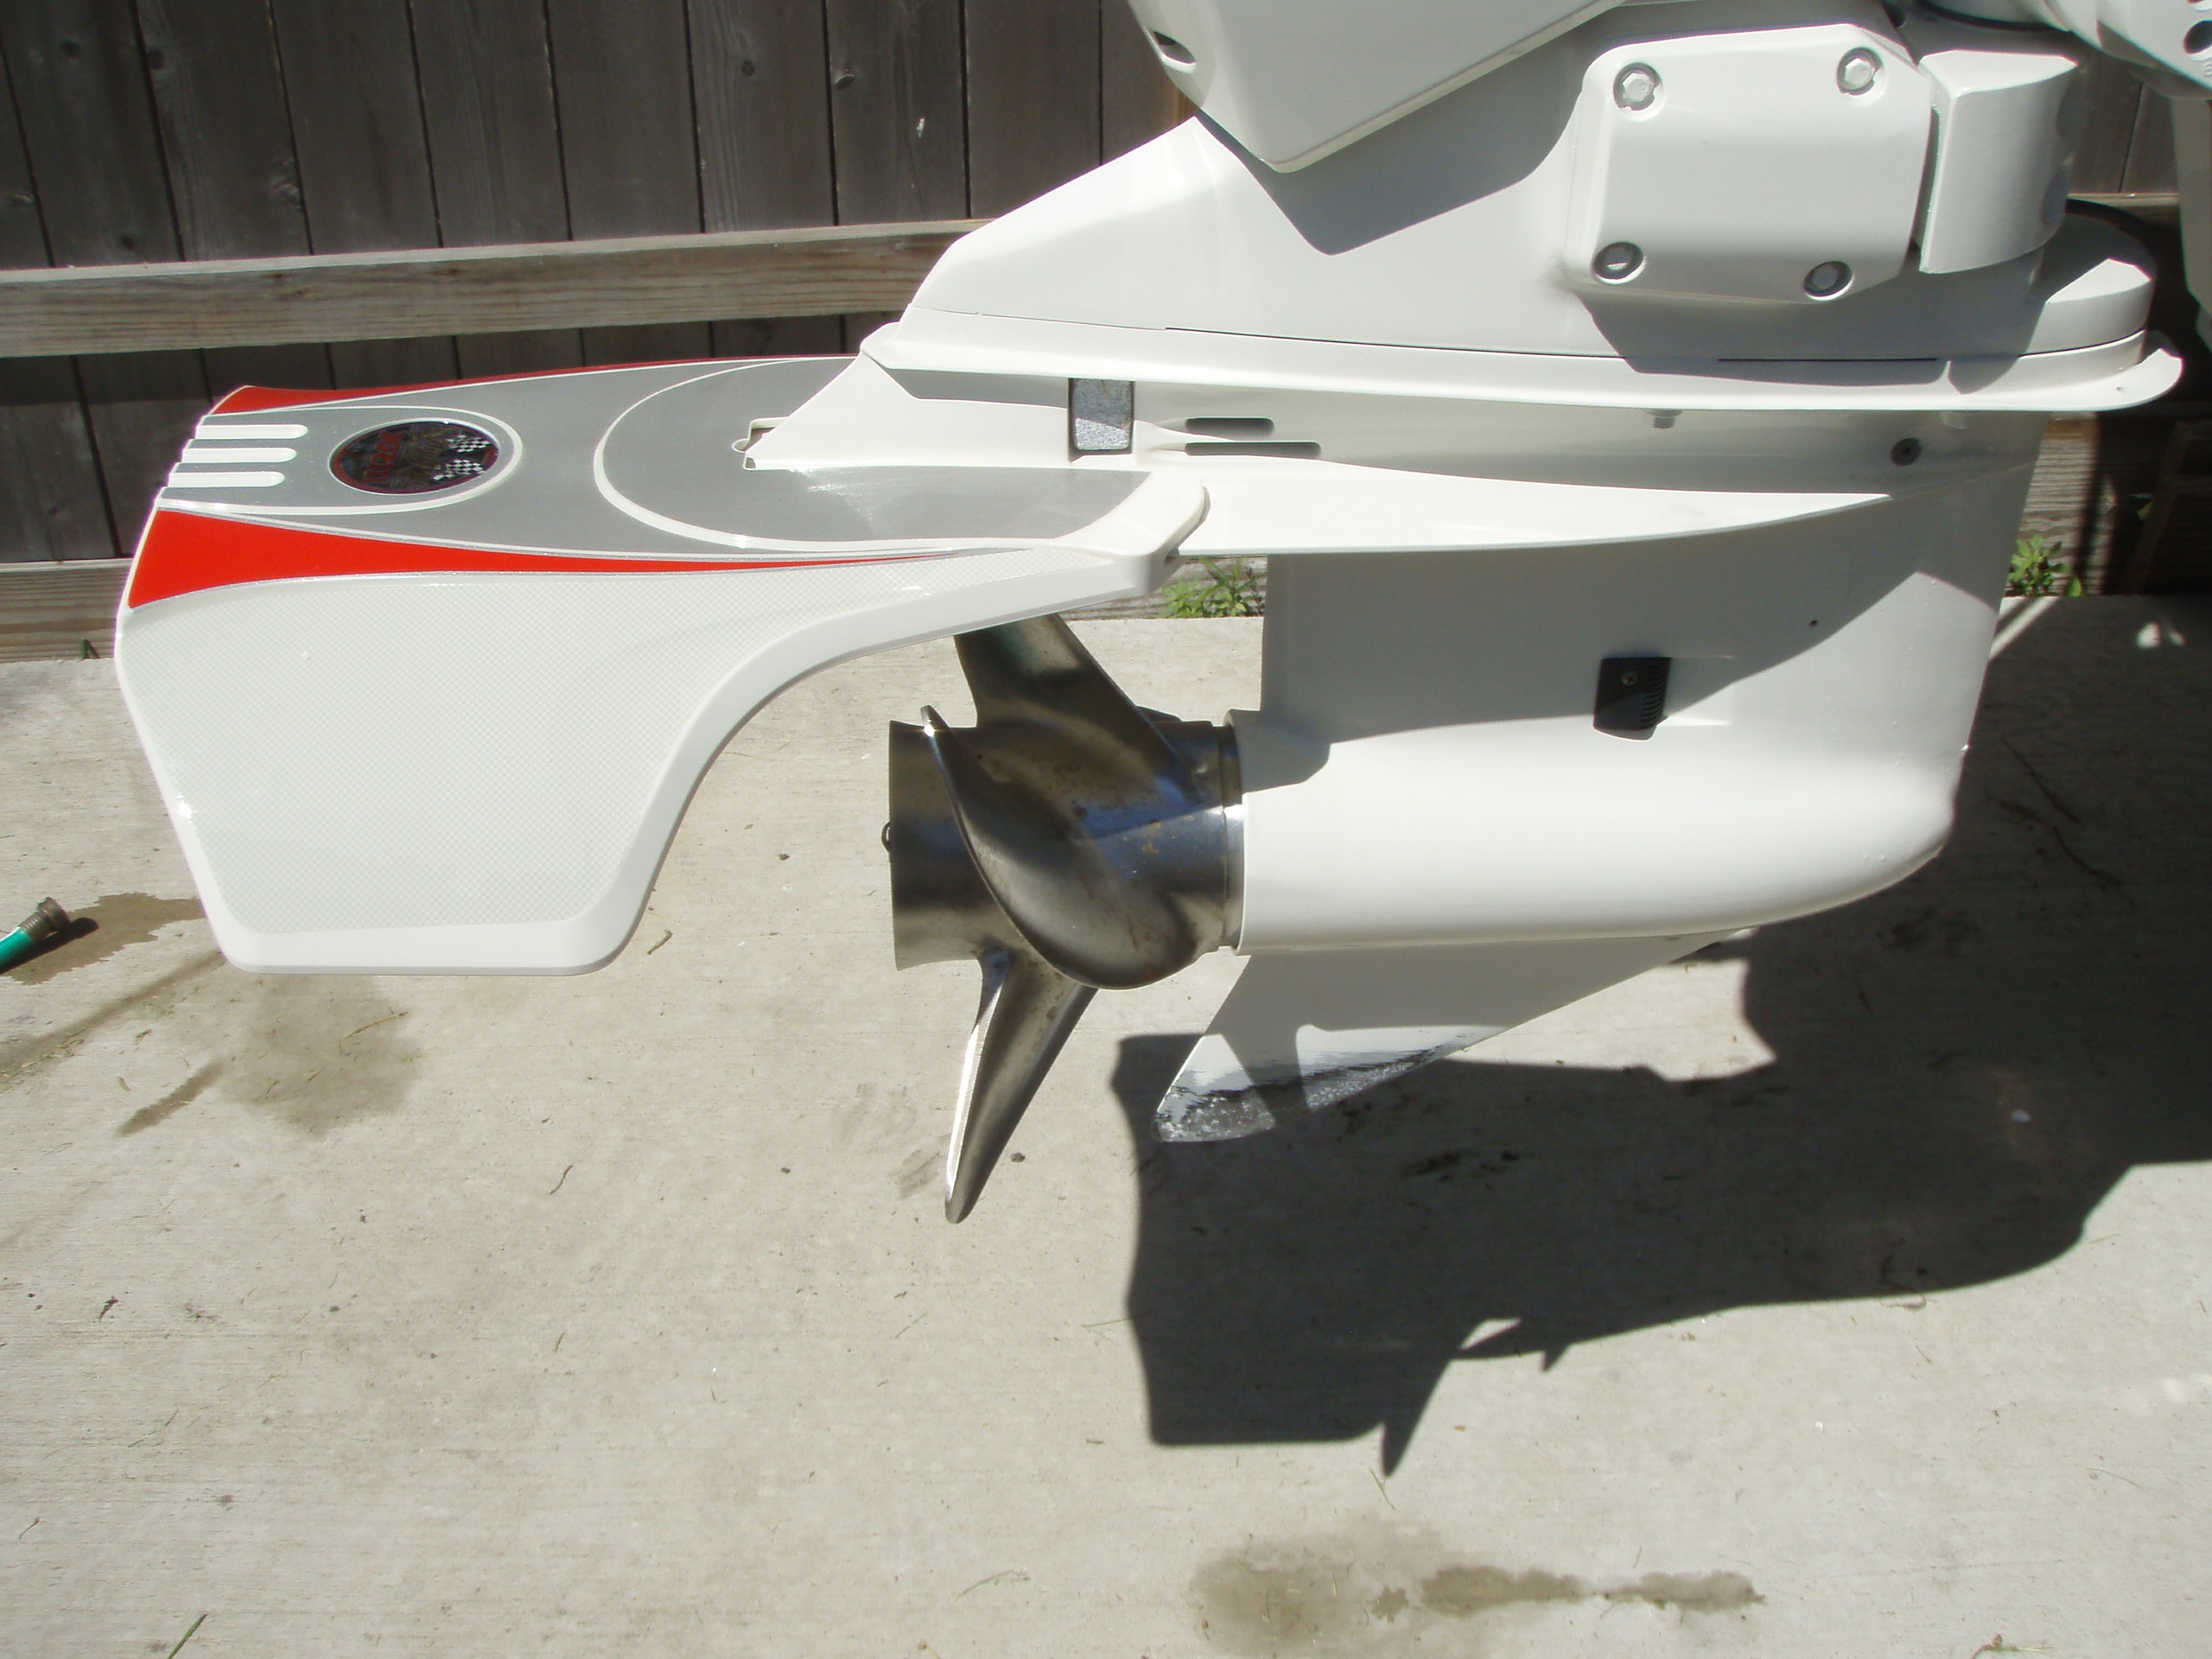
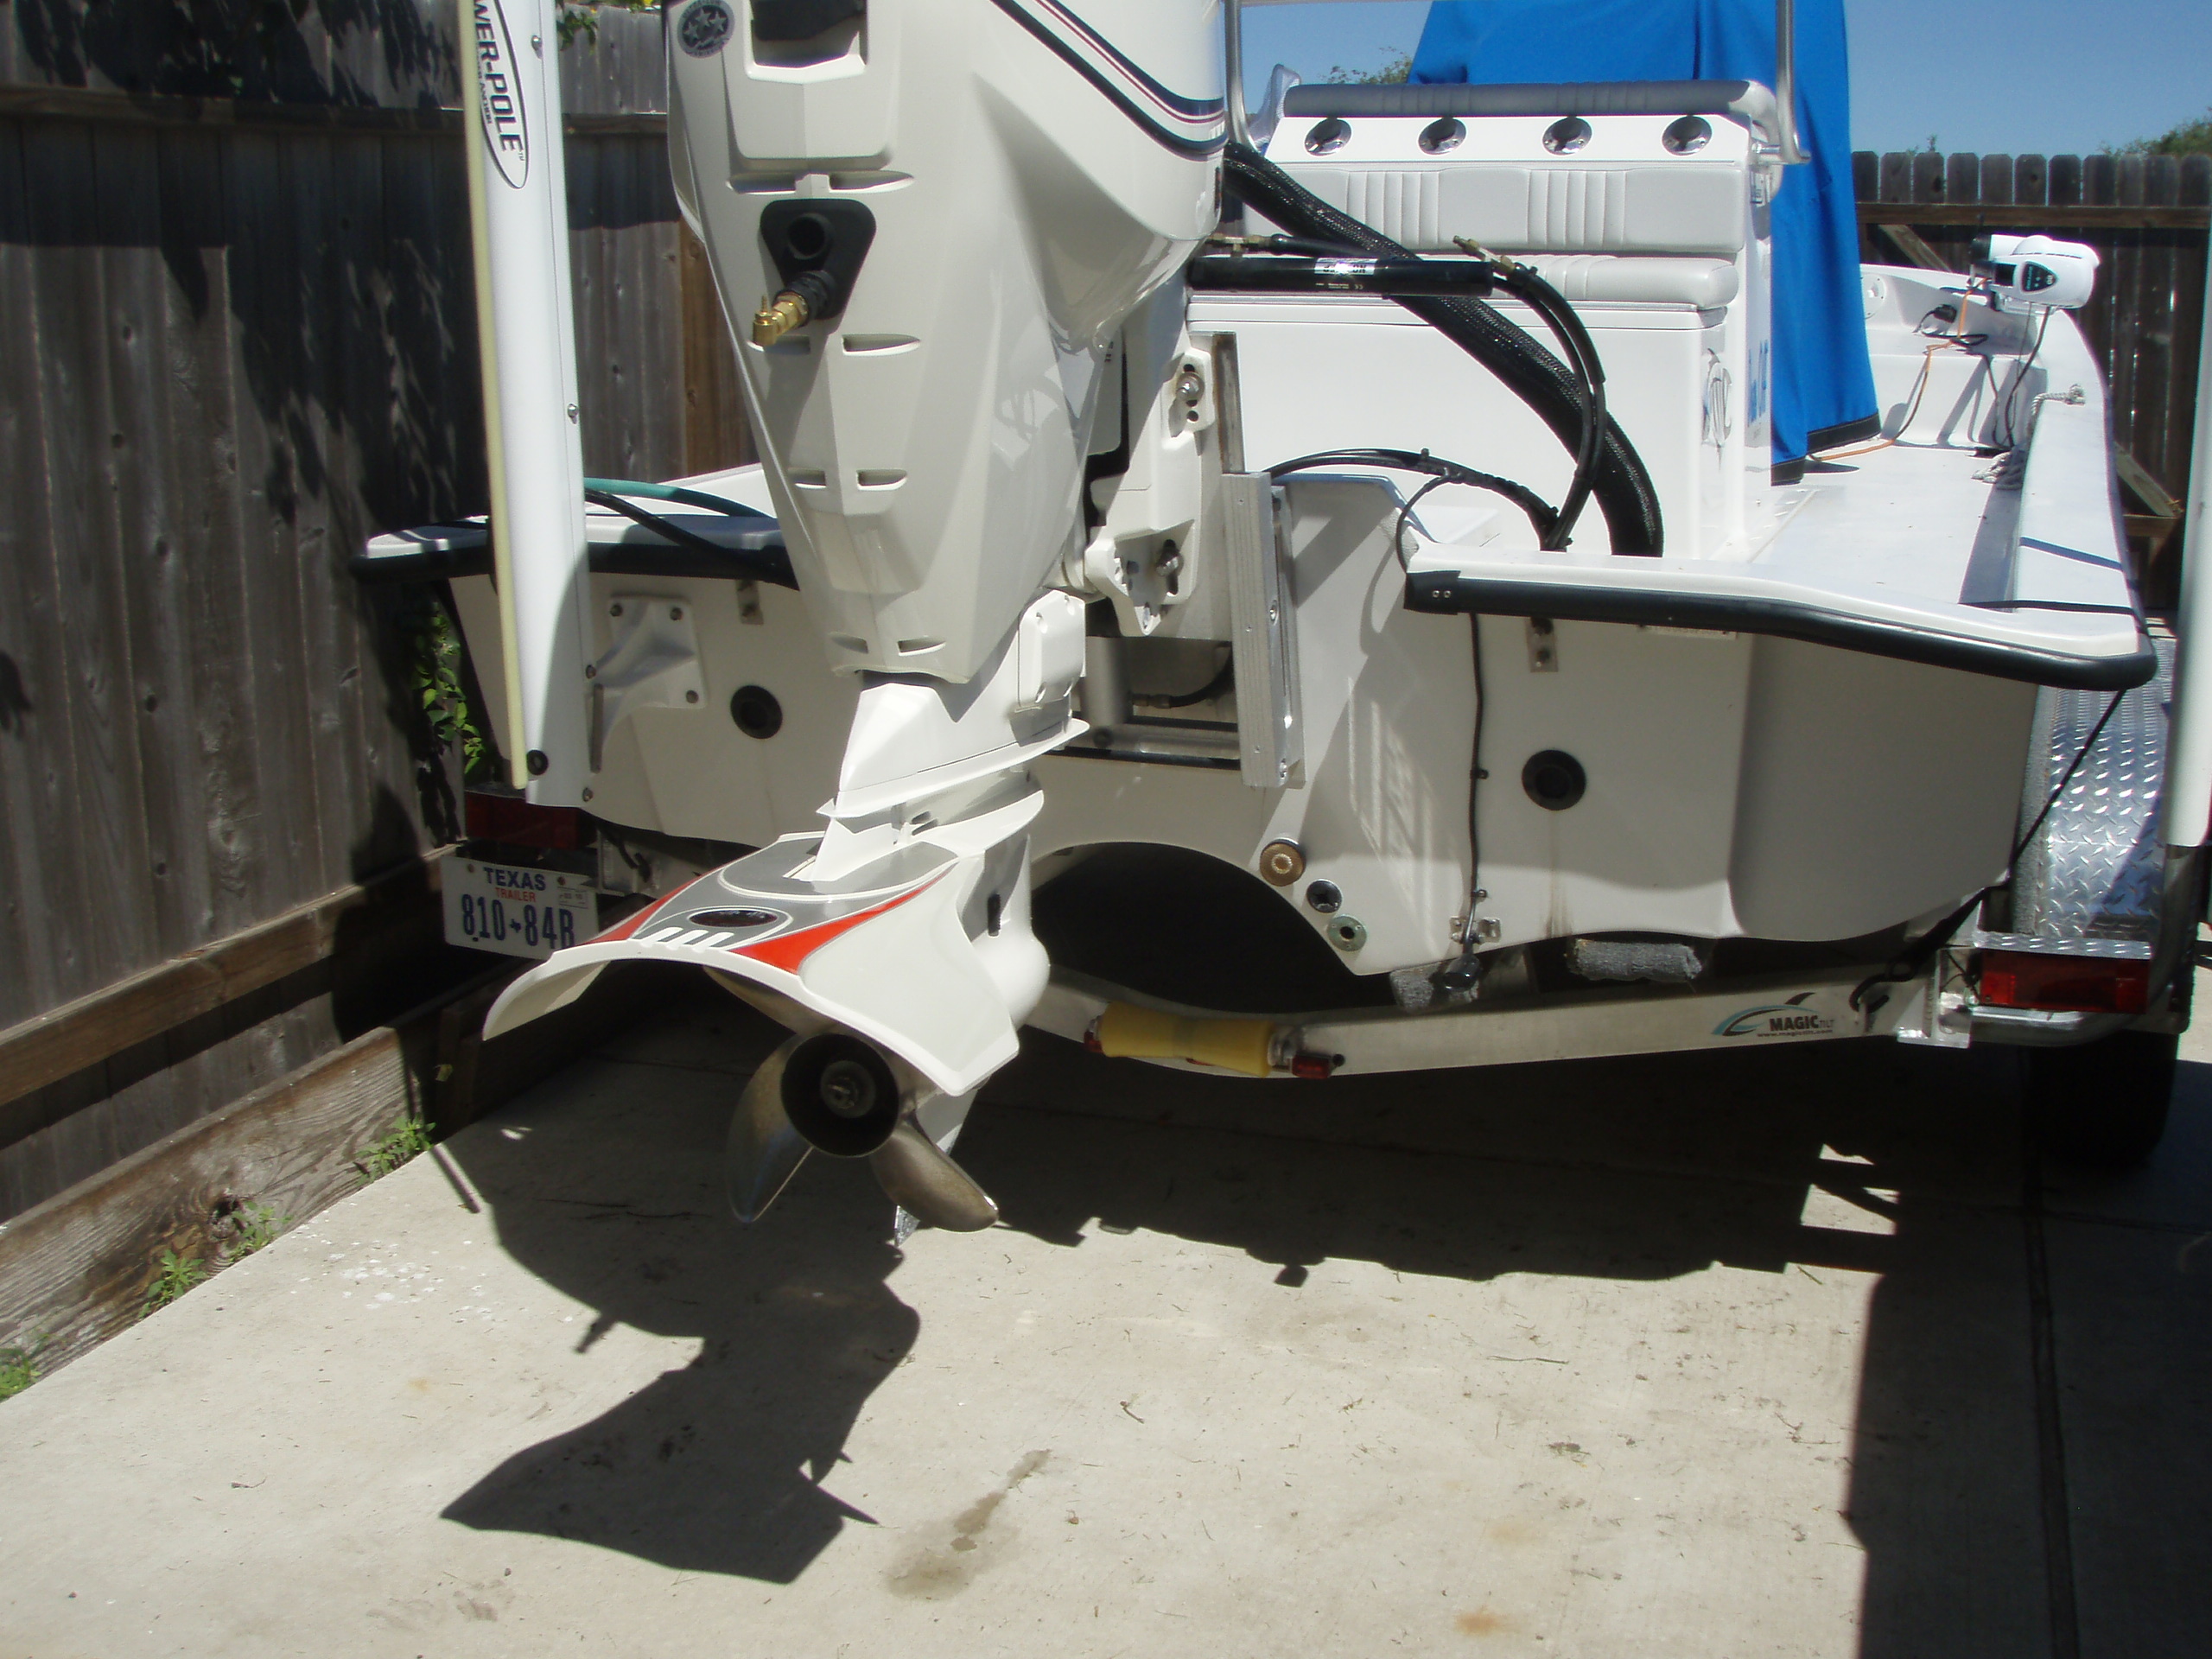
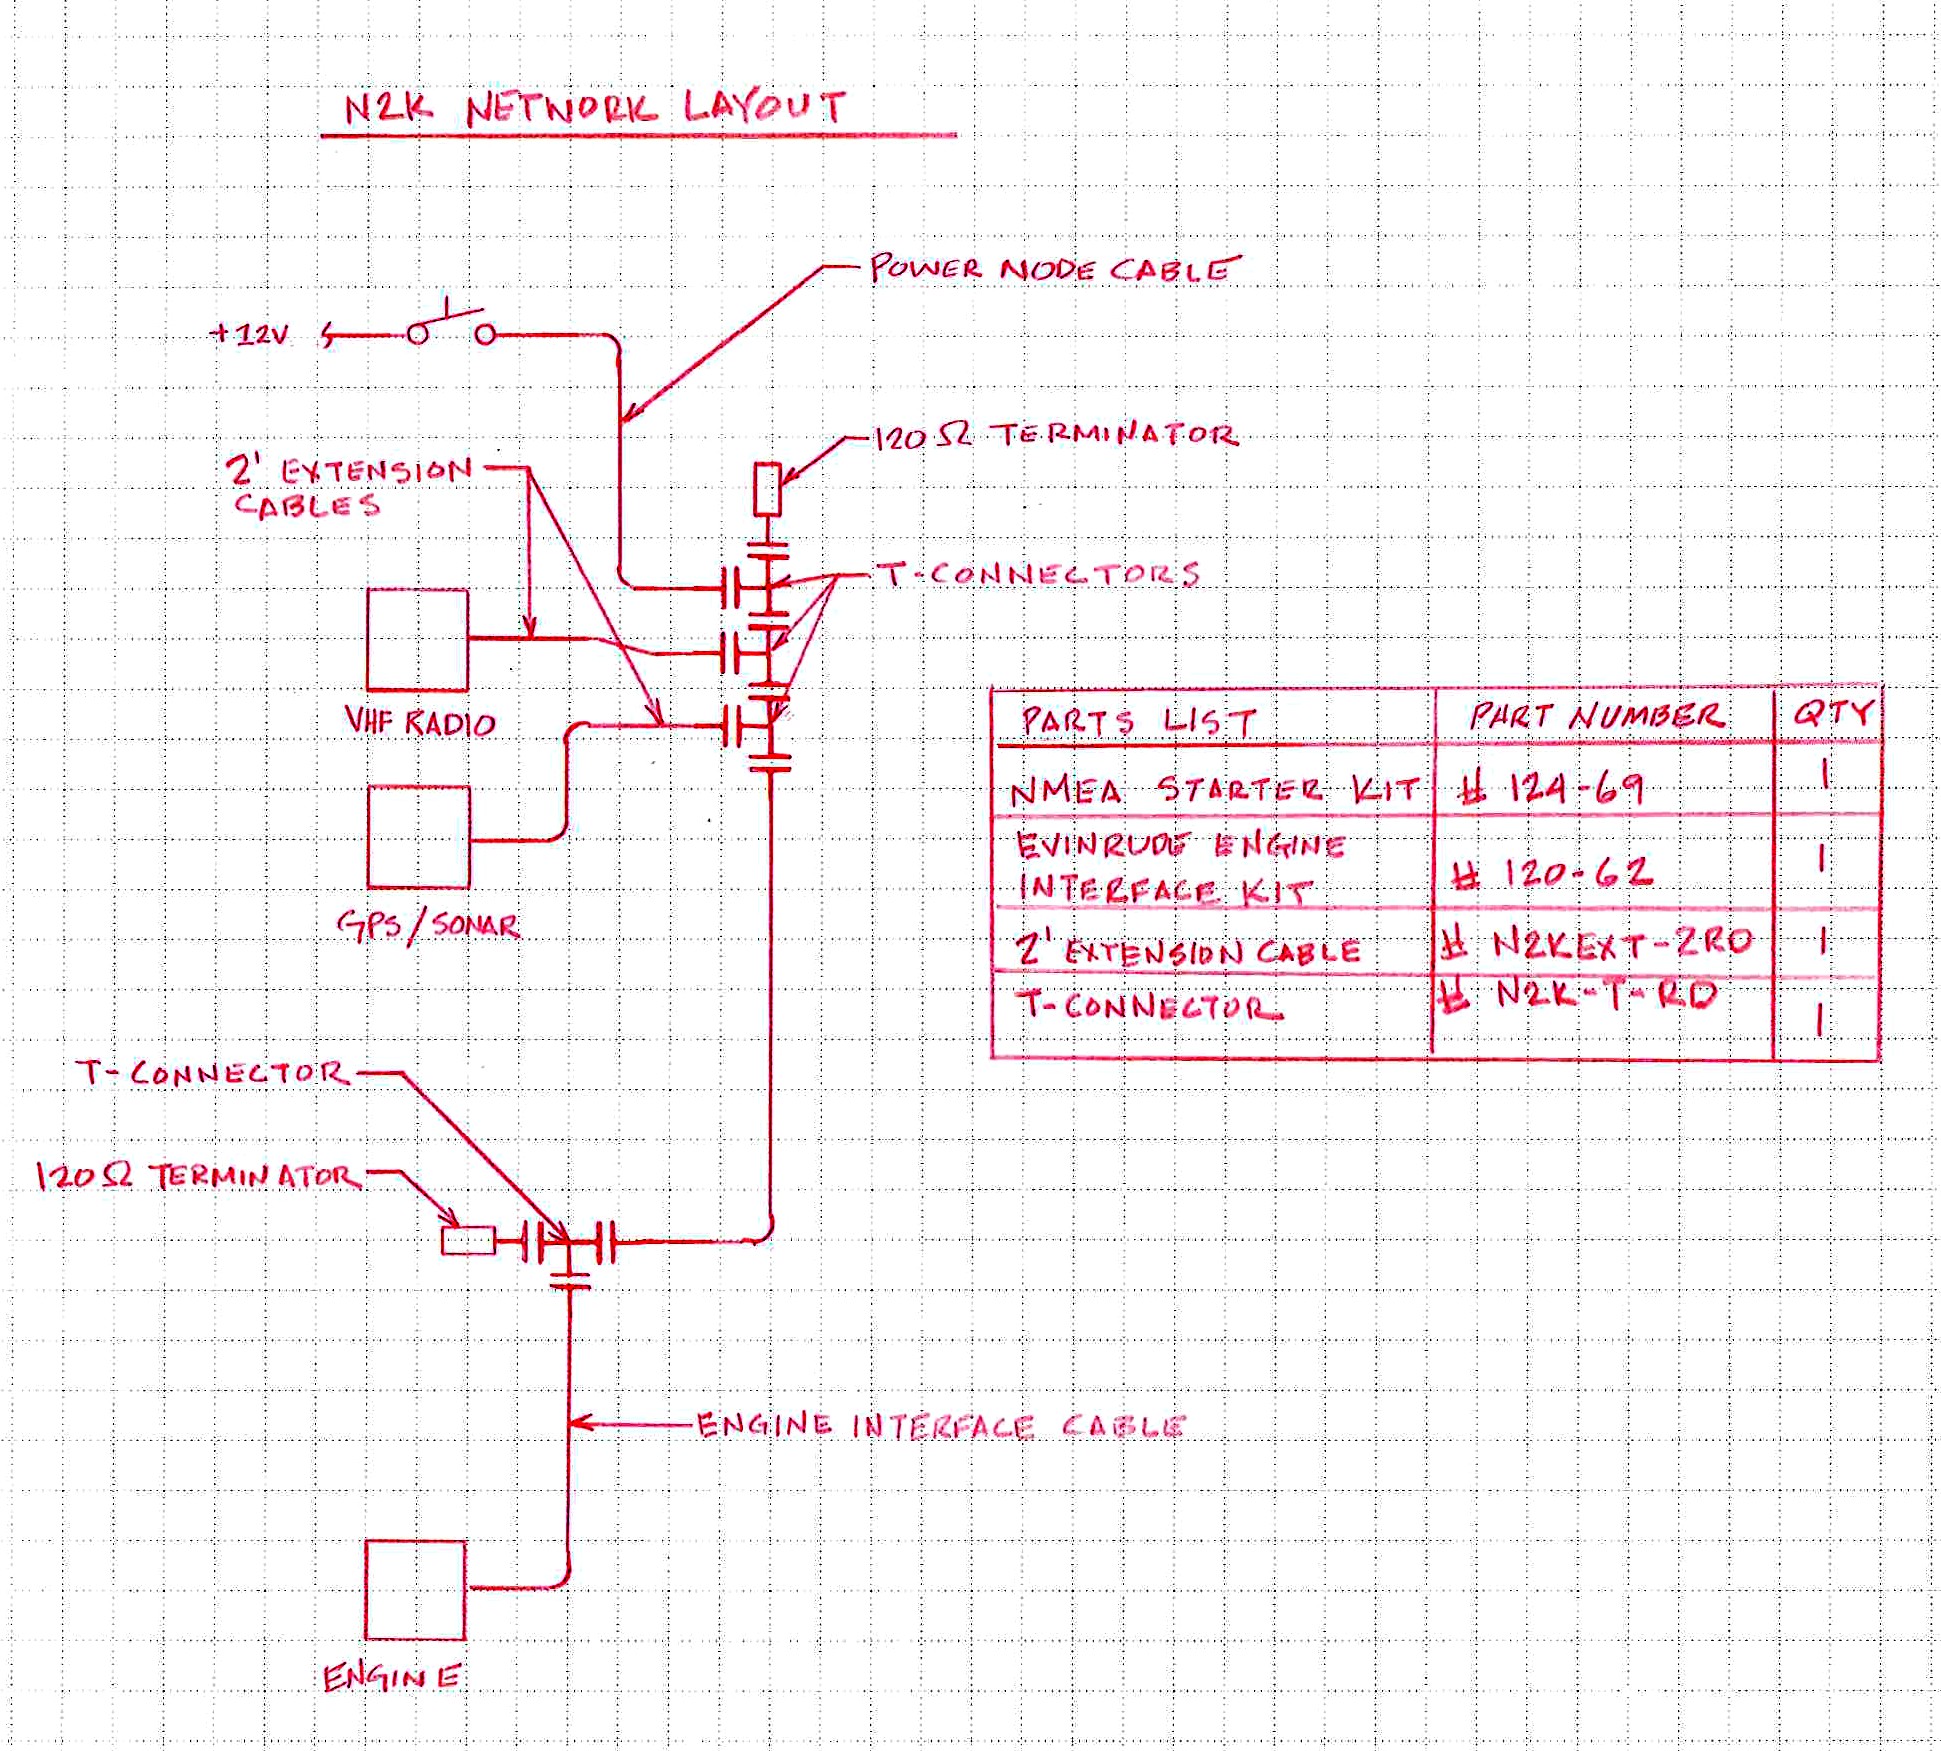
Here a couple of shots of the finished product. I will post a review as to the performance as soon as I have enough run time. Installing a NMEA 2000 or NMEA-2K Network I have a new Lowrance HDS5 sonar/GPS, a LVR-880 VHF radio, and a 2009 Evinrude E-tec 150 HP engine. To get all these devices talking together, I needed to install a network. There are a lot of options out there but the simplest was the NEMA-2K (Red) network. Don't let the lack of info out there fool you. It's because it is as easy as it sounds you just hook up the cables and it talks together! And don't let the fact that the connectors are not RED worry you either. Some come Red and some Black. If they plug together they will work. Here is a sketch of the network as I laid it out and a list of parts. You would think that buying these from the Lowrance dealer, LEI-Extras, would be the way to go. My experience with them is that they take months to ship, if you need to talk to them plan on spending 20 minutes on hold, and they messed up my first order with them, causing a huge headache getting it straight. I ended up purchasing my engine cable and one other from Fish-Lectronics. I found them on e-Bay. Fast shipping and a fair price. I will do business with them again. Anyway on to the details: Sketch:
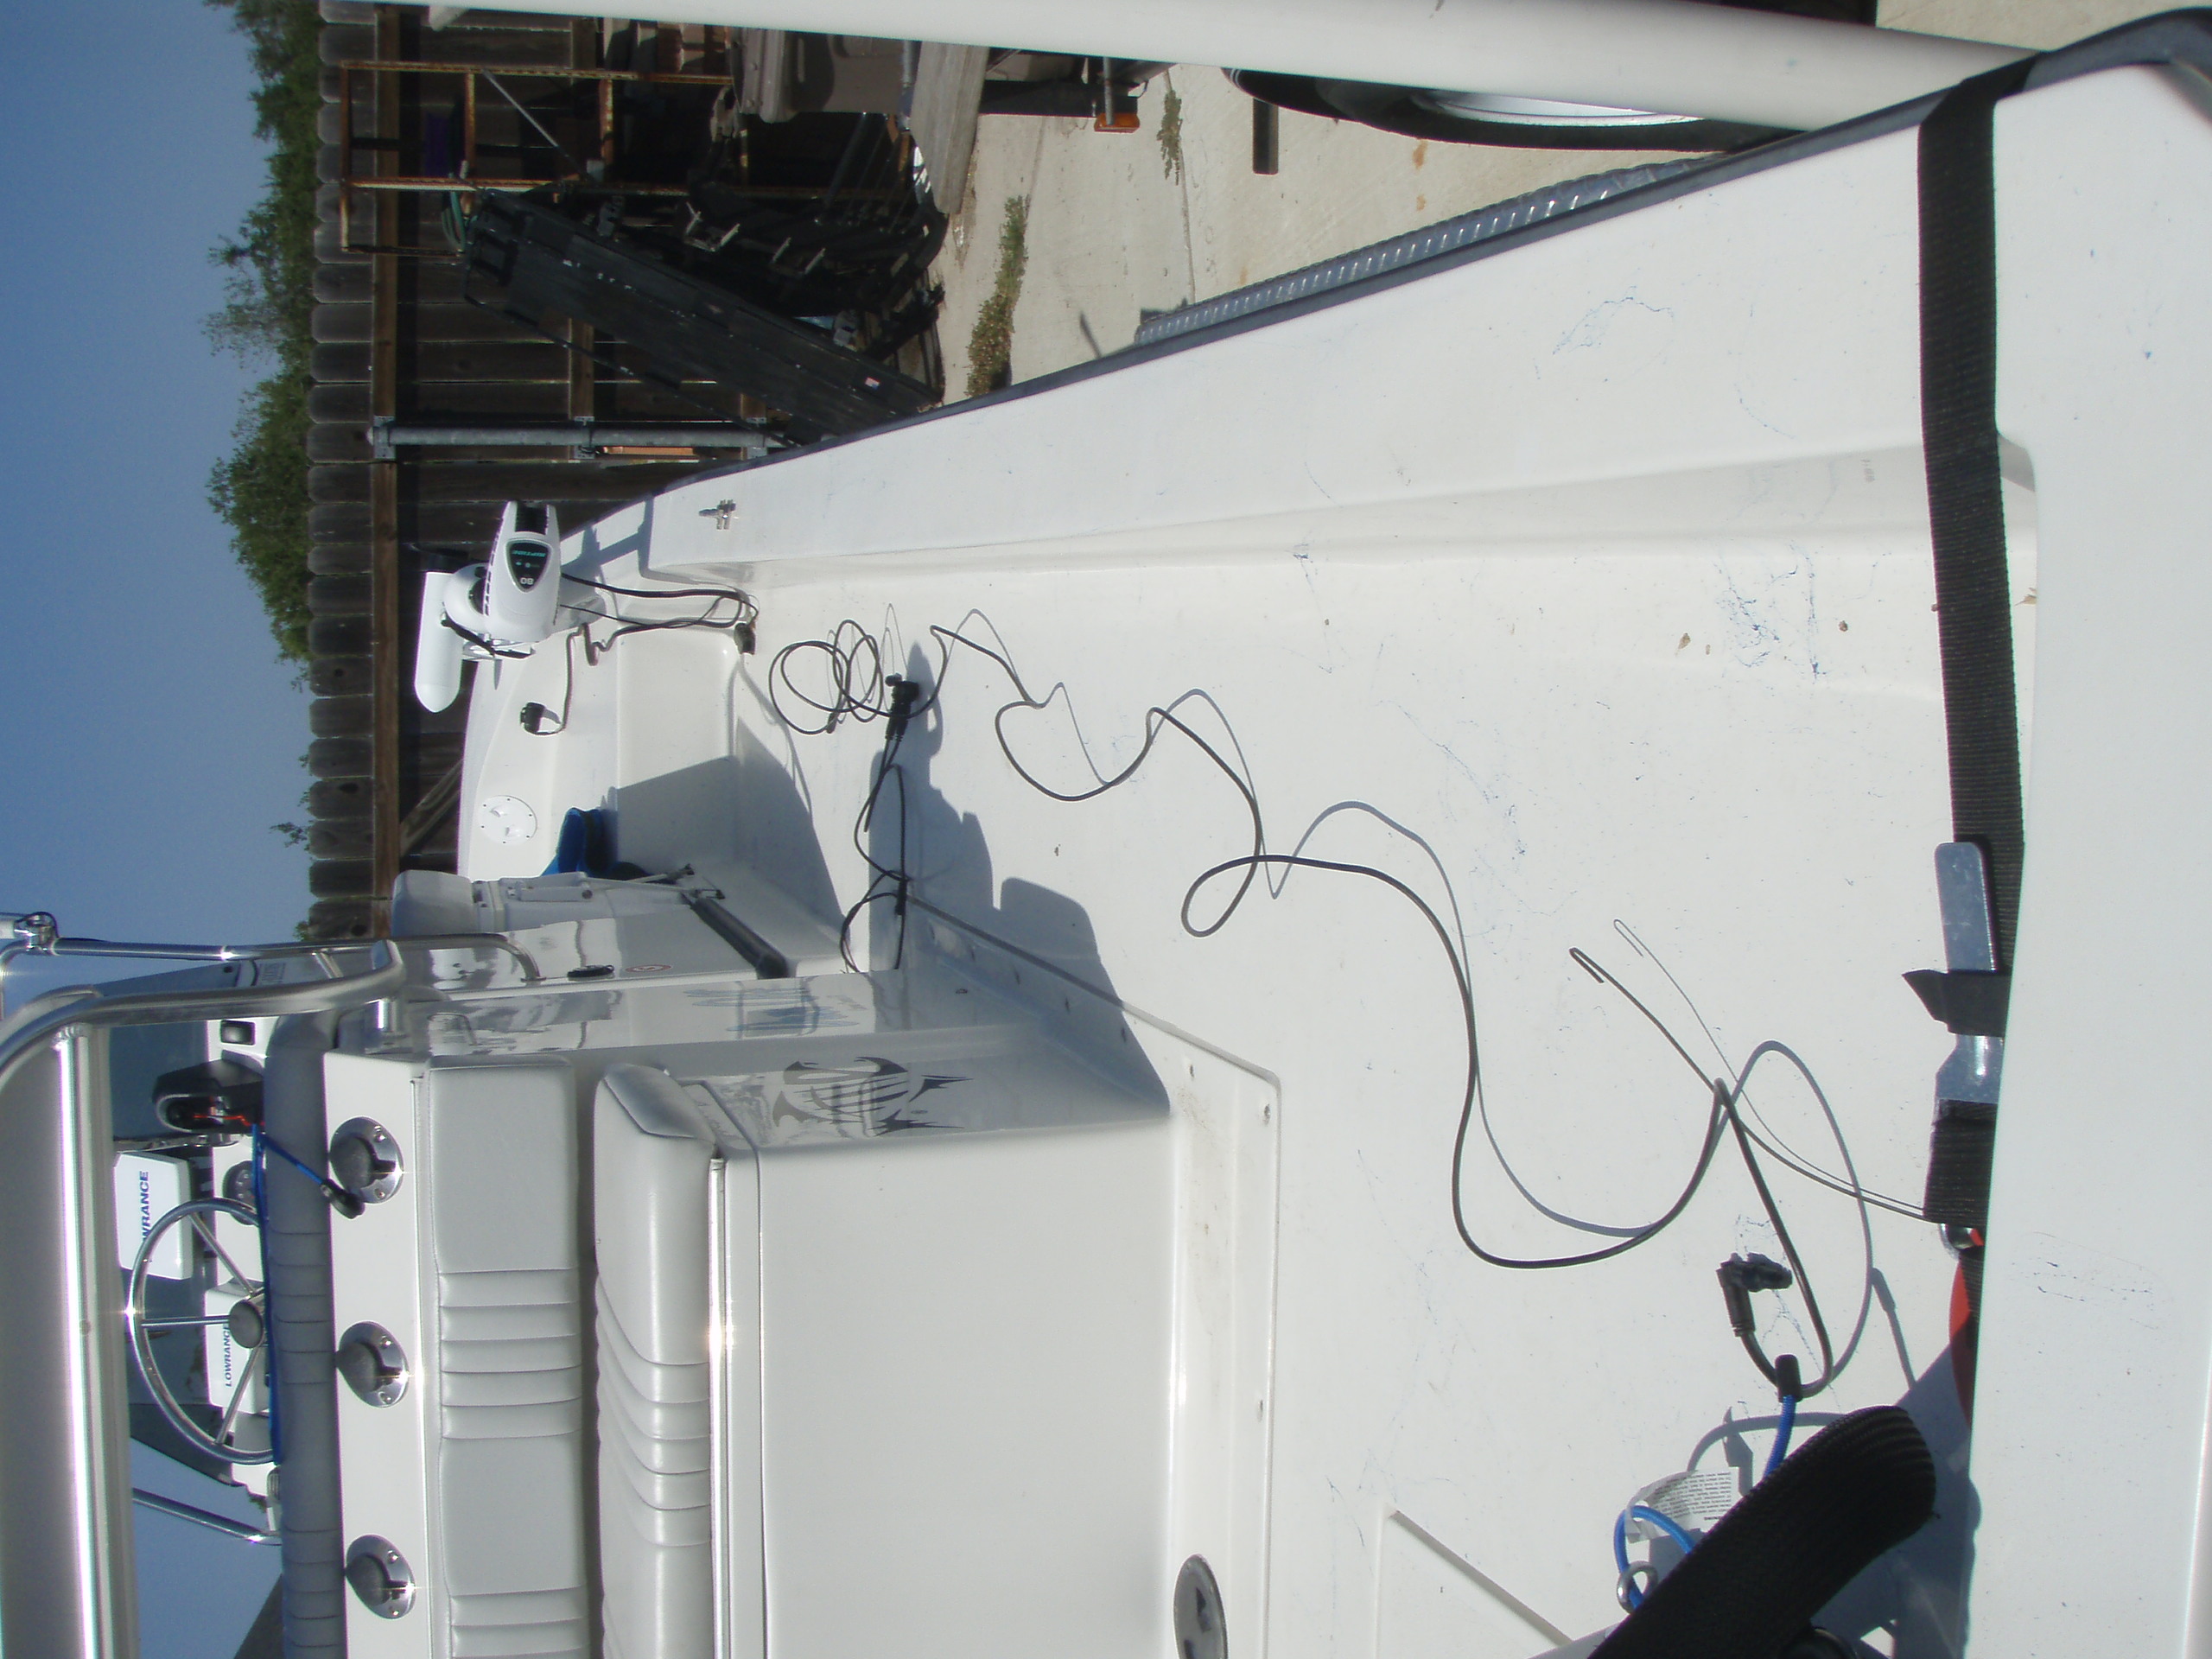
First thing I did was to lay everything out to be sure it was long enough.
Next was to run a fish tape from the back compartment to the center console.
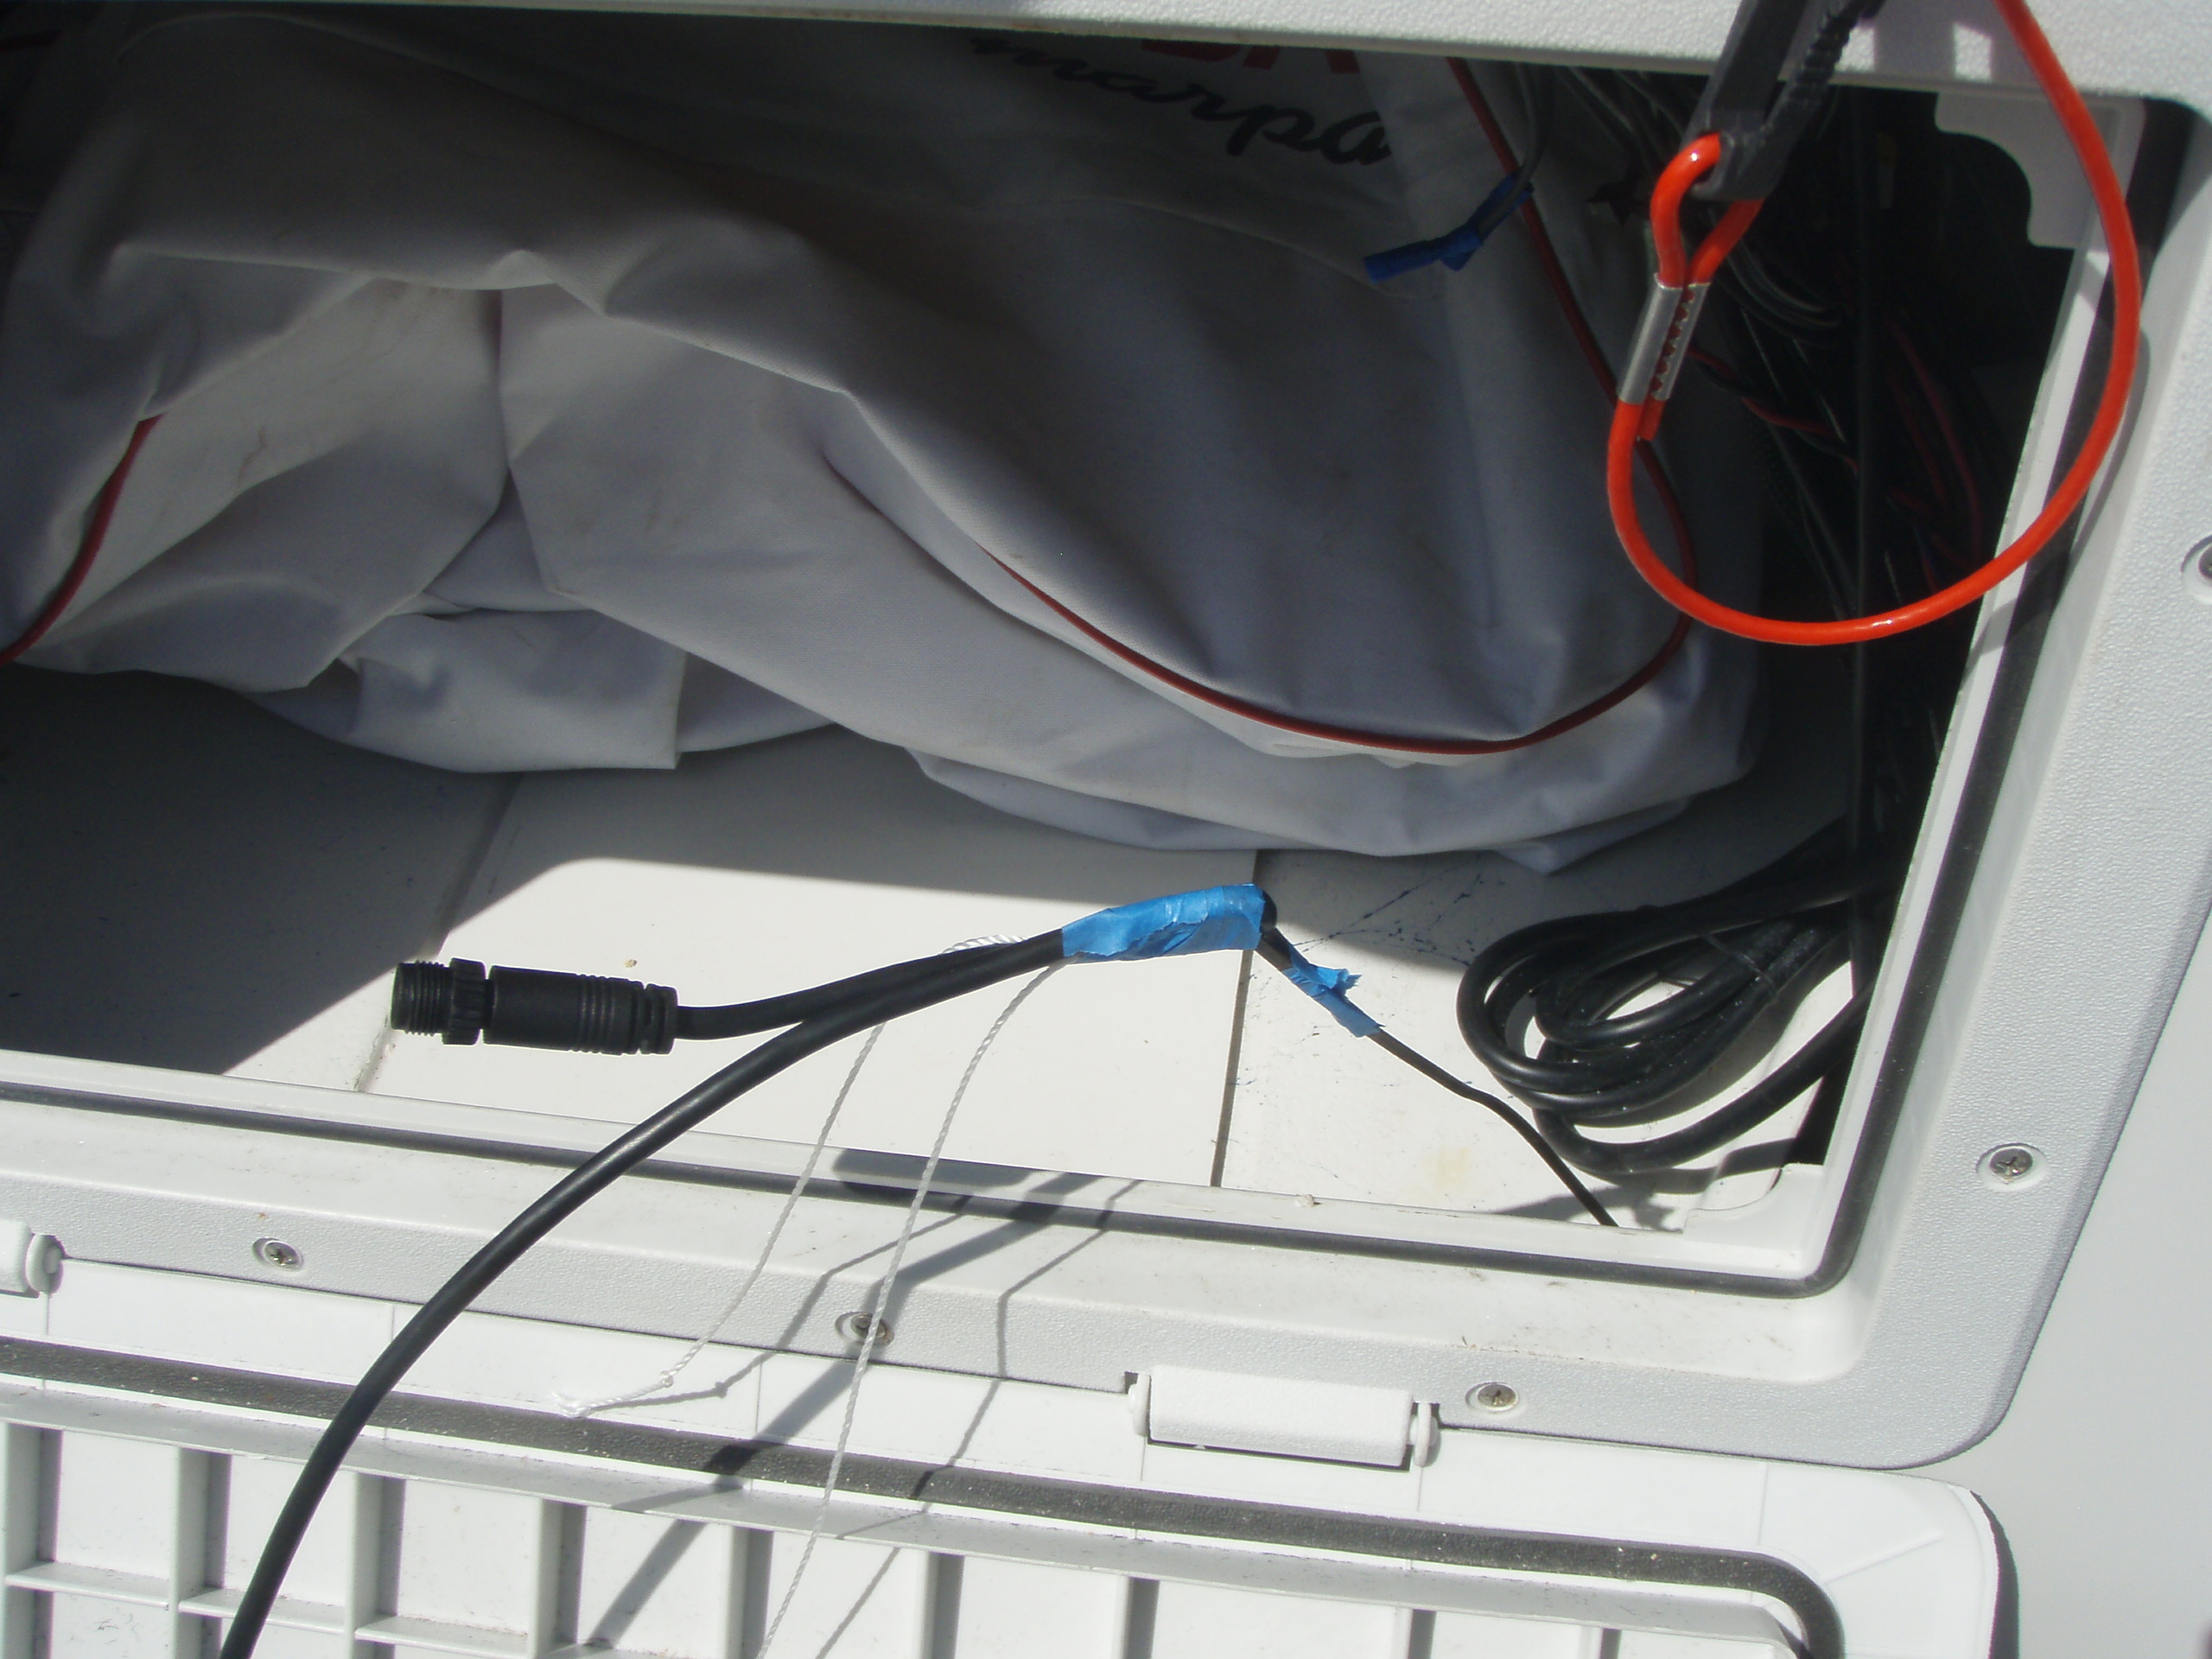
Fold the cable over the fish tape hook and wrap a little tape around it to keep it from coming off as you pull it through. I went ahead and pulled a piece of string too just in case I need to add something again later. I want to add a water wash down pump but that's another project. Carefully pull the cable back to the rear compartment.
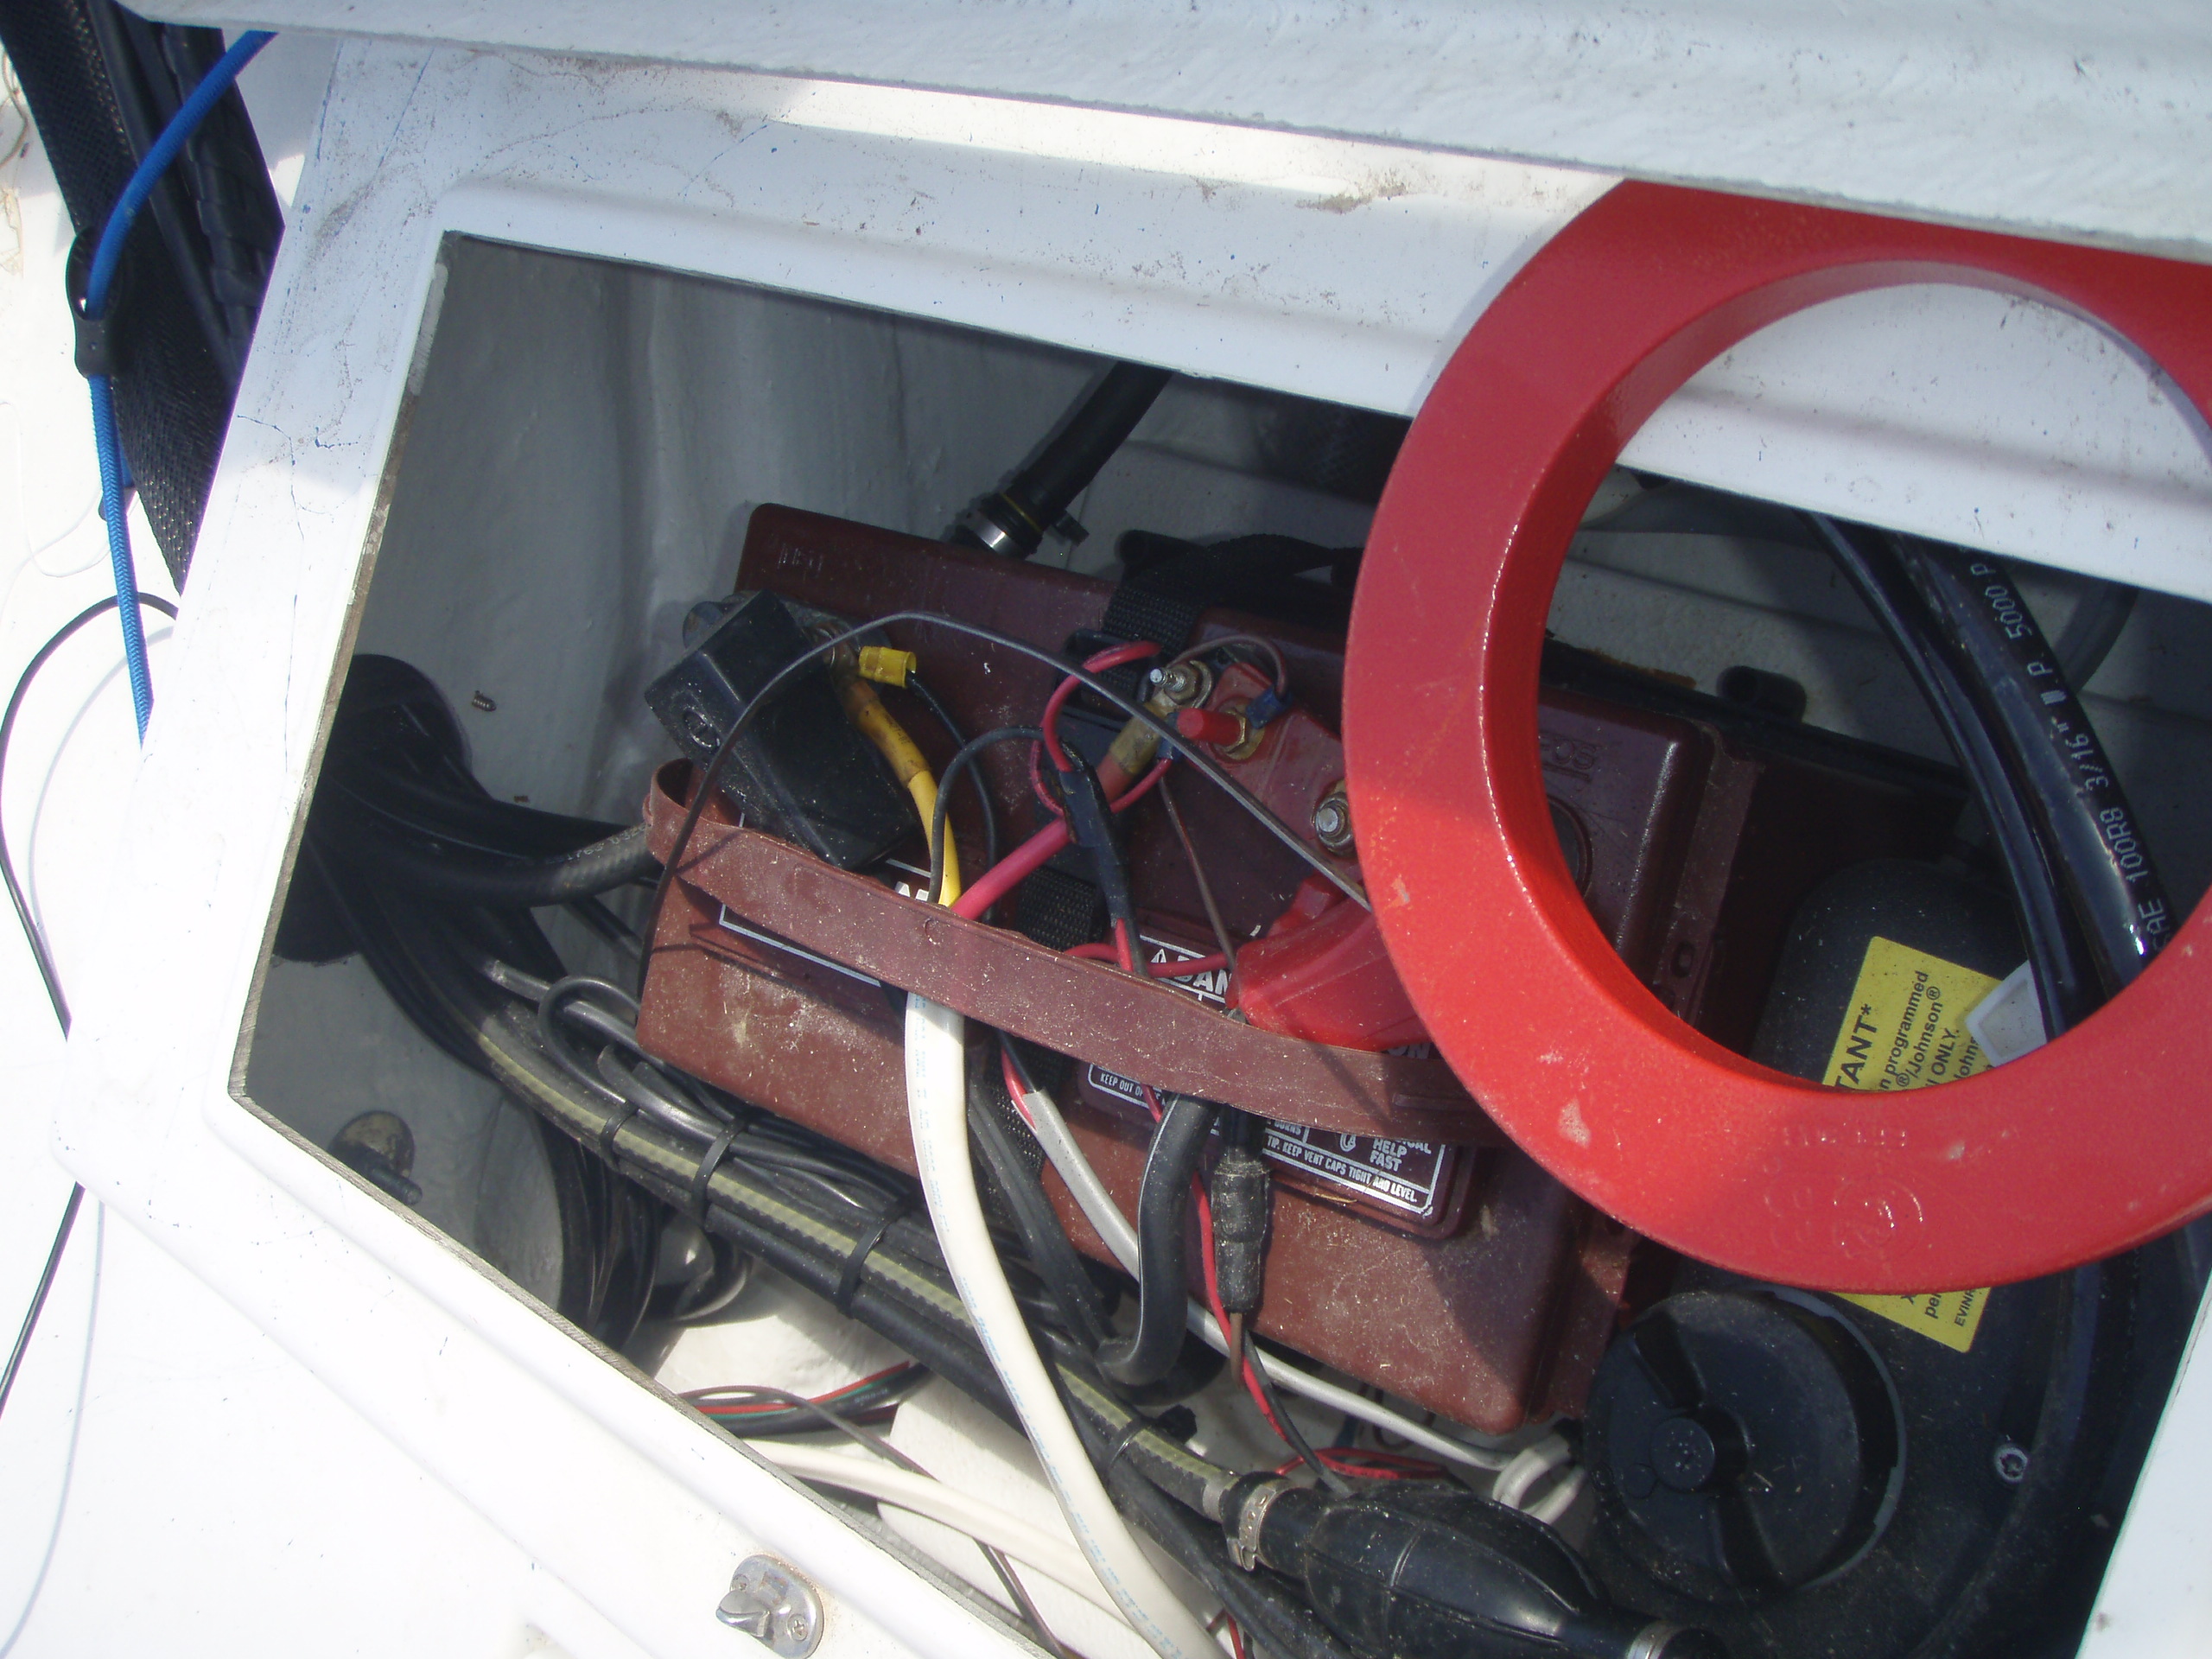
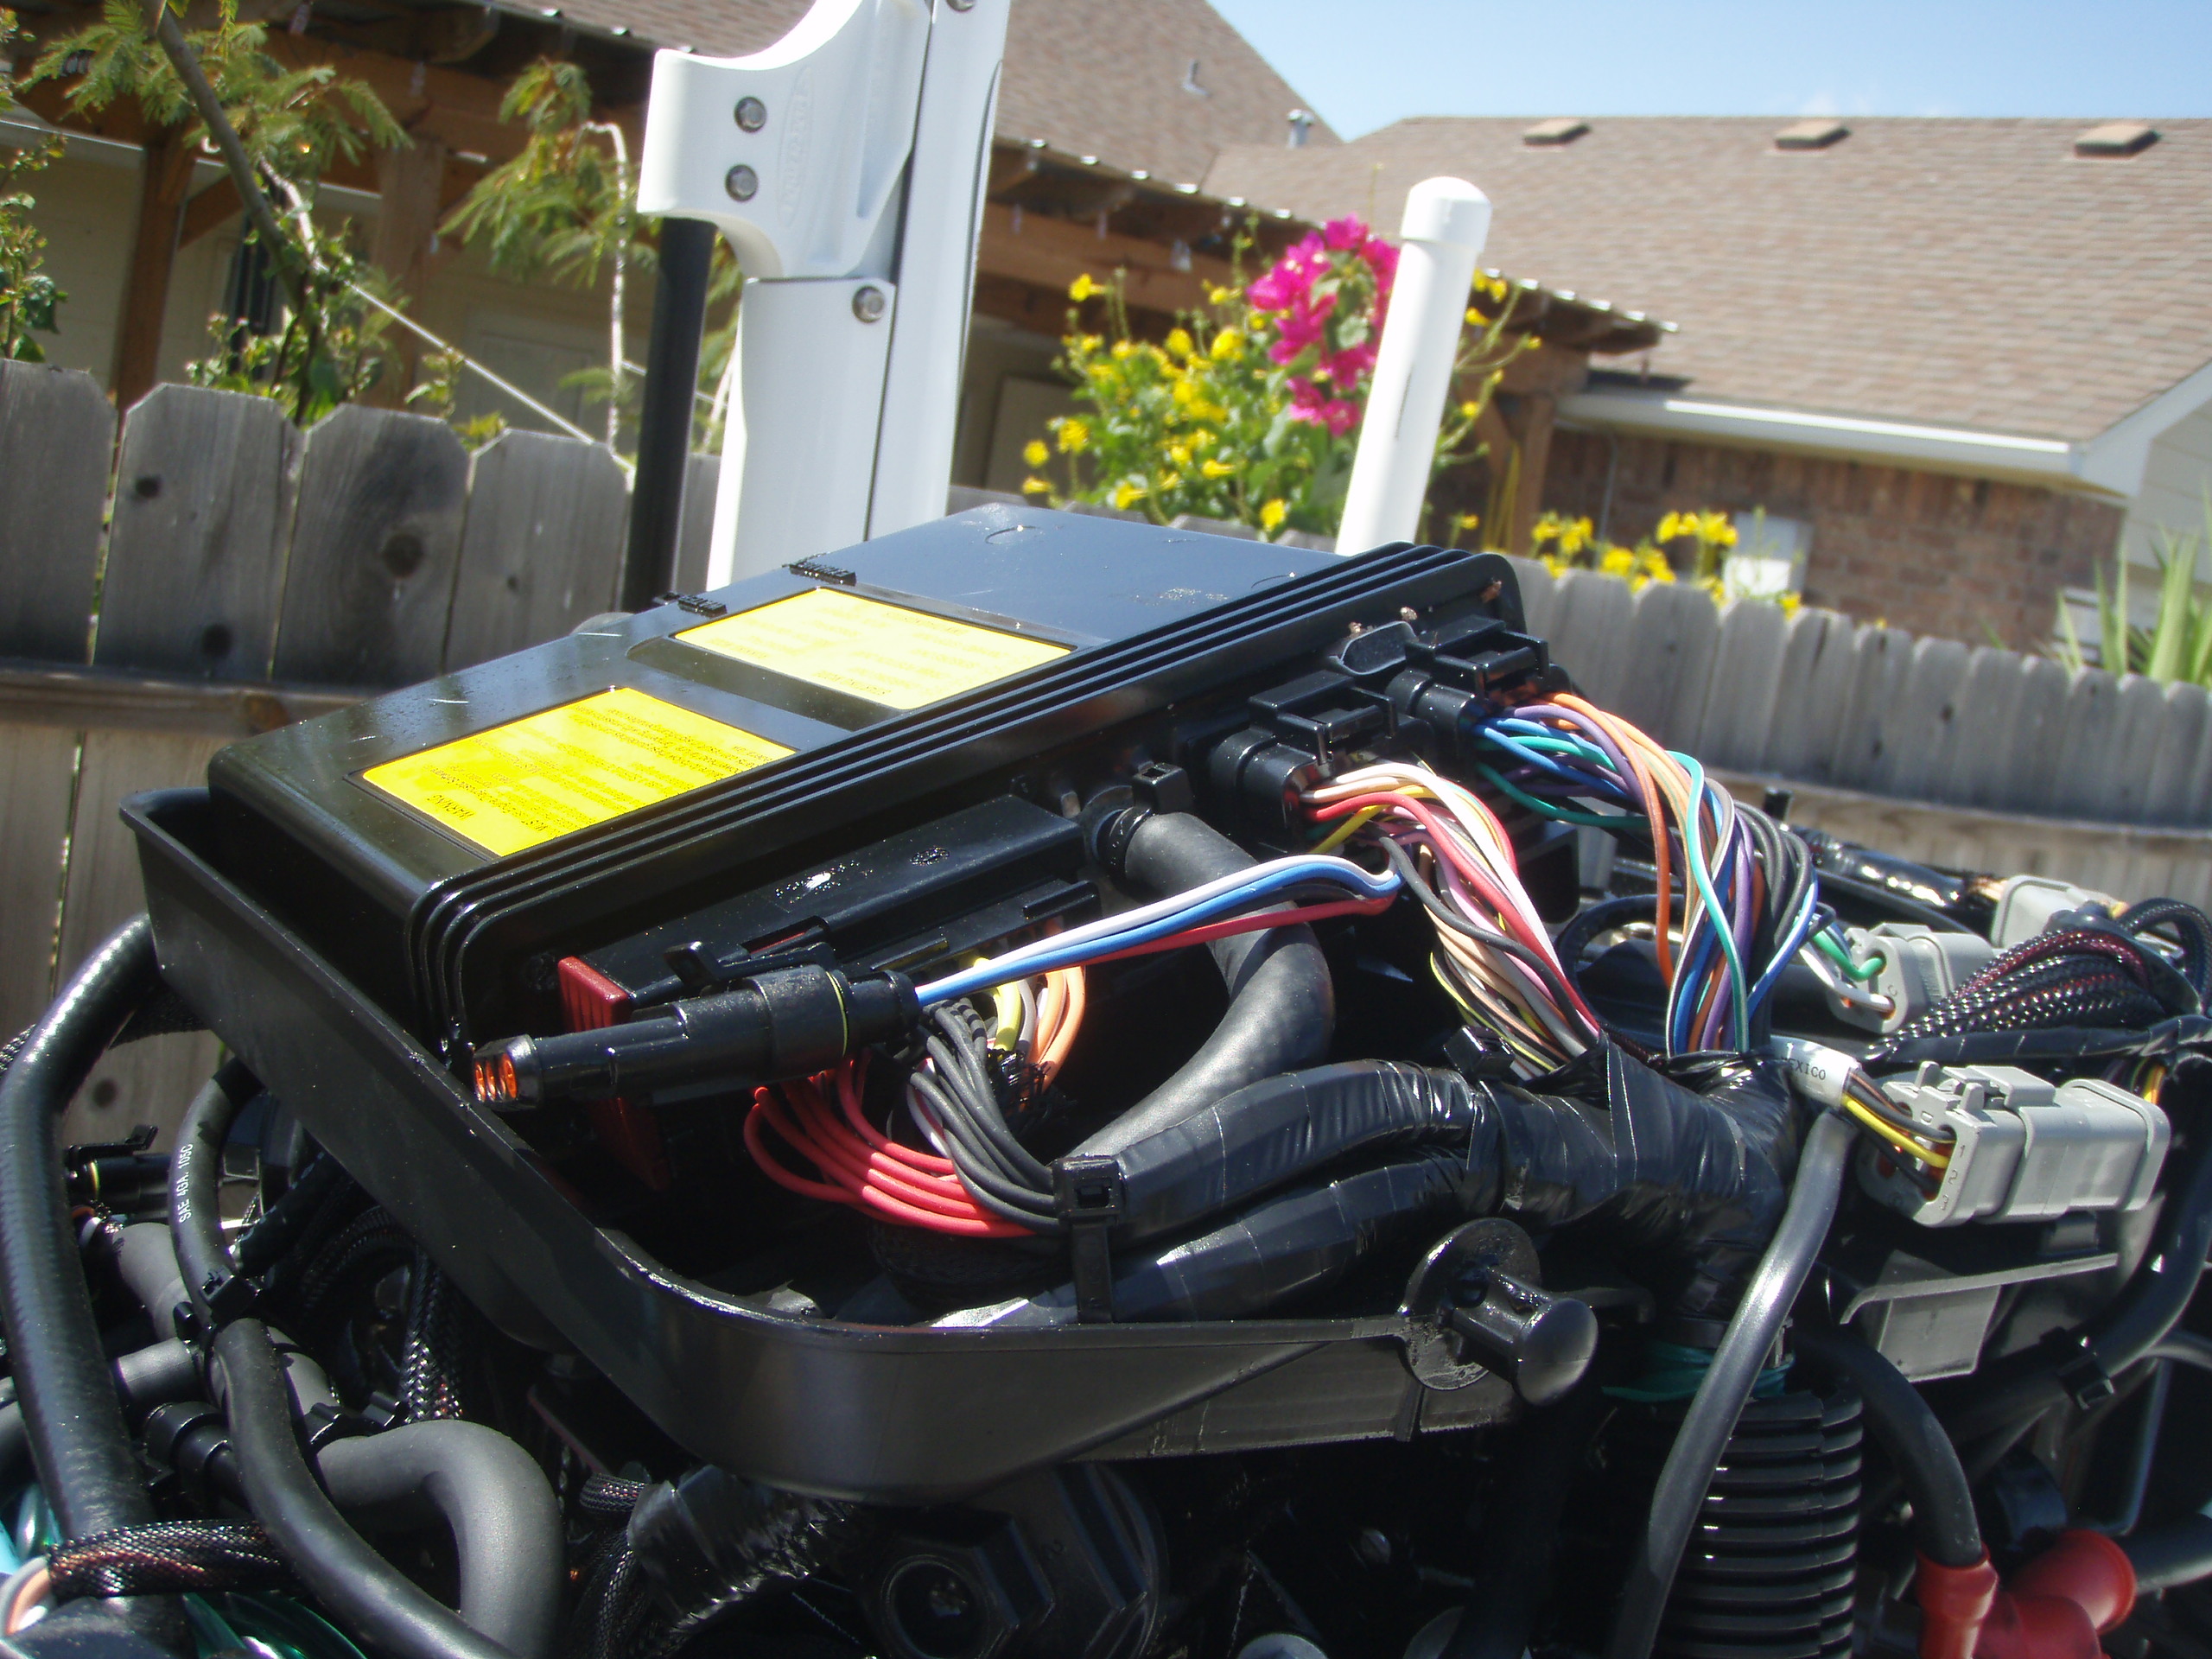
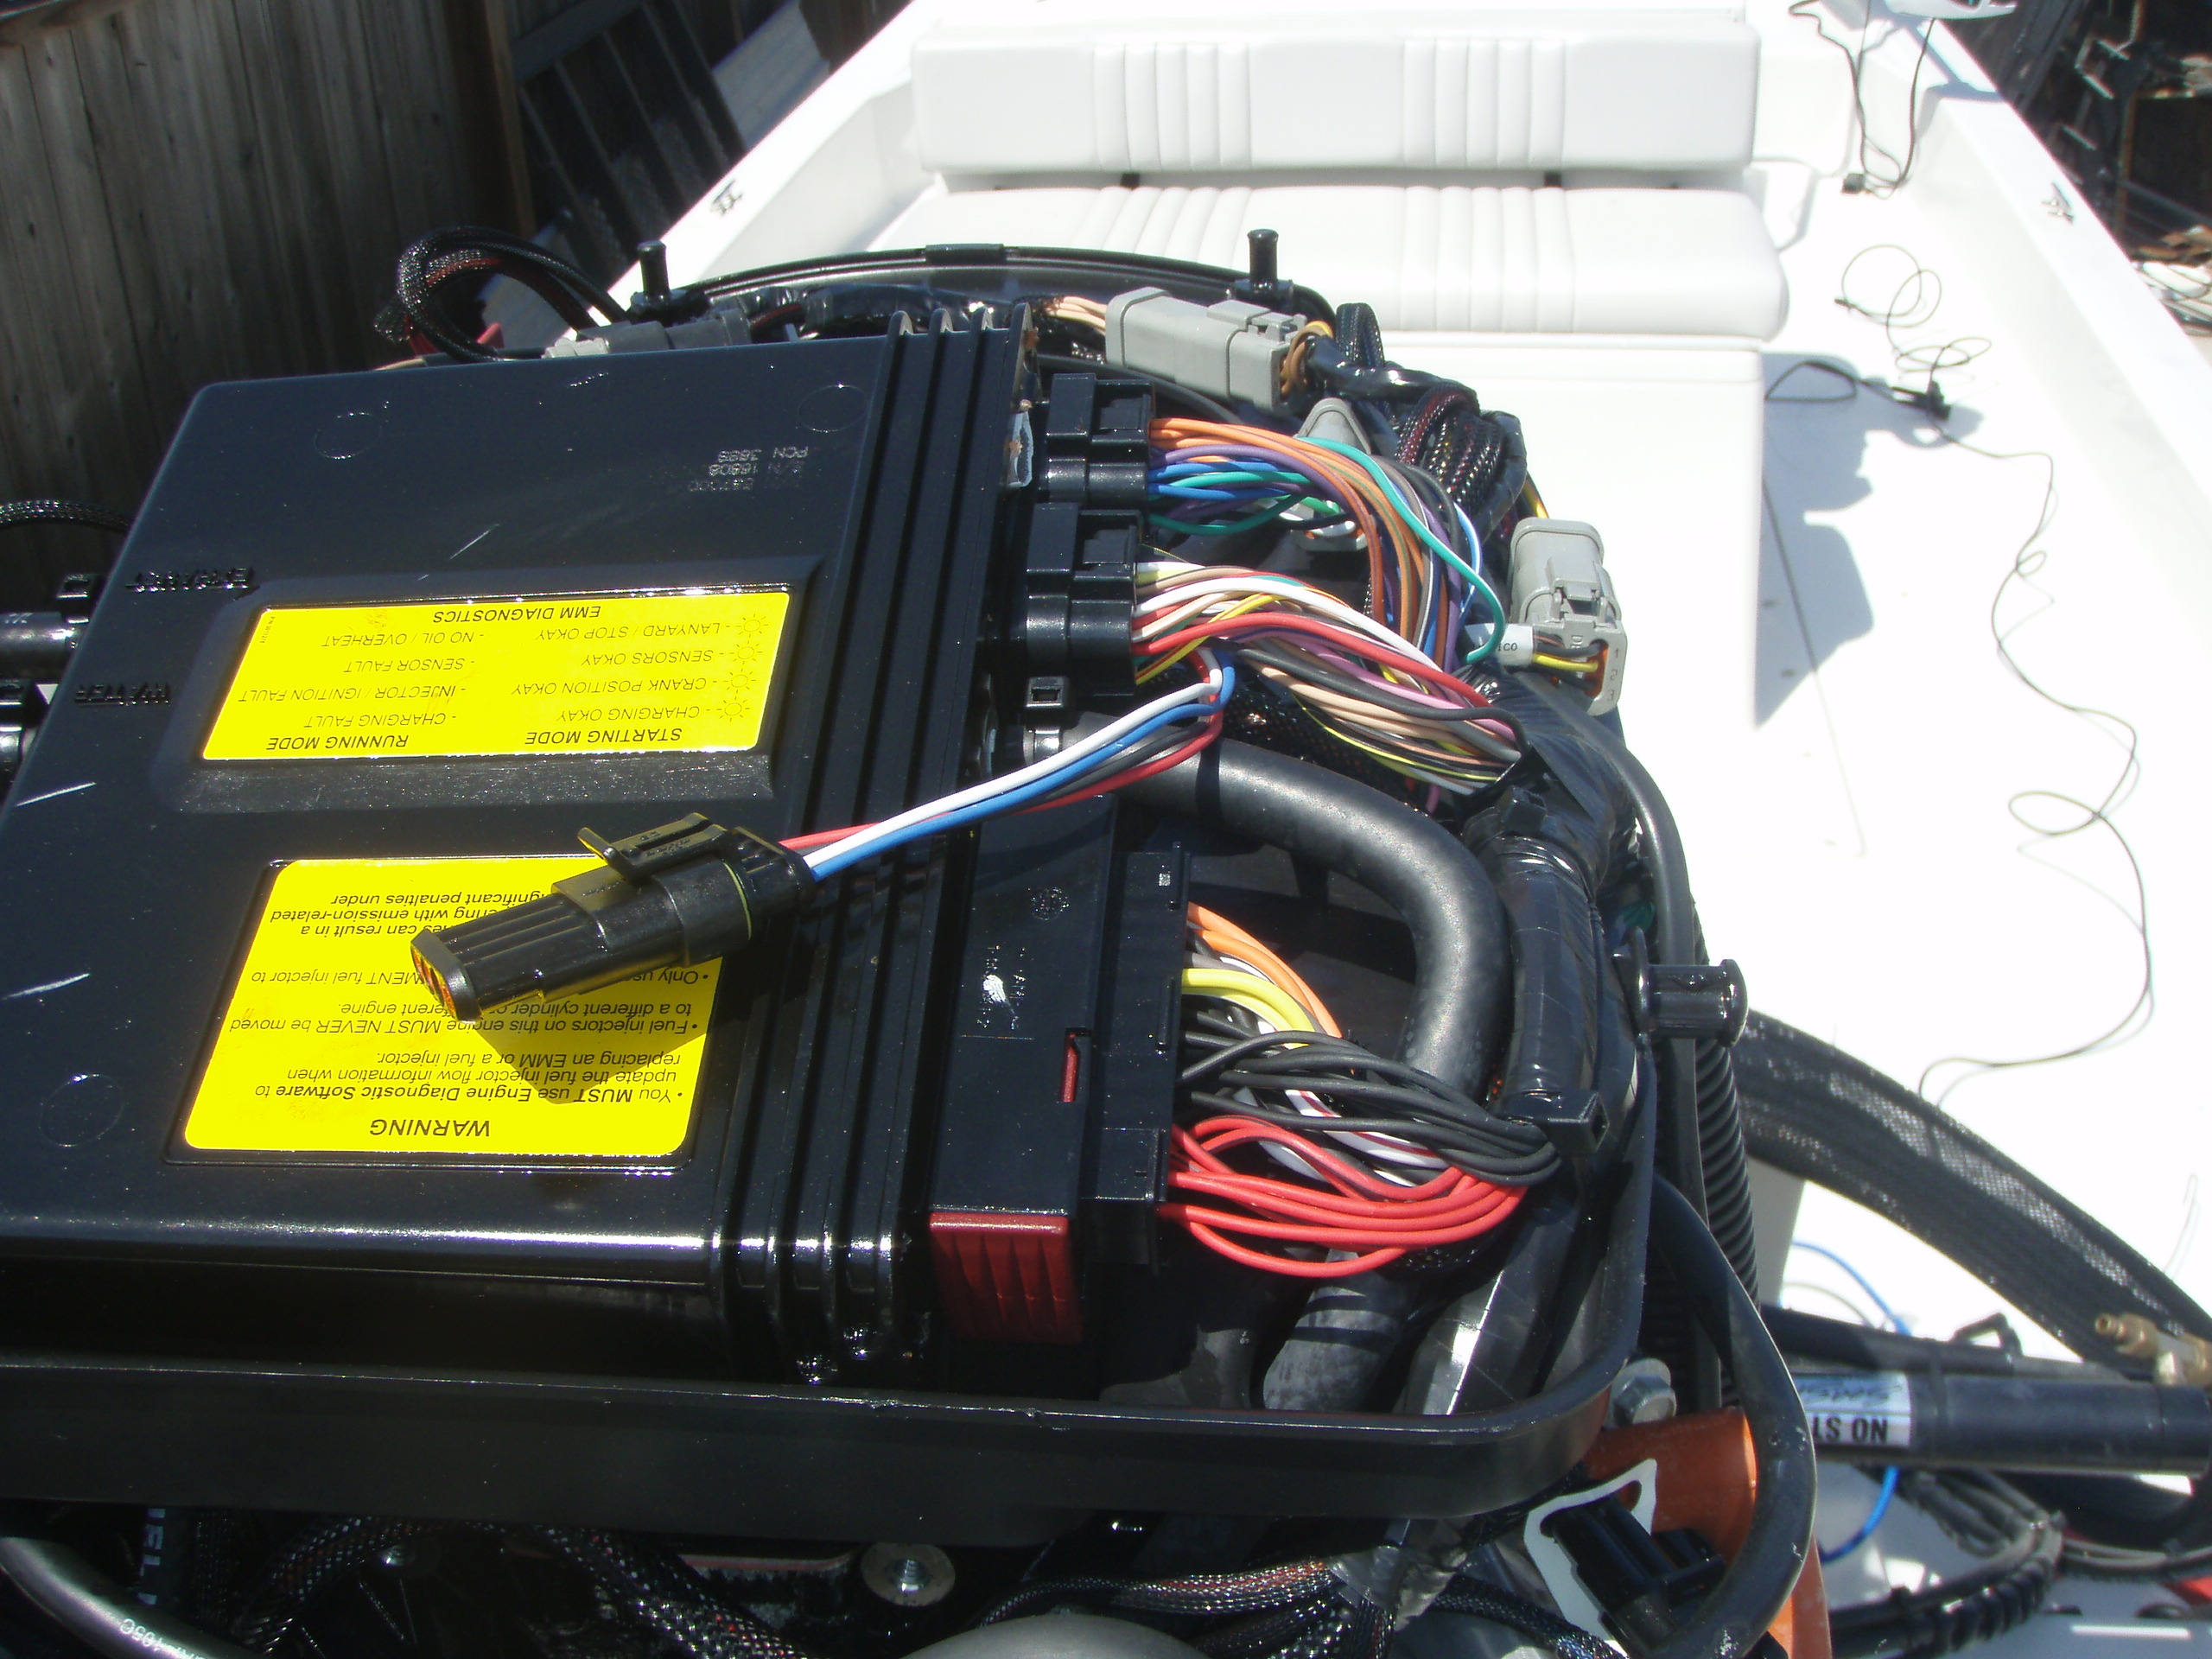
Locate the plug for your engine cable. Mine was under all the wiring on the starboard side of the ECM.
Another shot of the engine cable plug.
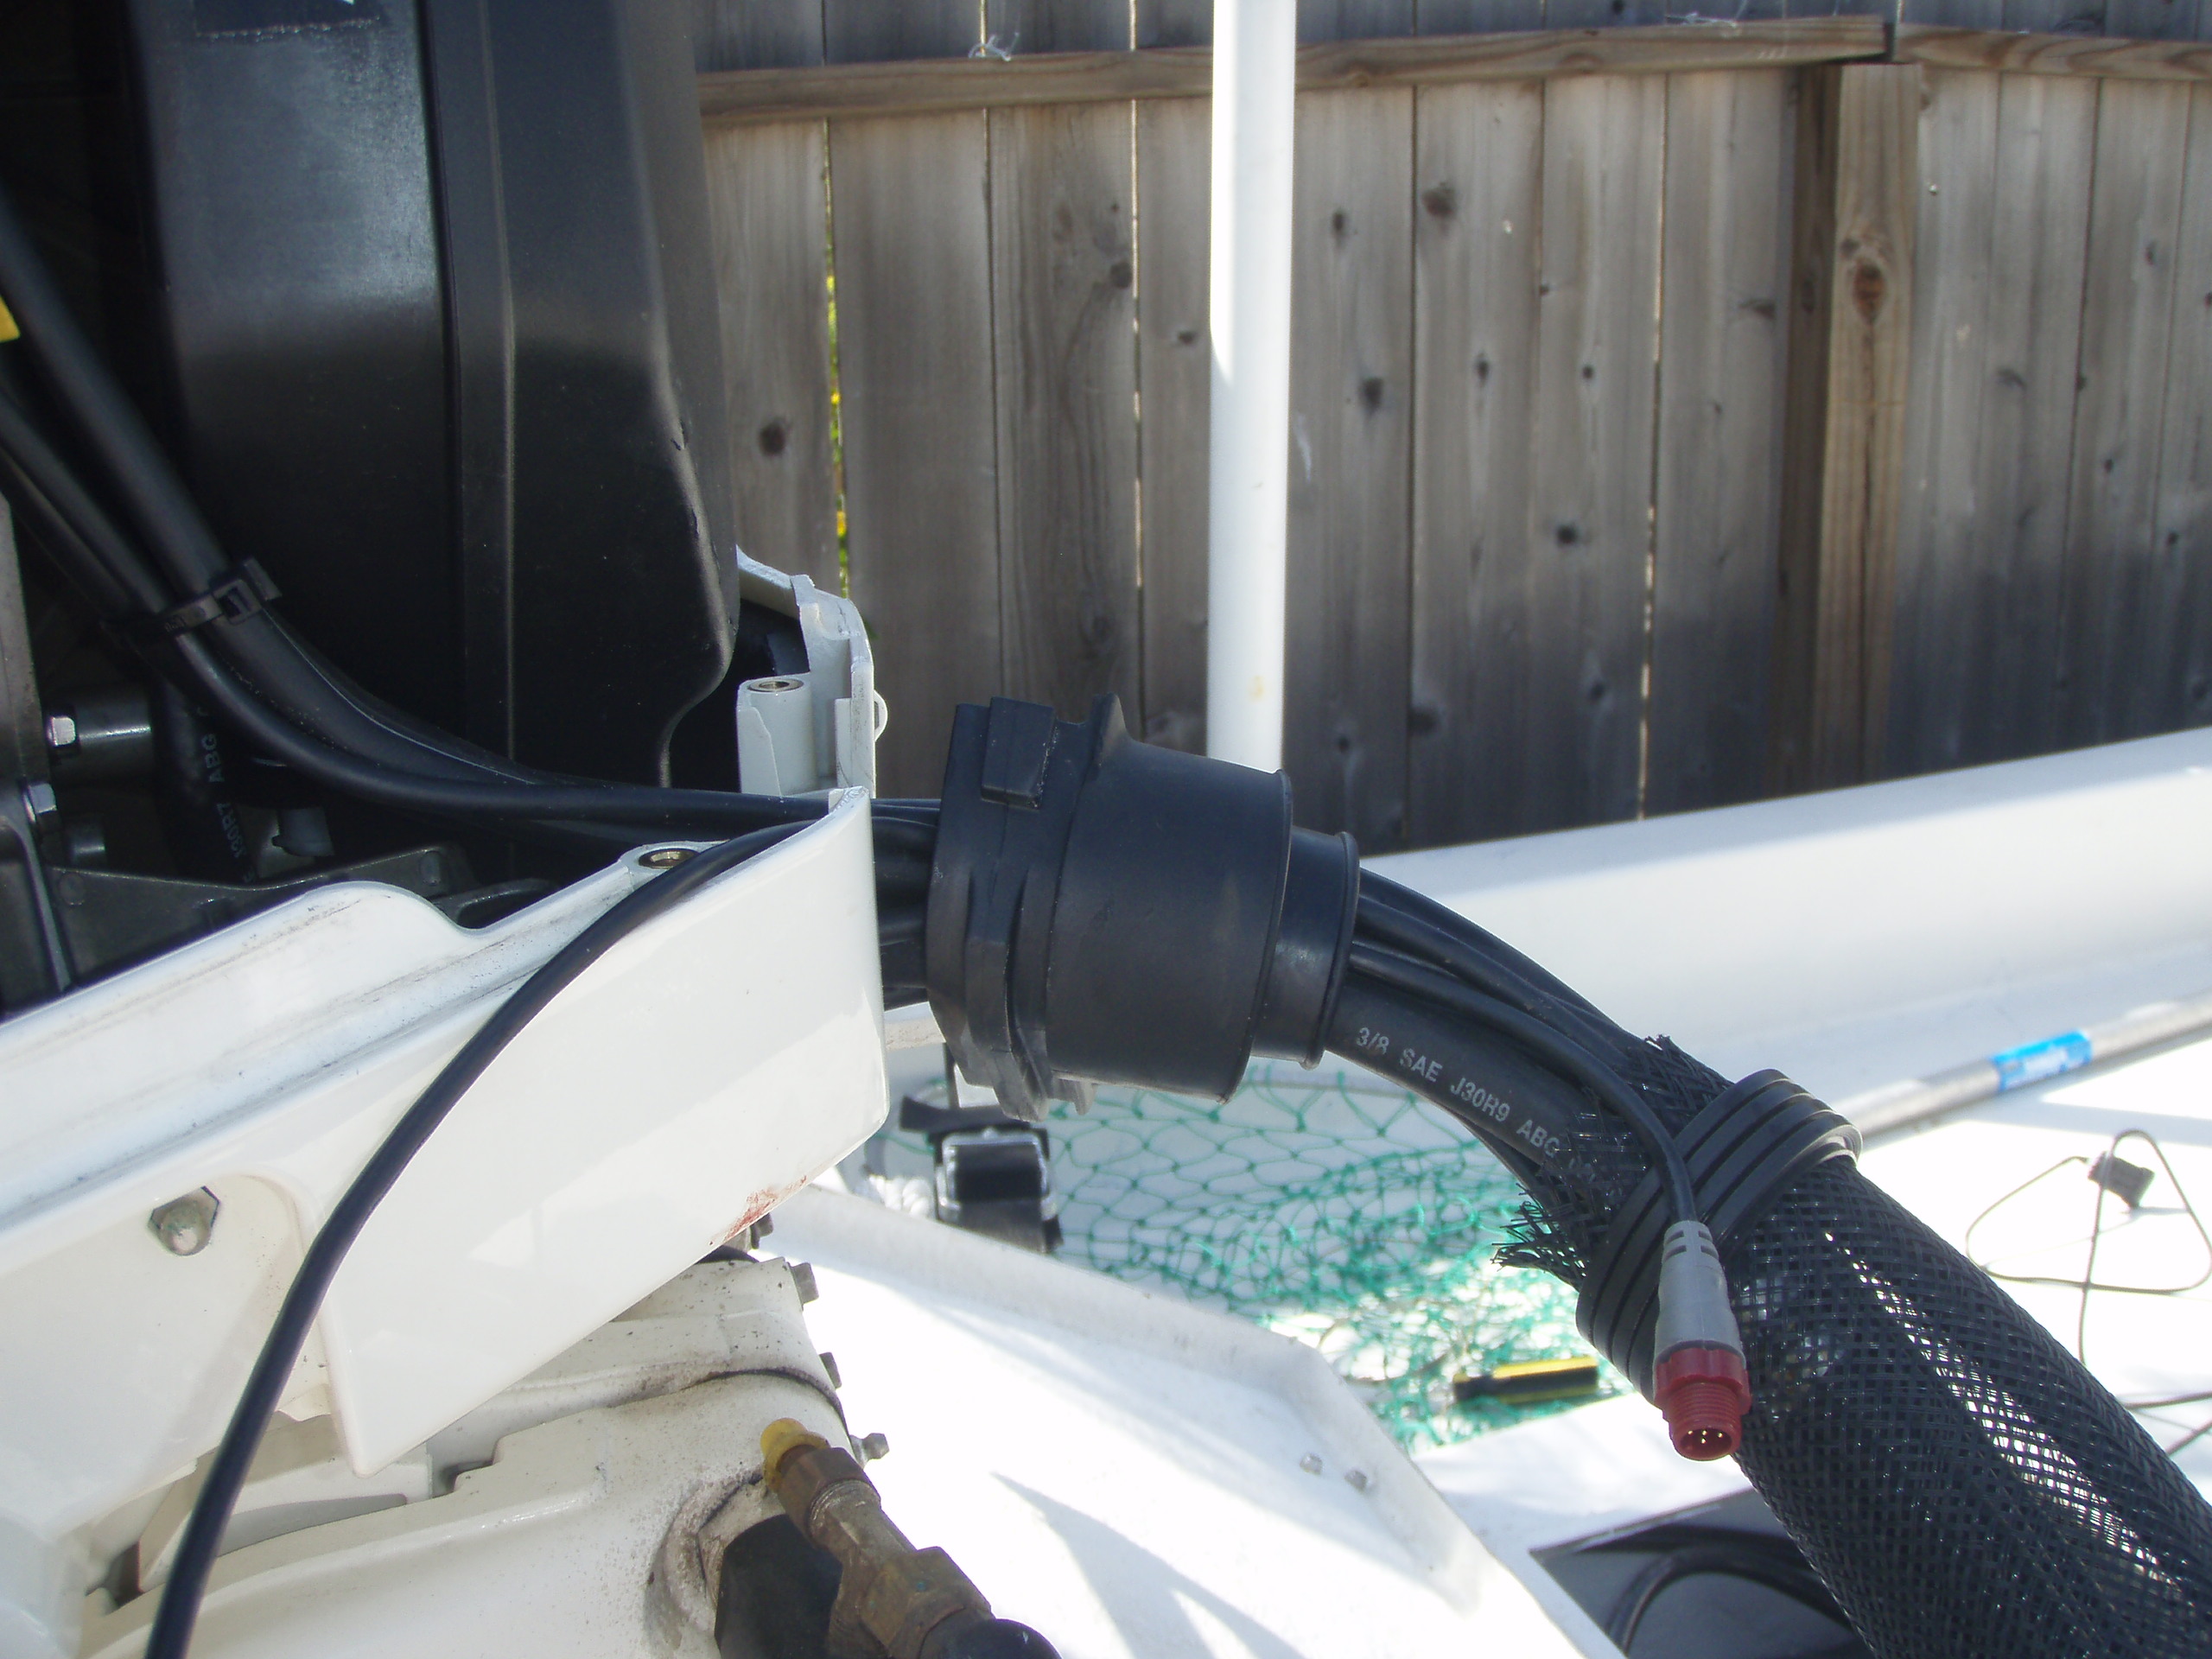
Disconnect the grommets and tube bundles and route the engine cable back to the rear compartment.
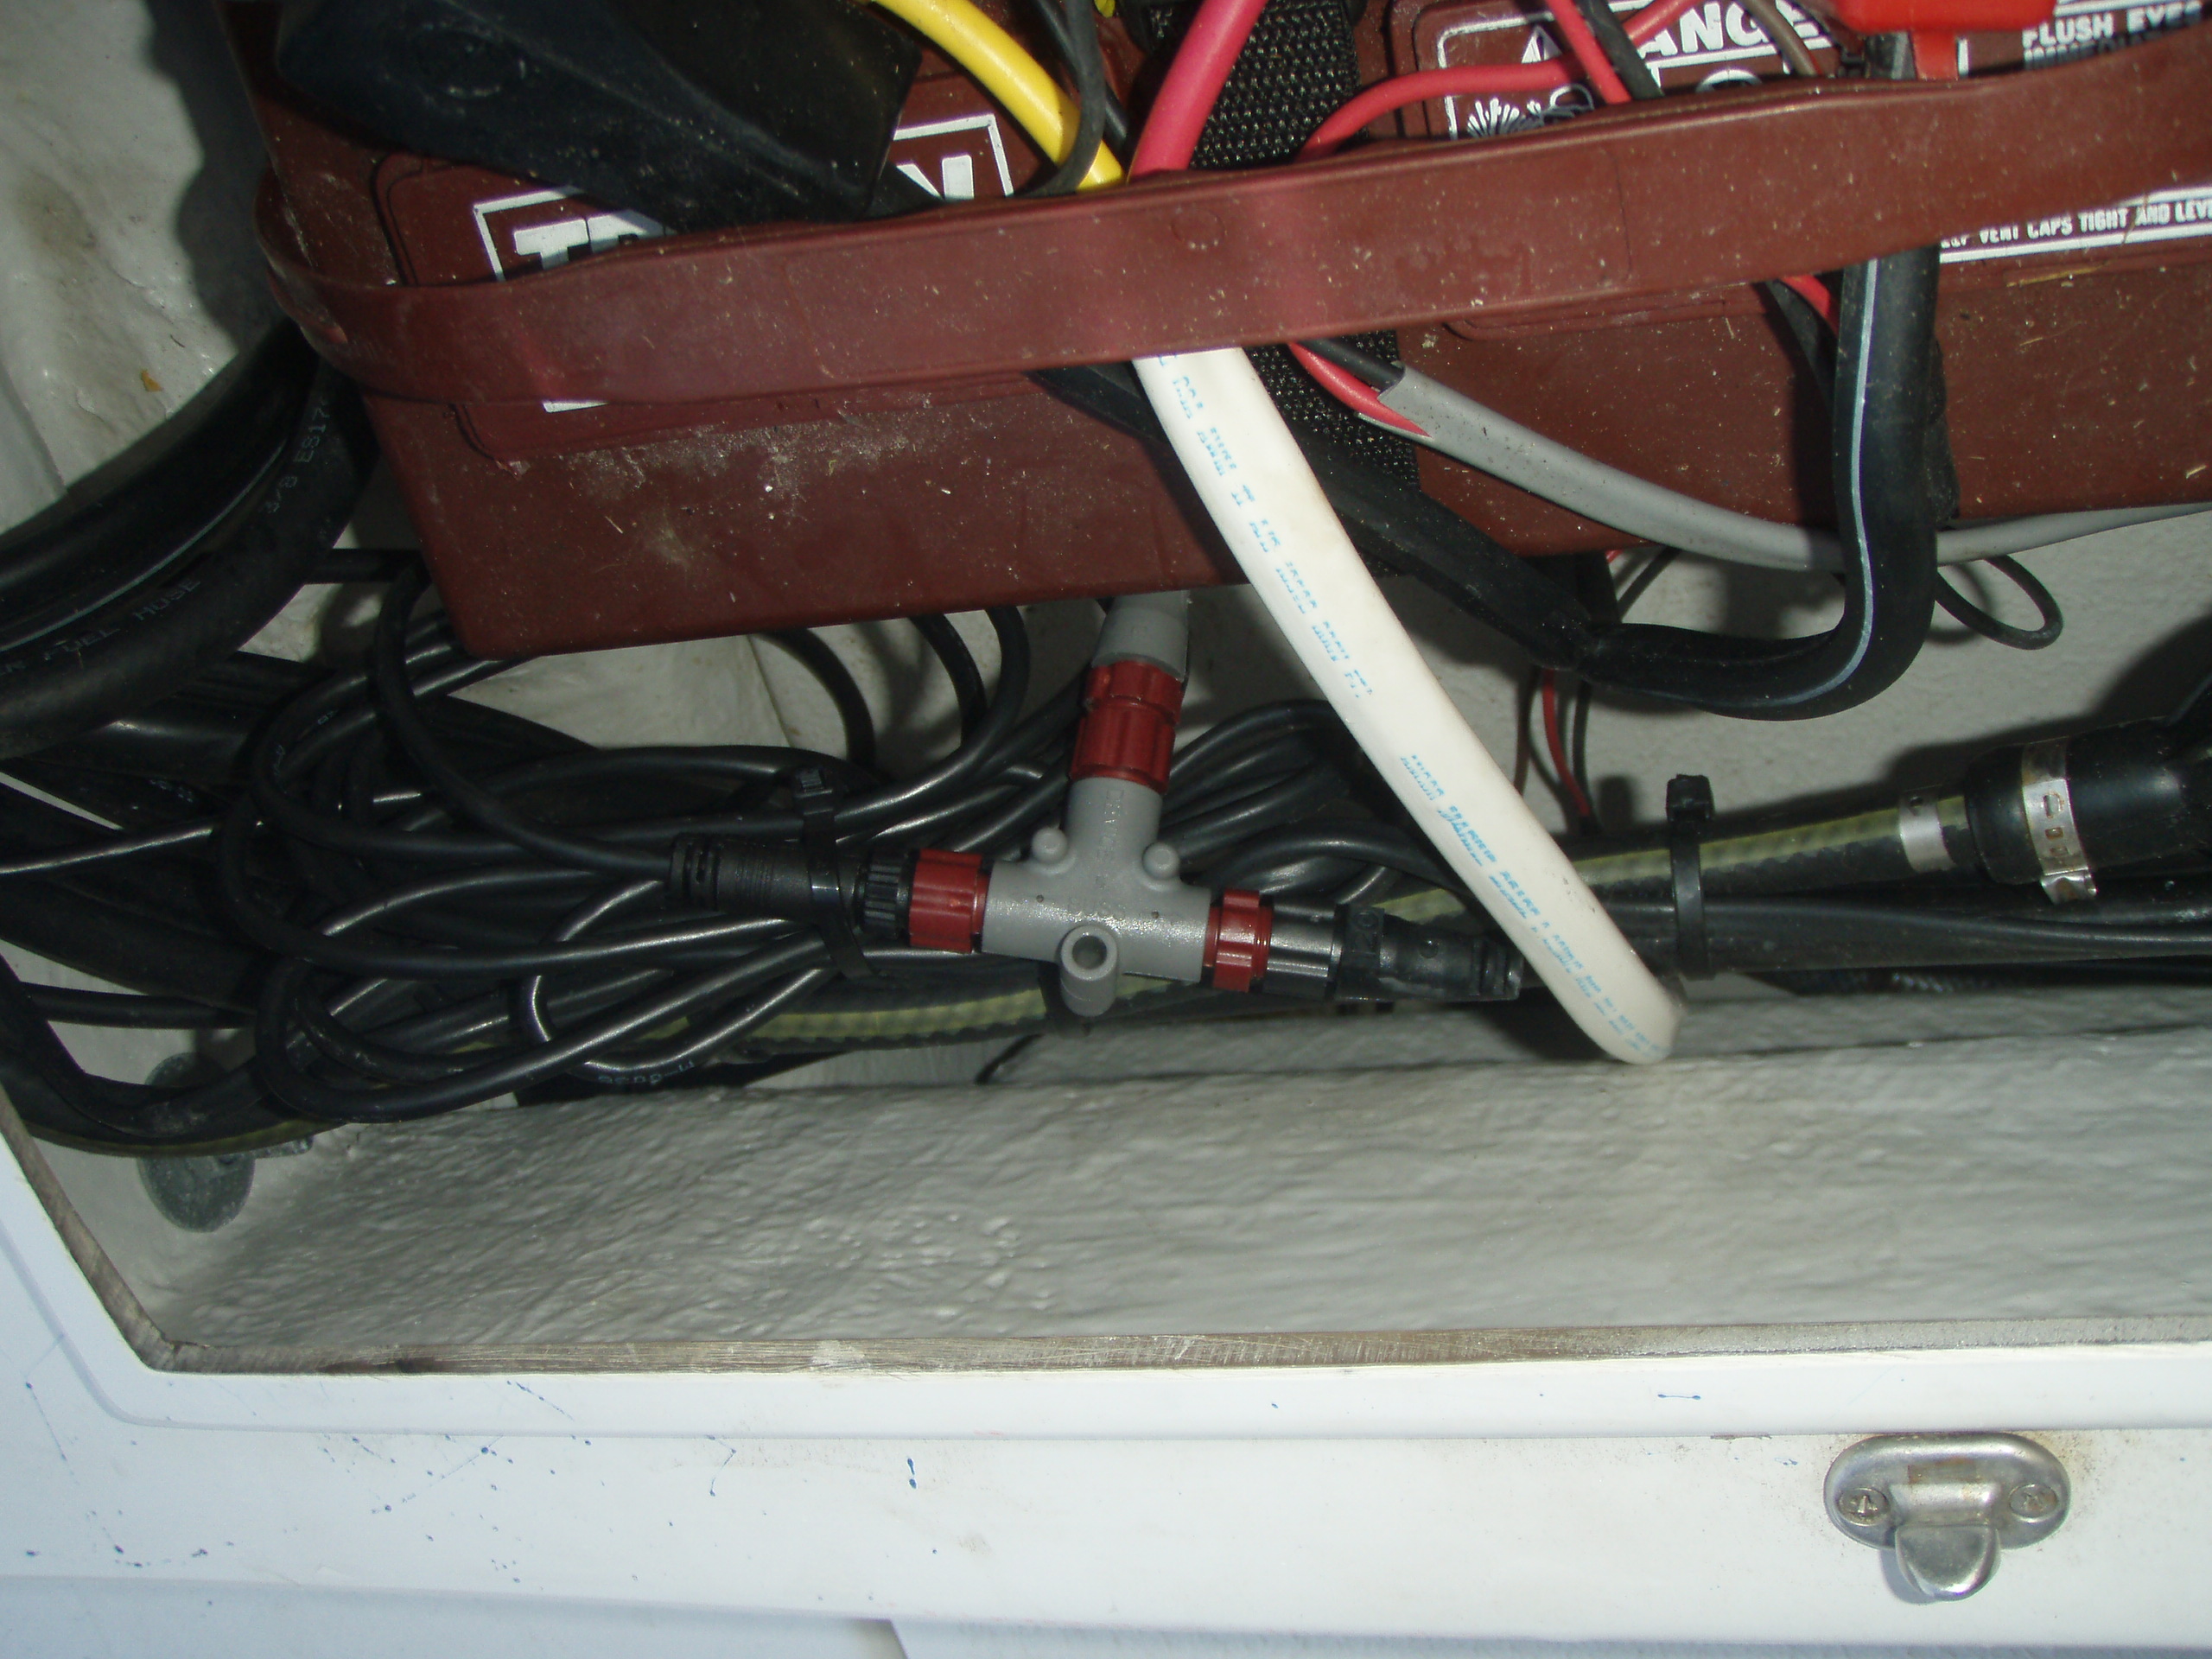
Install a Tee fitting and 120 ohm terminating resistor to the engine cable and extension cable routed from the centor console. You can mount these to a surface, or just secure them with tye wraps like I did here.
Tye wrap your new cable down in the engine compartment and then trim off the tails.
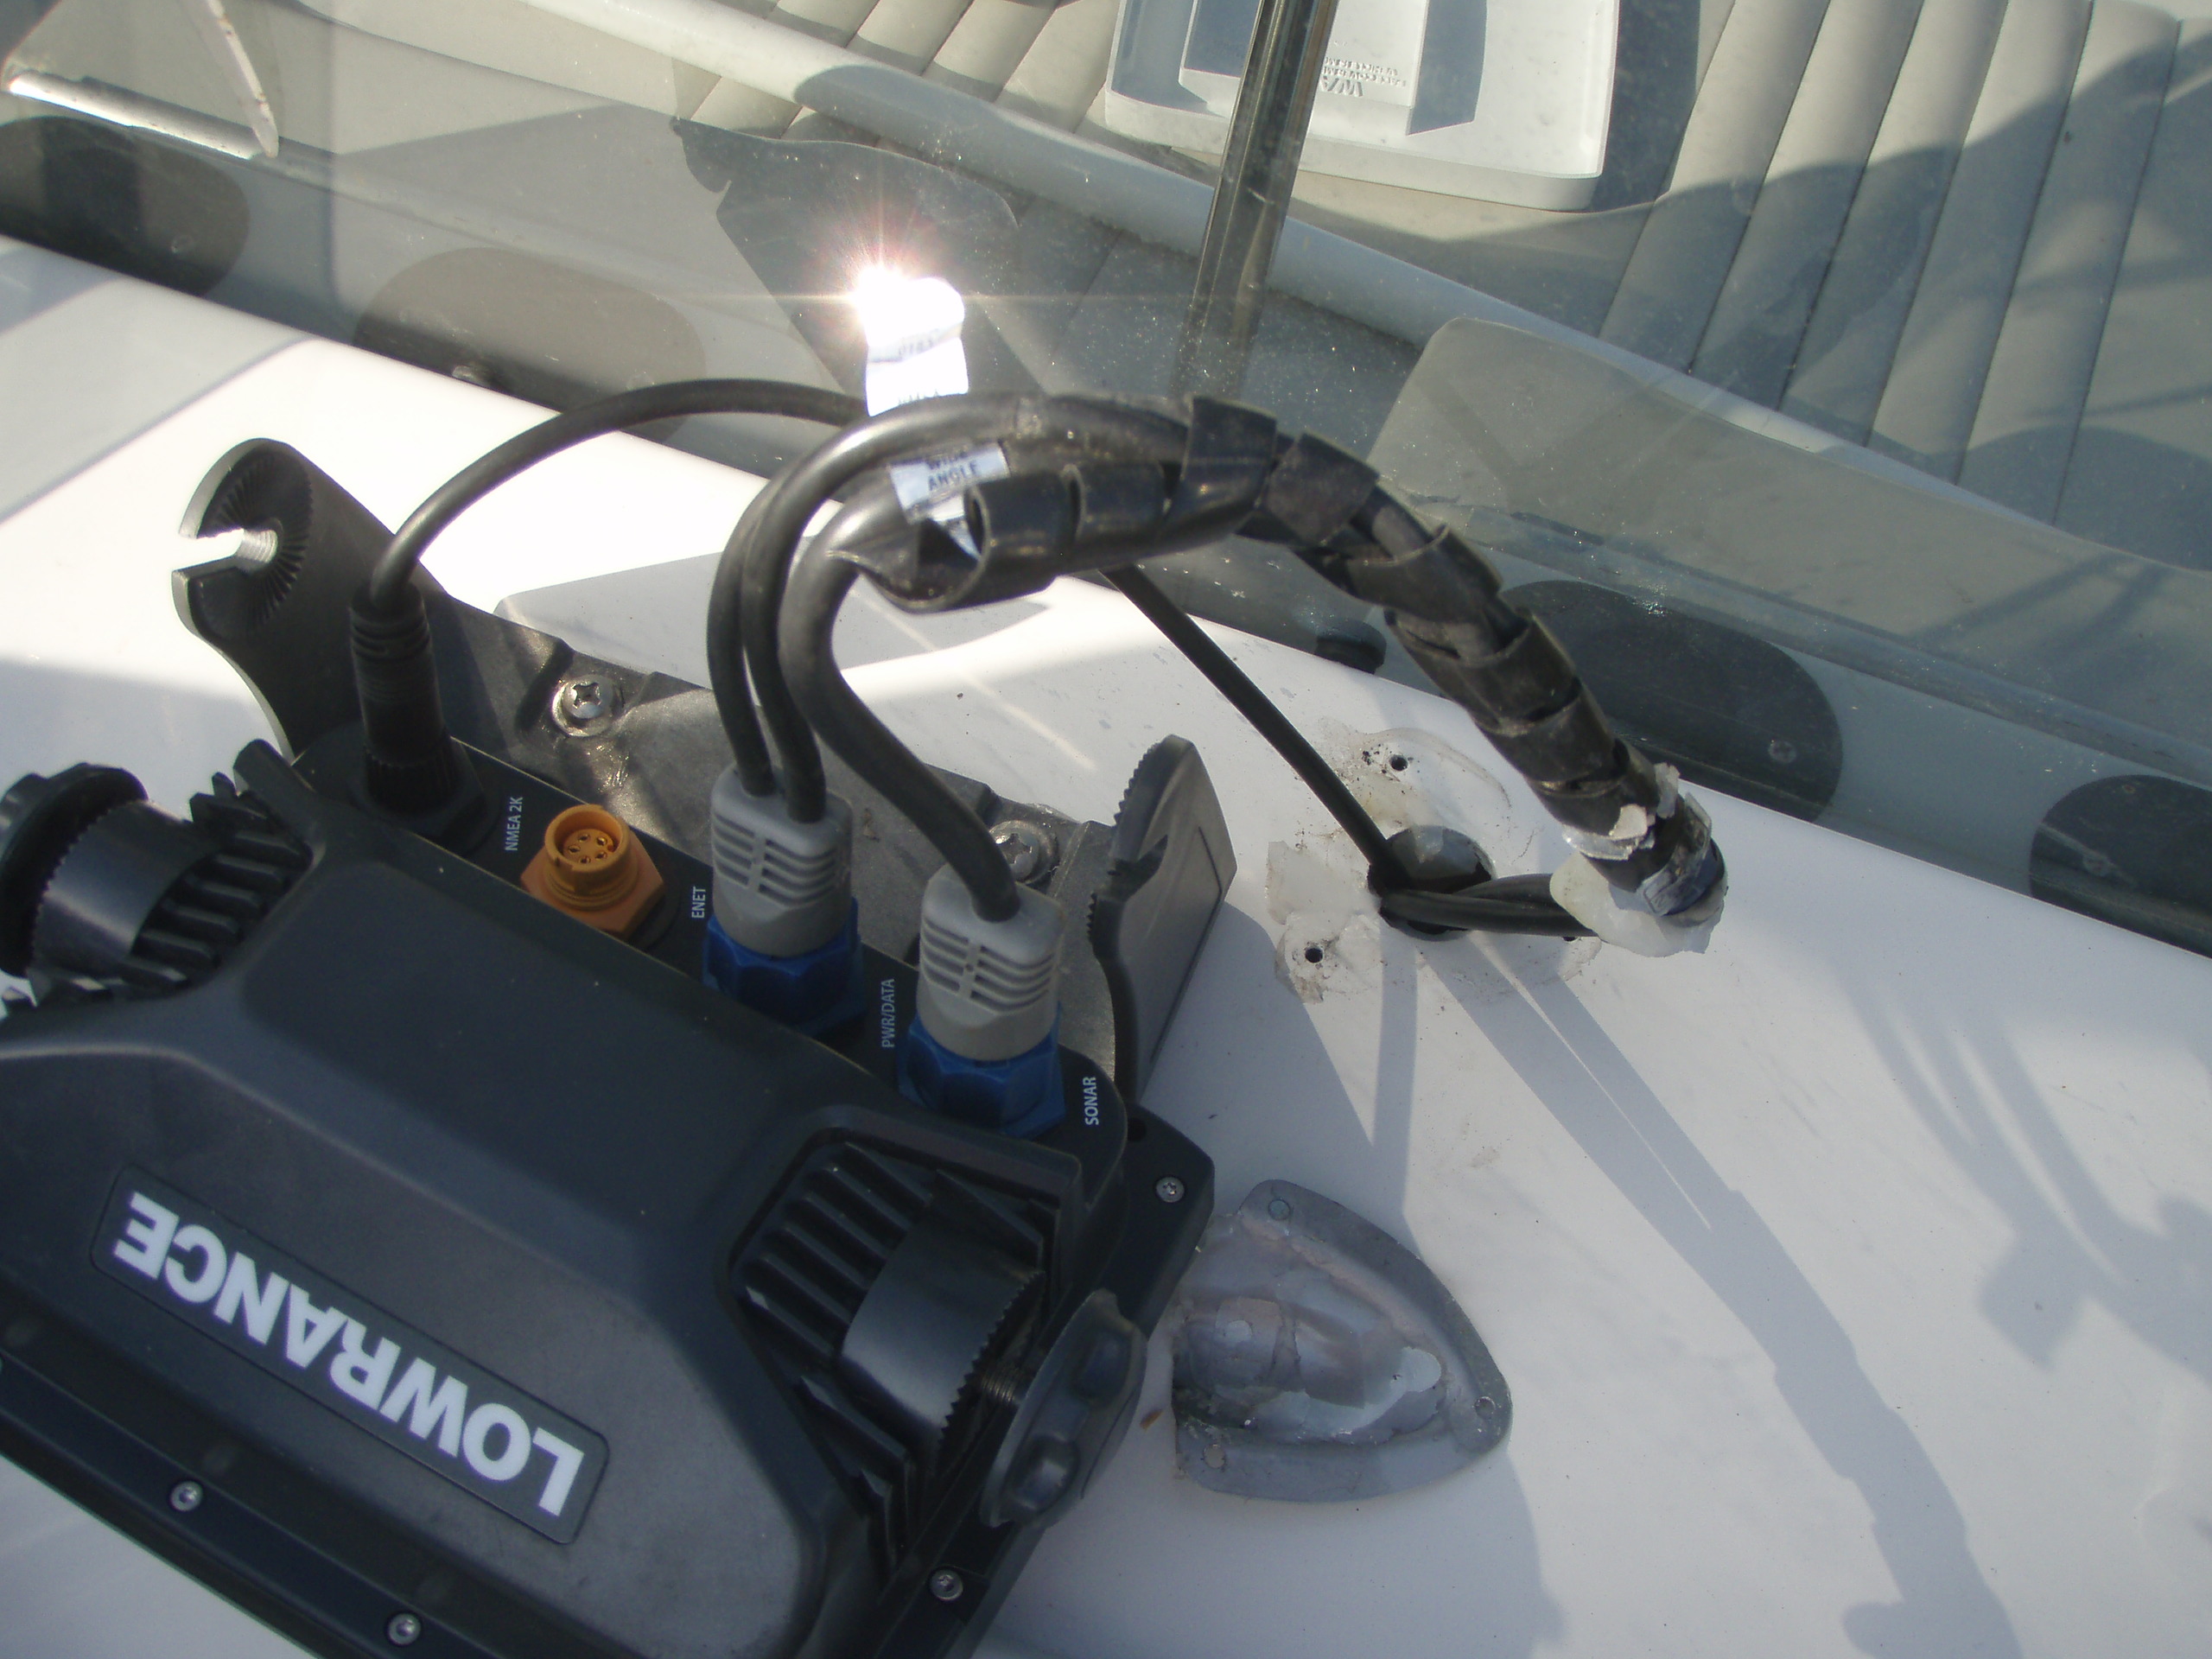
Attach 3 tees and another 200 ohm terminating resistor under the center console. One of these will be for the Network power. The book says connect it to a separate switch. I did but I can't really see how it would matter since the power source is the same. Connect the other tee to a short cable and connect to your radio. (I will try and add some under console pictures later). Connect the third tee to a short cable and run thru the top of the console and connect to the HDS-5. The black connector on the left is the NEMA-2k port. The orange port is ethernet. You can connect radar or satellite antenna there.
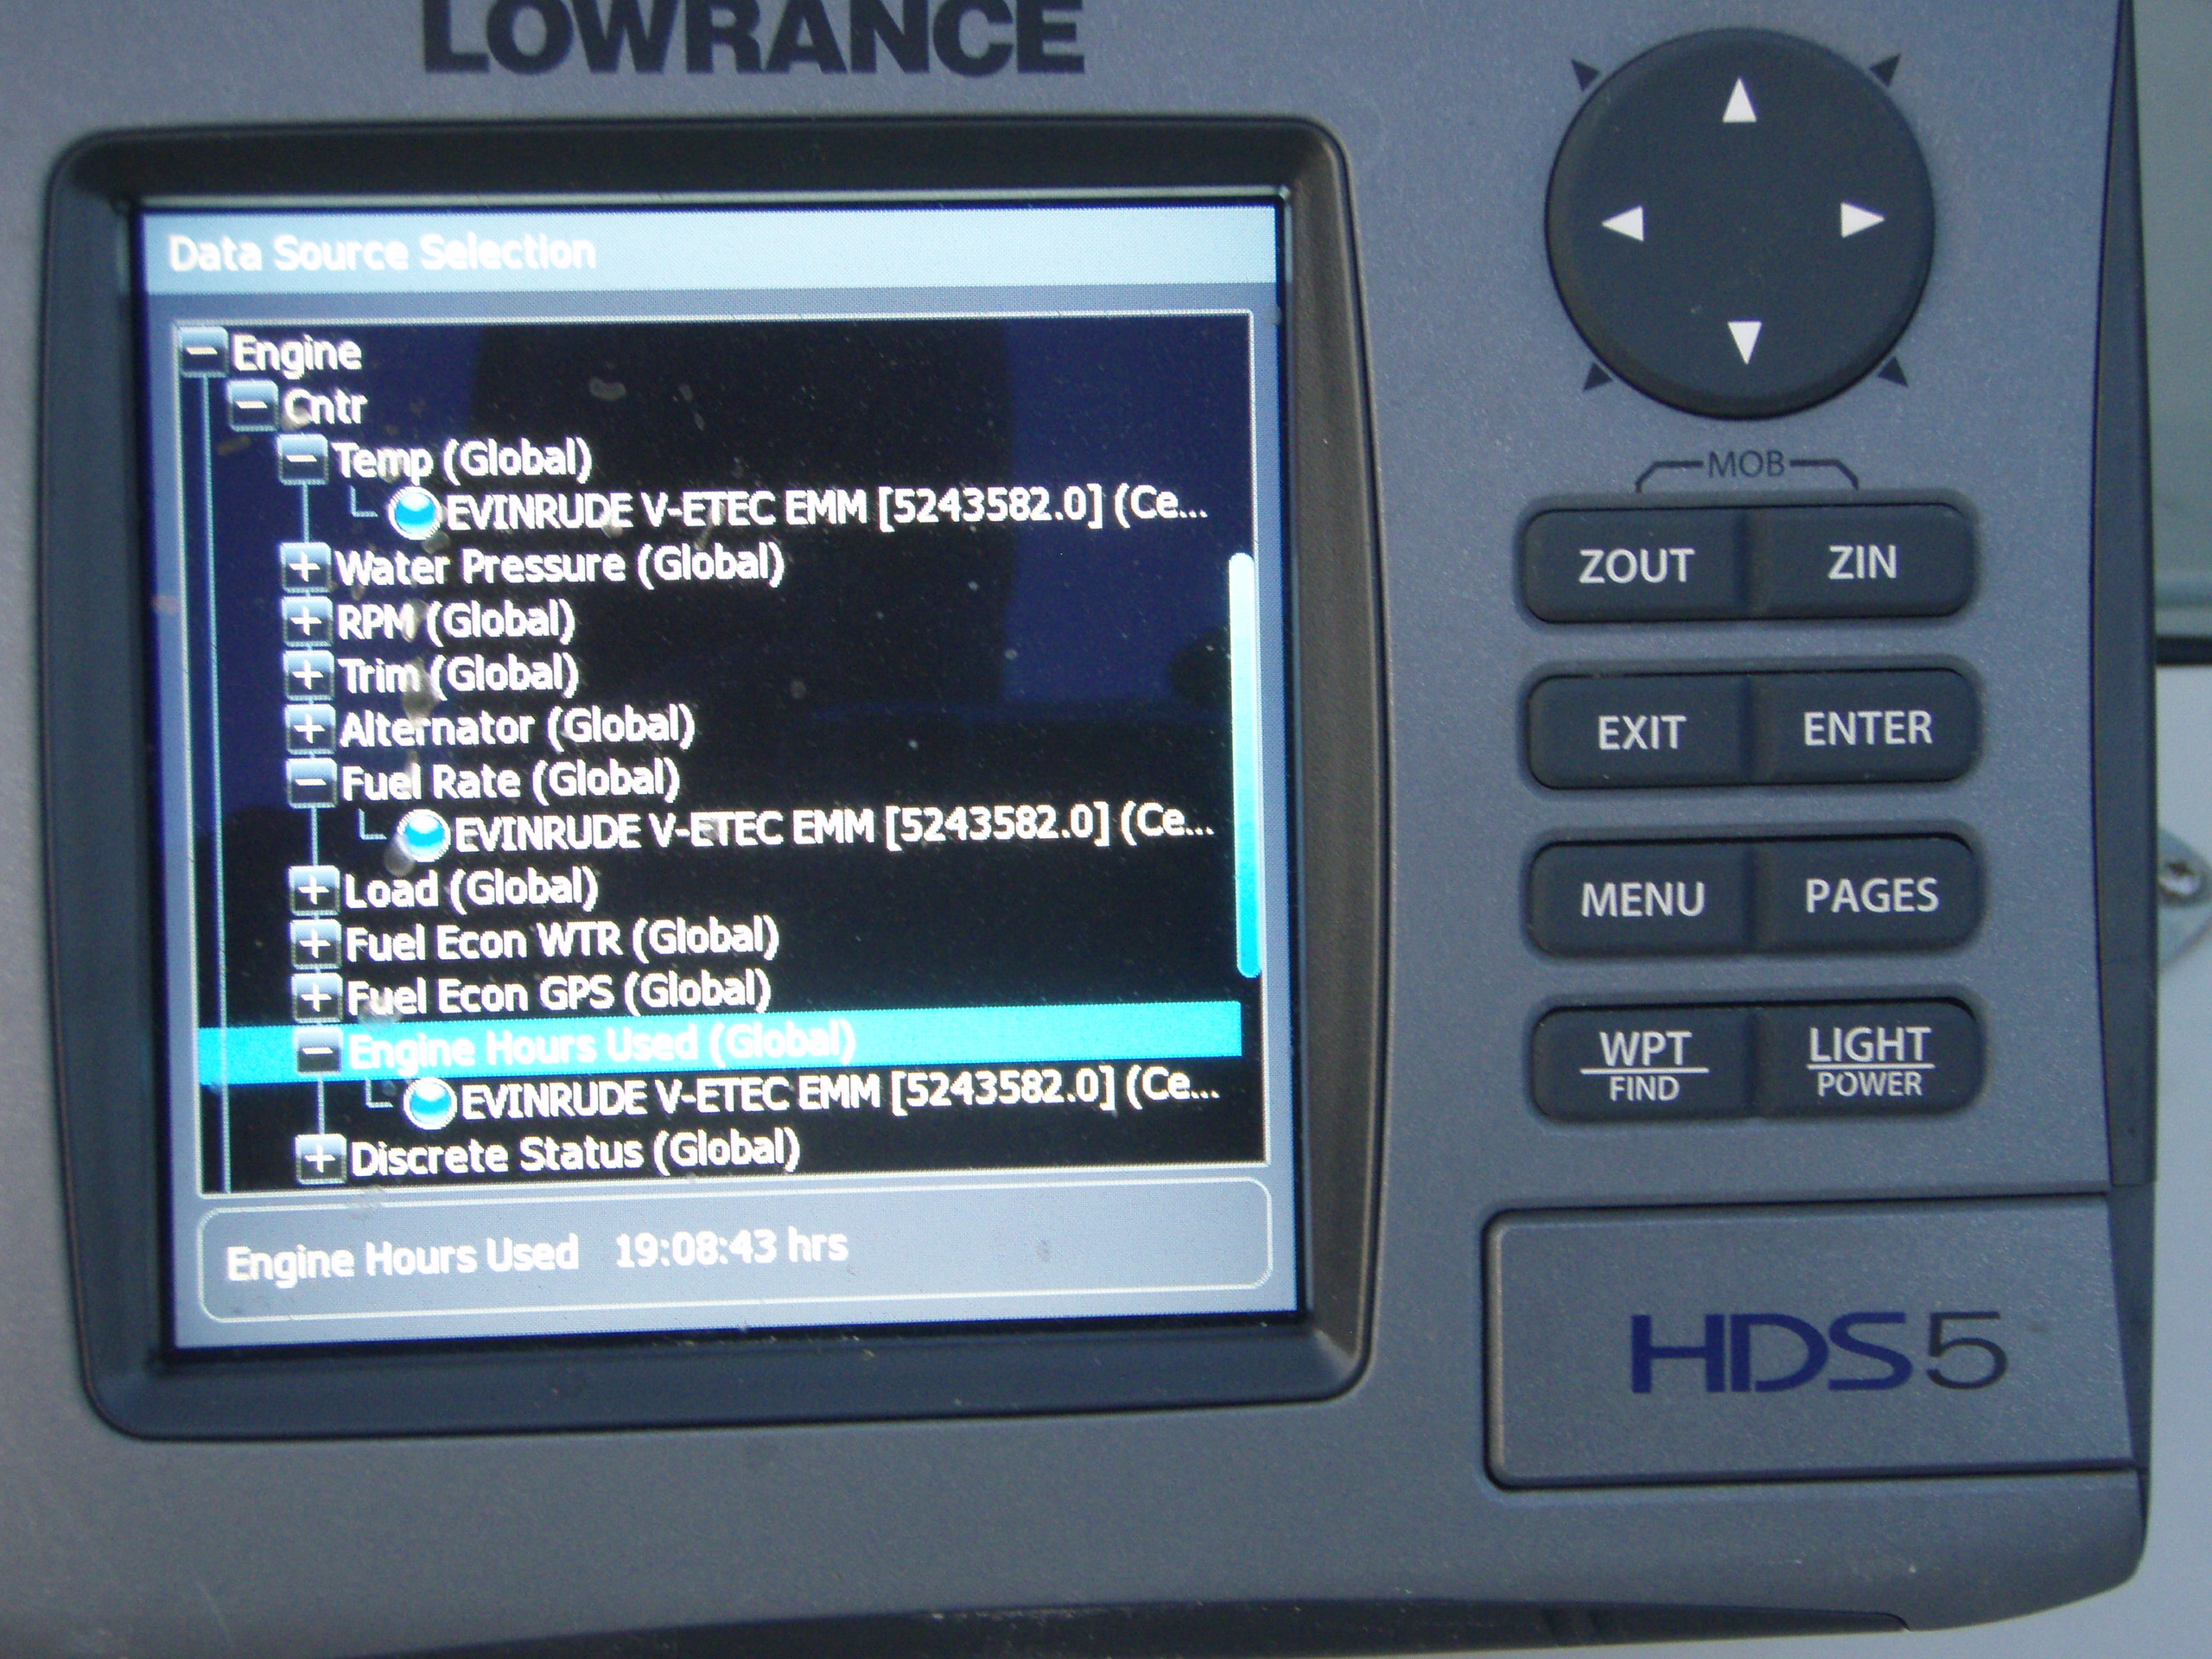
As you can see from these shots the engine data is now available.
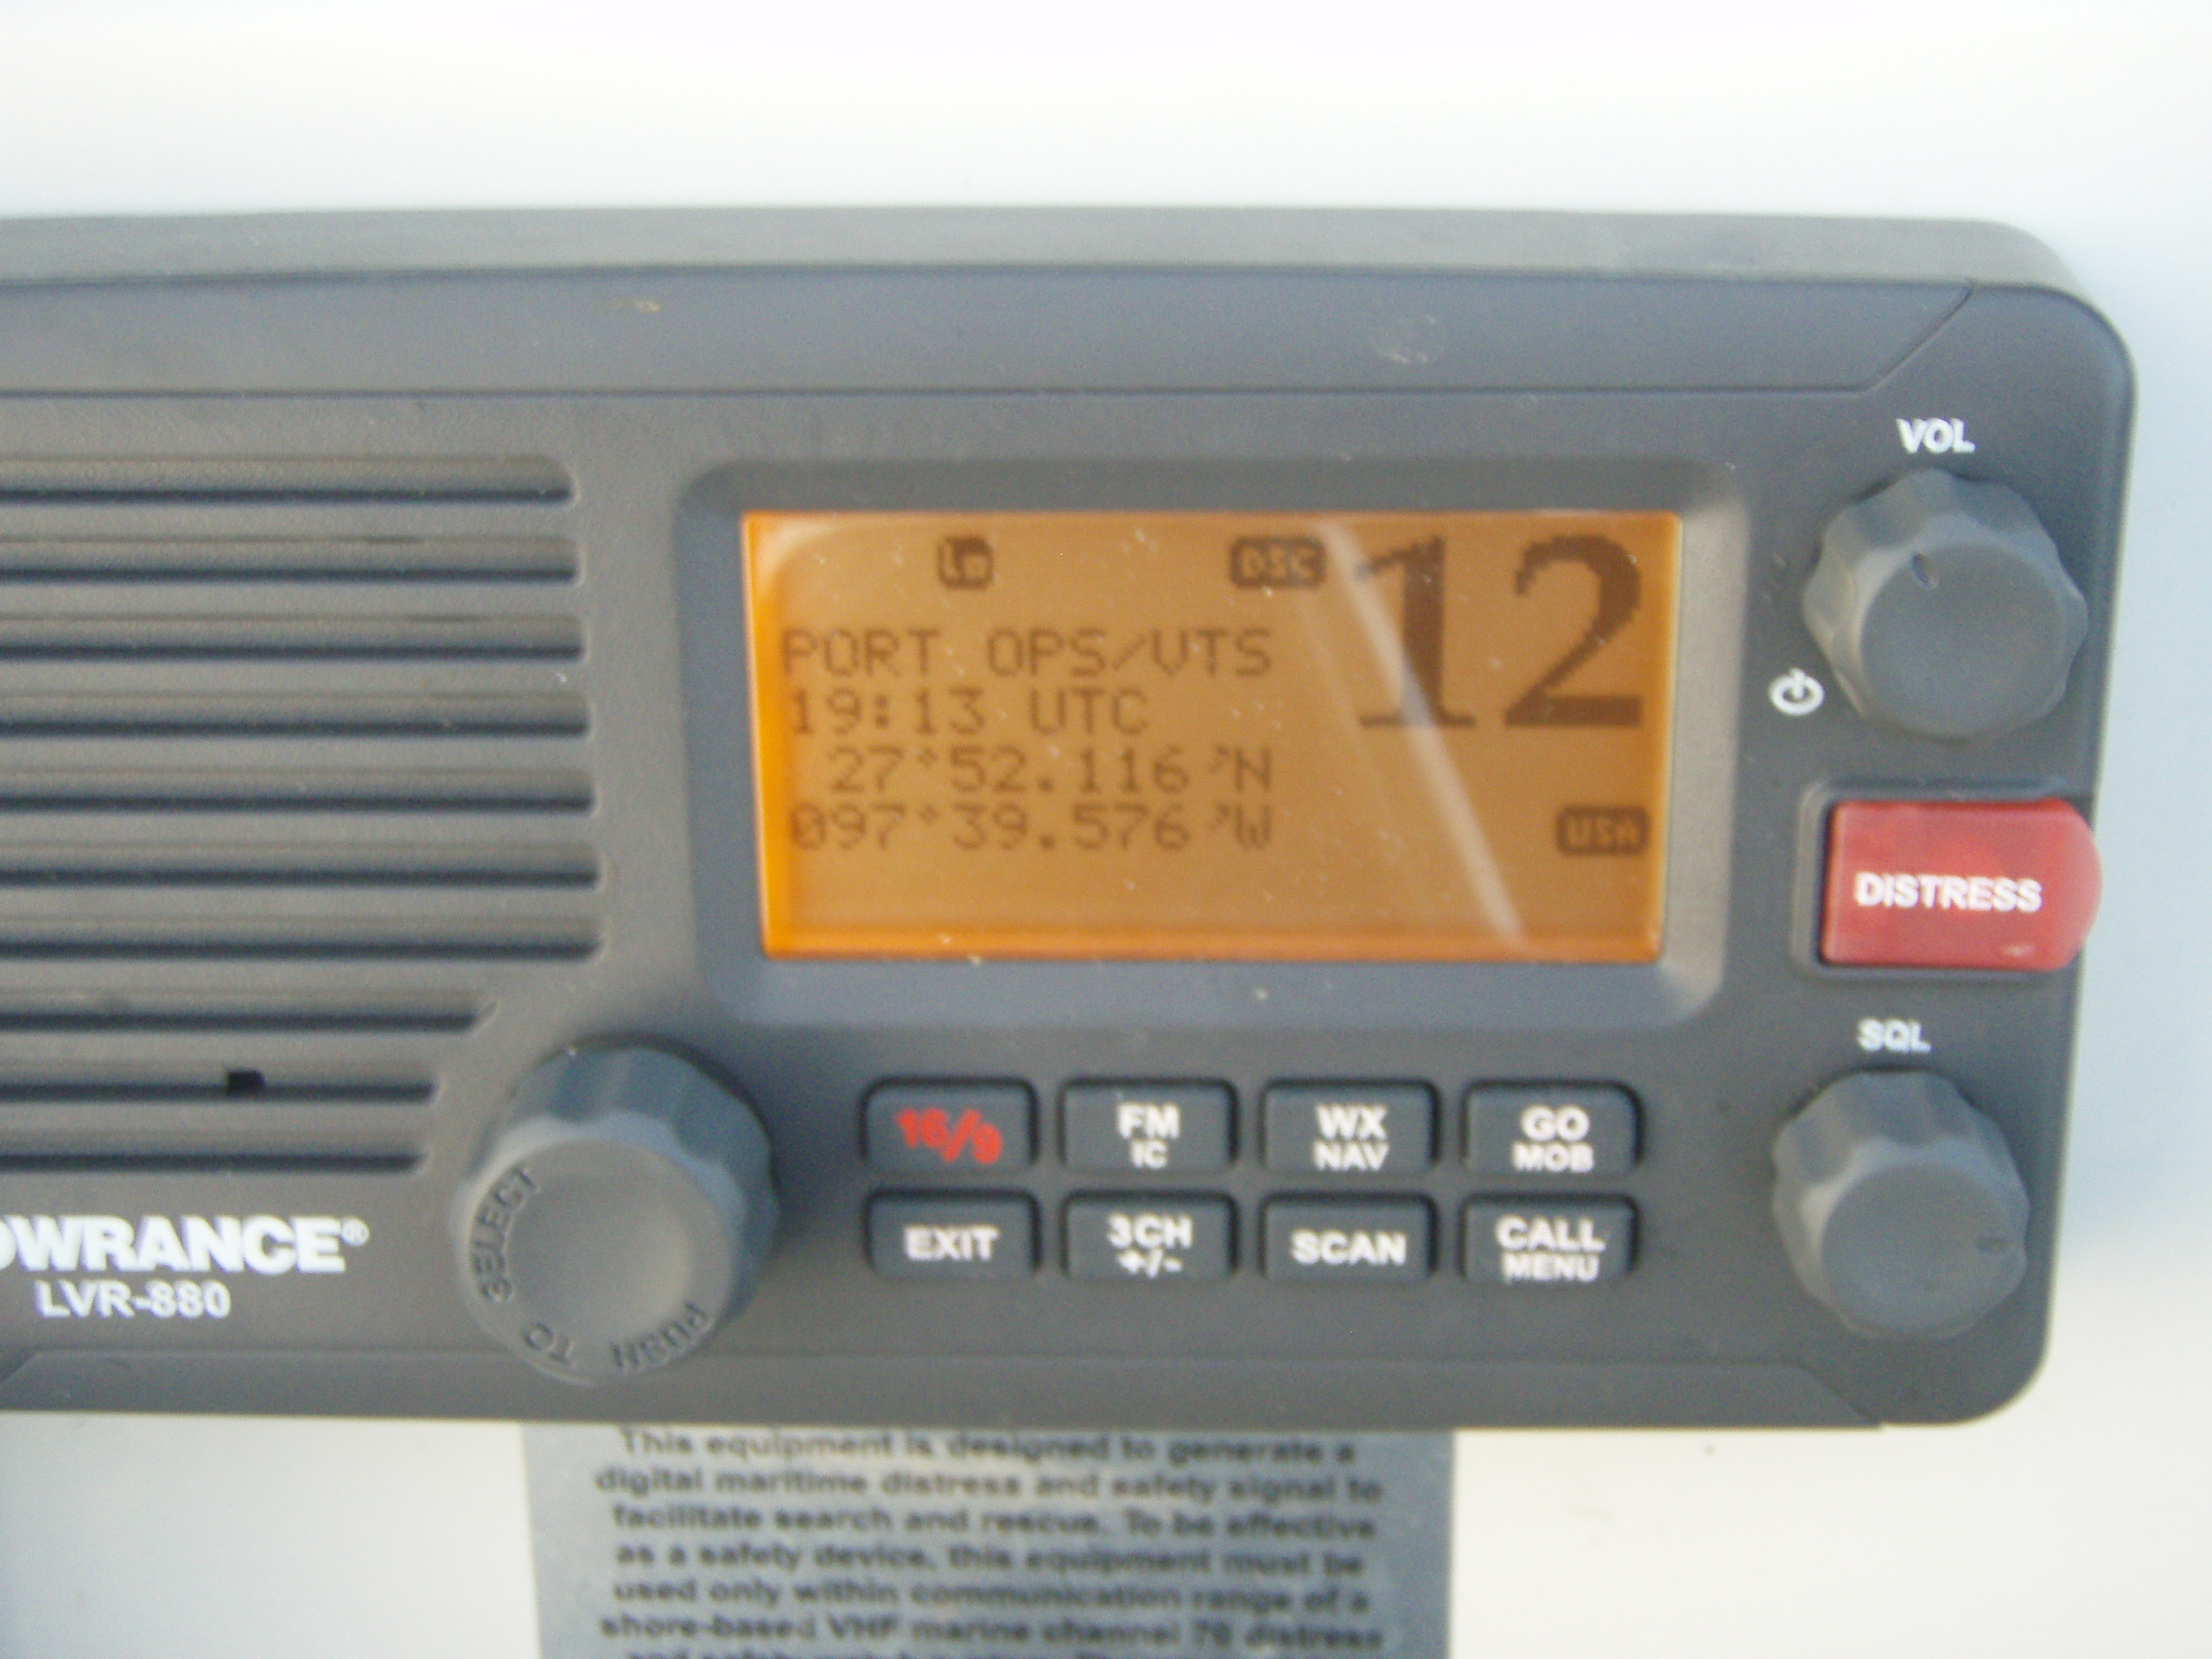
Here you can see that I now have GPS coordinates fed directly to the VHF radio.
Drop me a note and let me know if this helps anybody. |
|
This site last updated on 06/18/10. Copyright © 1999-2005 by TMcM. All rights reserved. |